Viking Man’s Clothes A4 information and colouring sheet
Click here to download the pdf

Please enjoy and share this free download, but remember to credit Joolswilson or Bearsgetcrafty. Copyright Joolswilson. Do not sell in any form.
Viking Man’s Clothes A4 information and colouring sheet
Click here to download the pdf
Please enjoy and share this free download, but remember to credit Joolswilson or Bearsgetcrafty. Copyright Joolswilson. Do not sell in any form.
This month I’ve been trying out pencil drawing techniques. Now, if I could just work out how to stop the paper getting so grubby…..
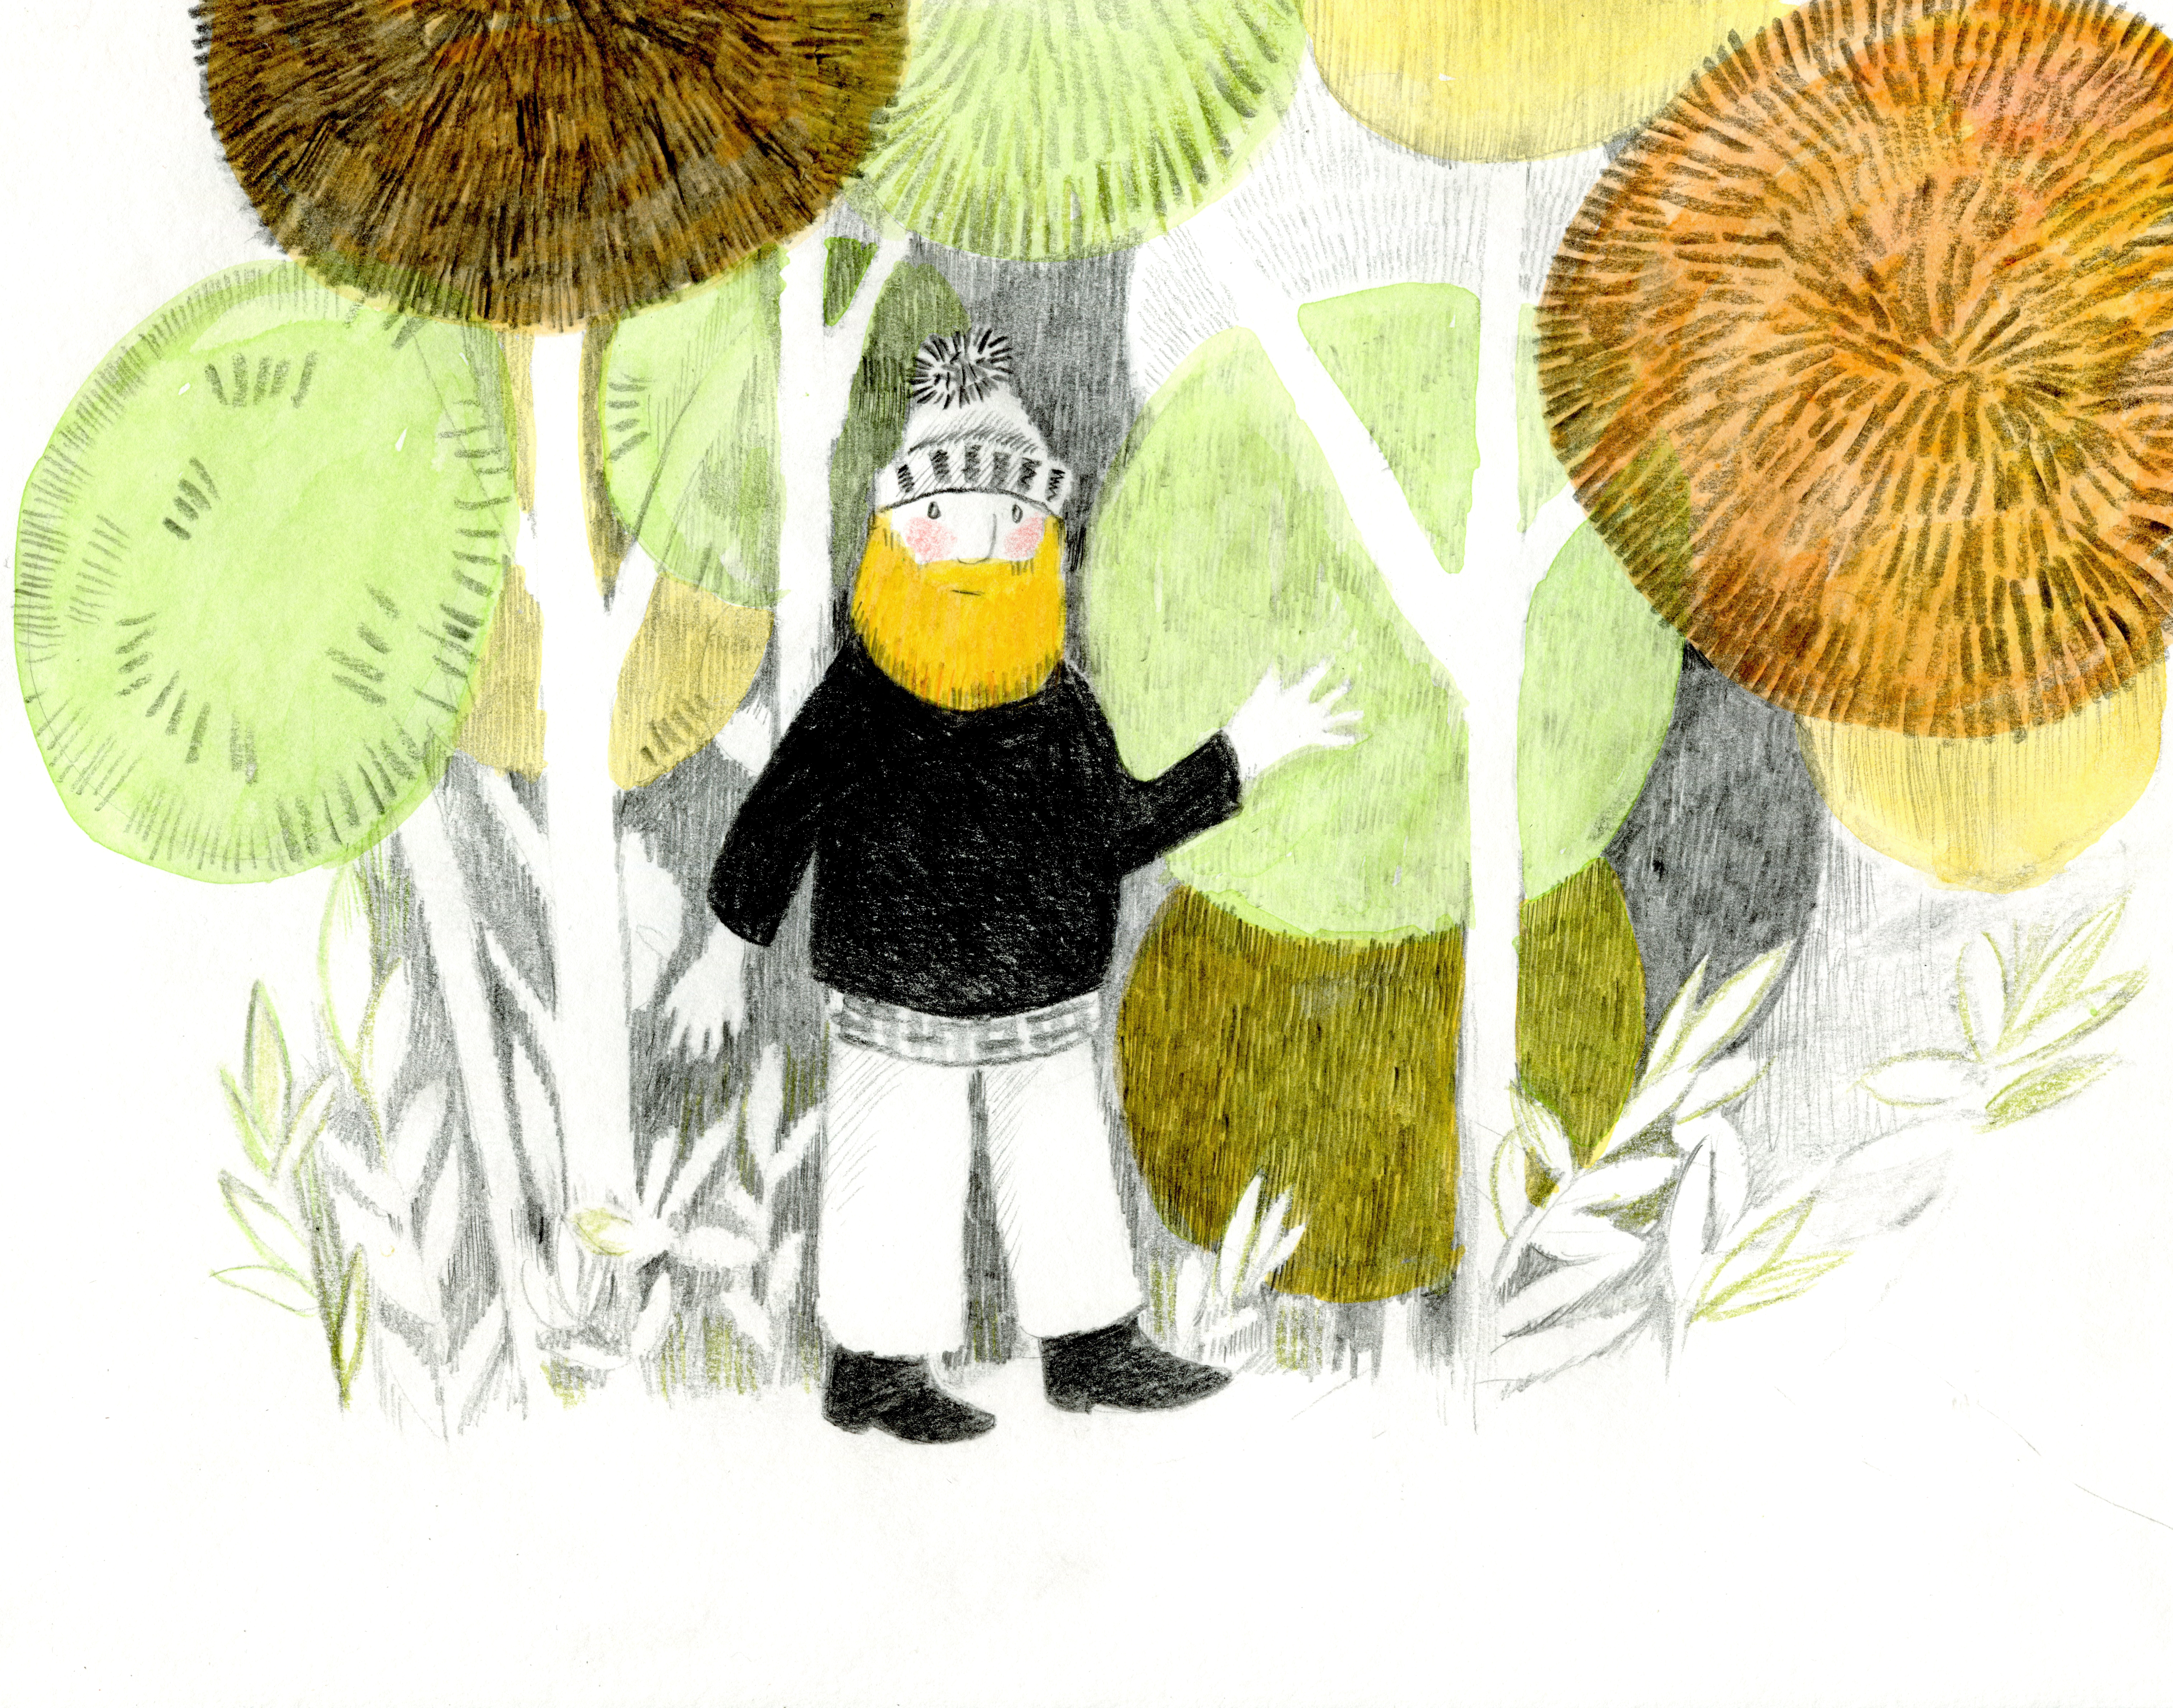
This week my sketchbook got filled with beards….


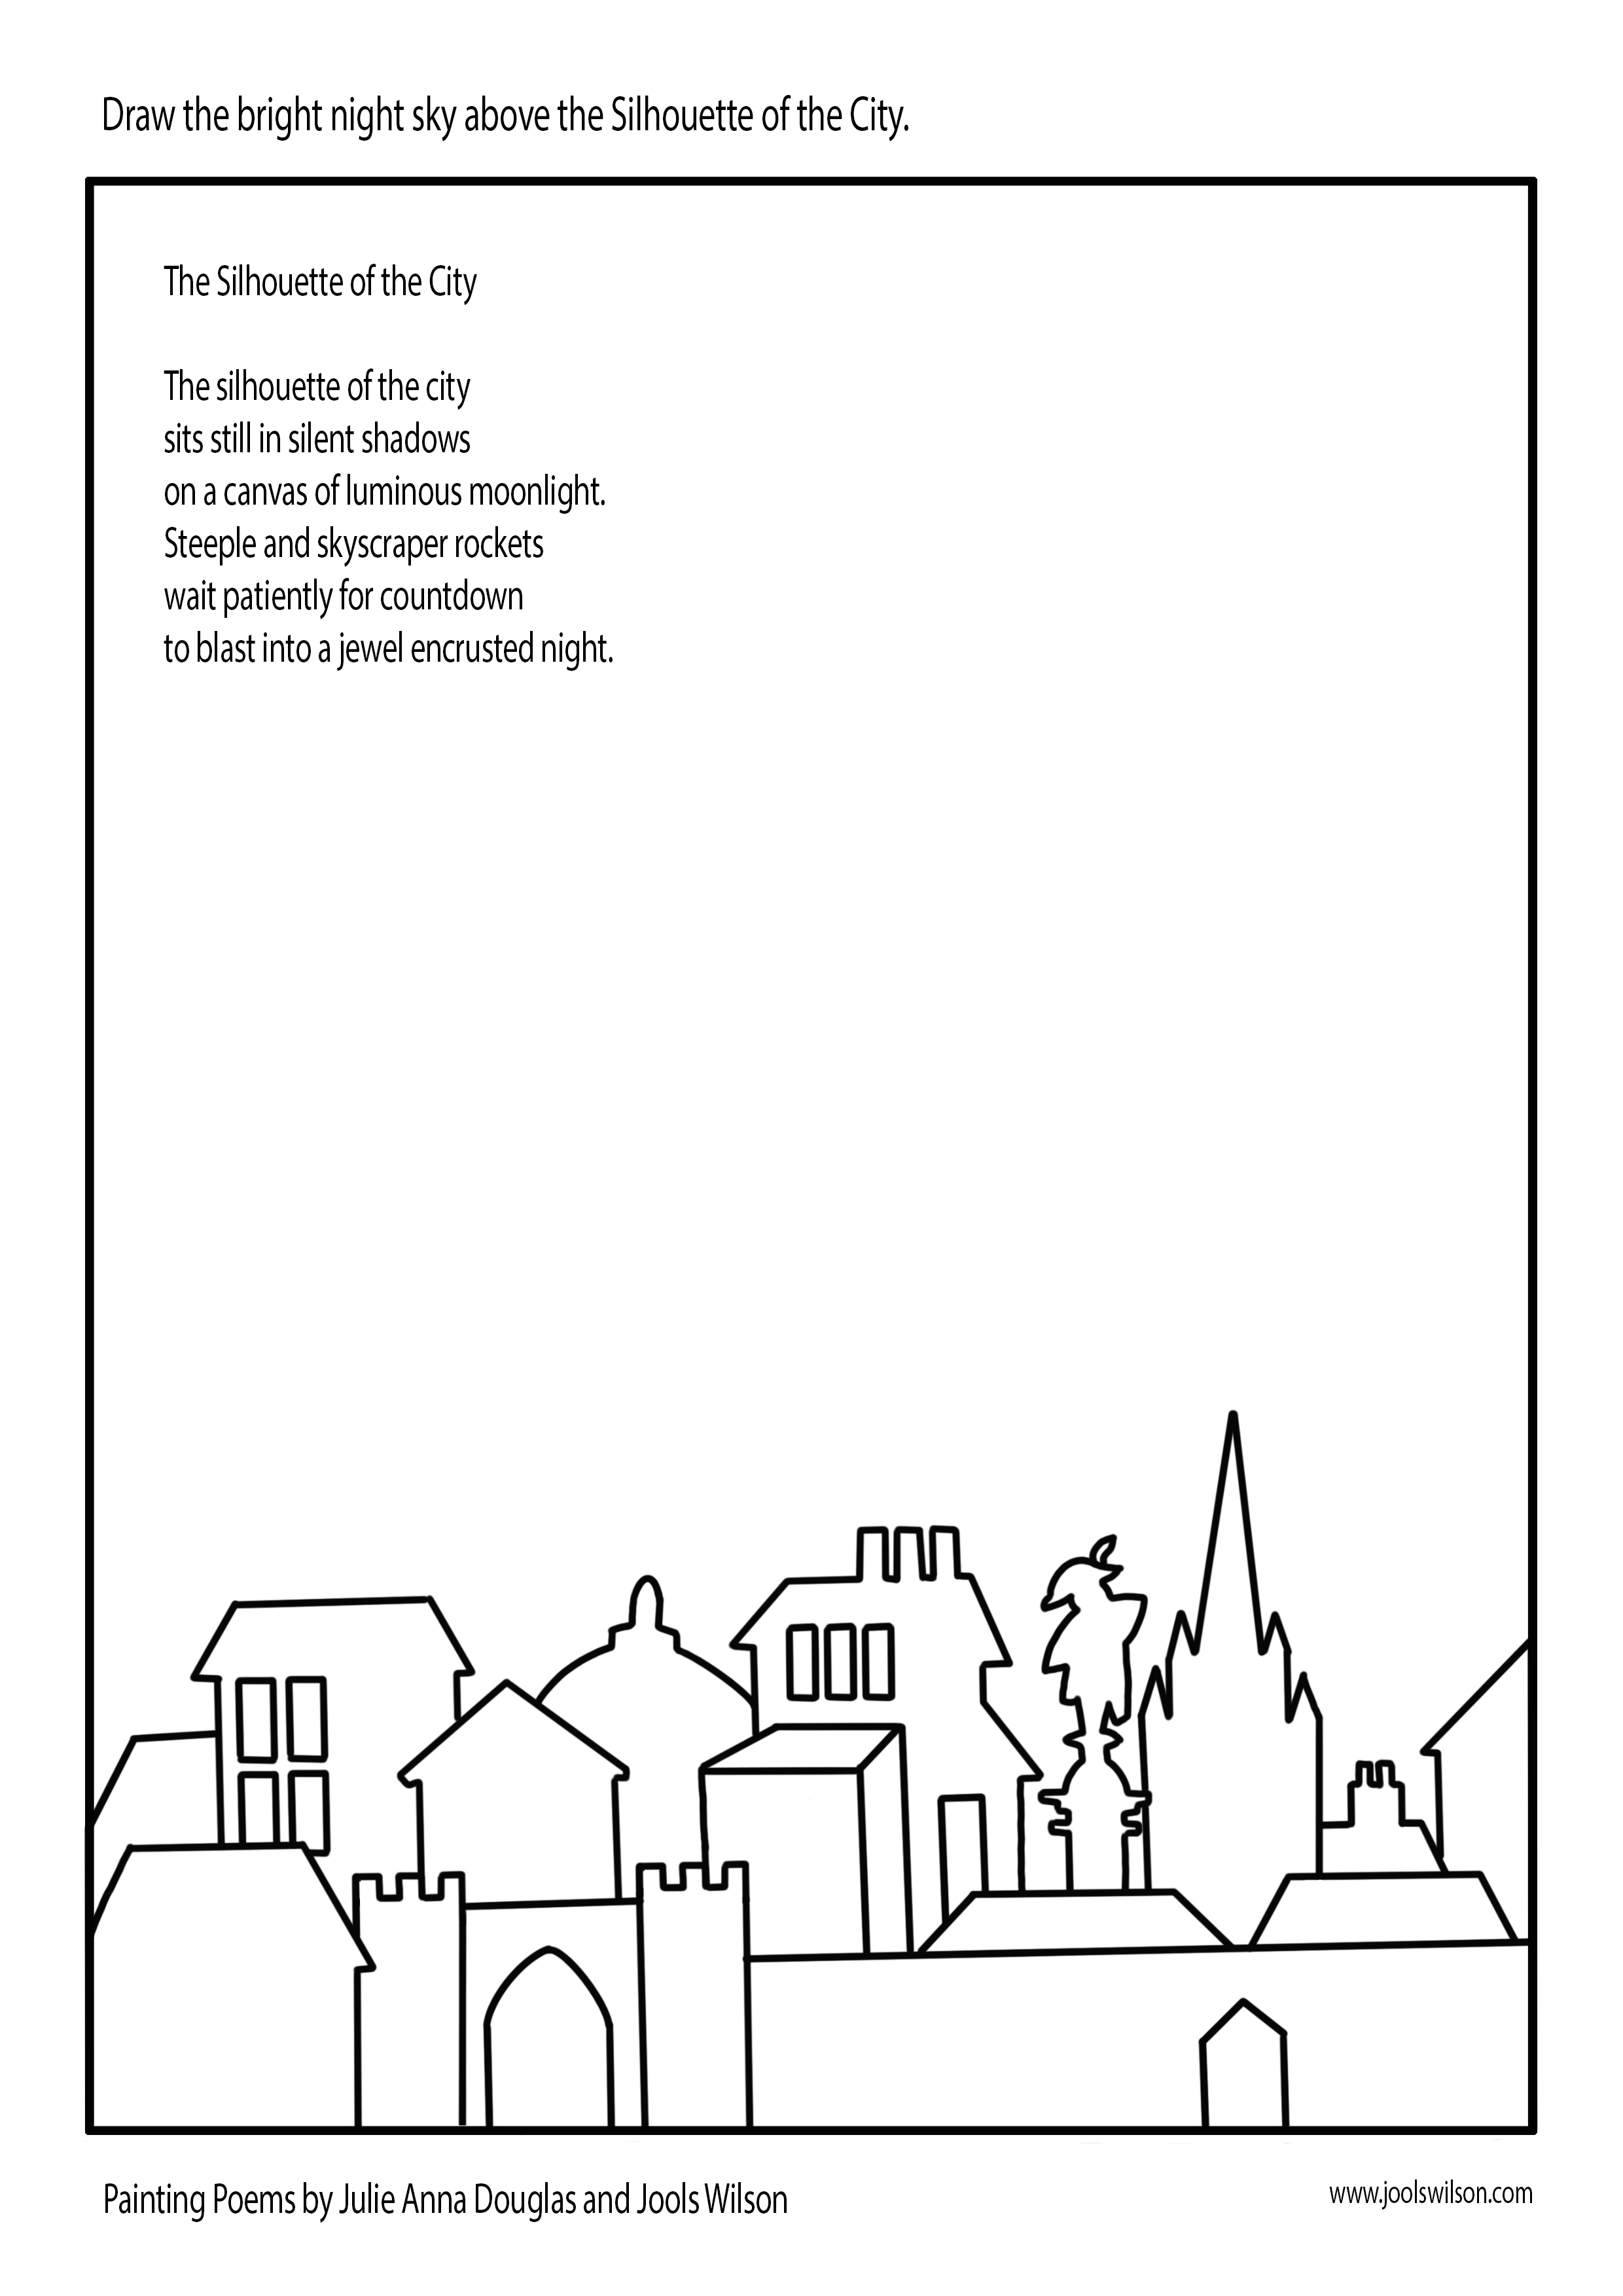
A new activity sheet to accompany ‘Painting Poems’ by Julie Anna Douglas. Can you draw or paint a lovely night sky above the silhouette of the city? Download the PDF here.
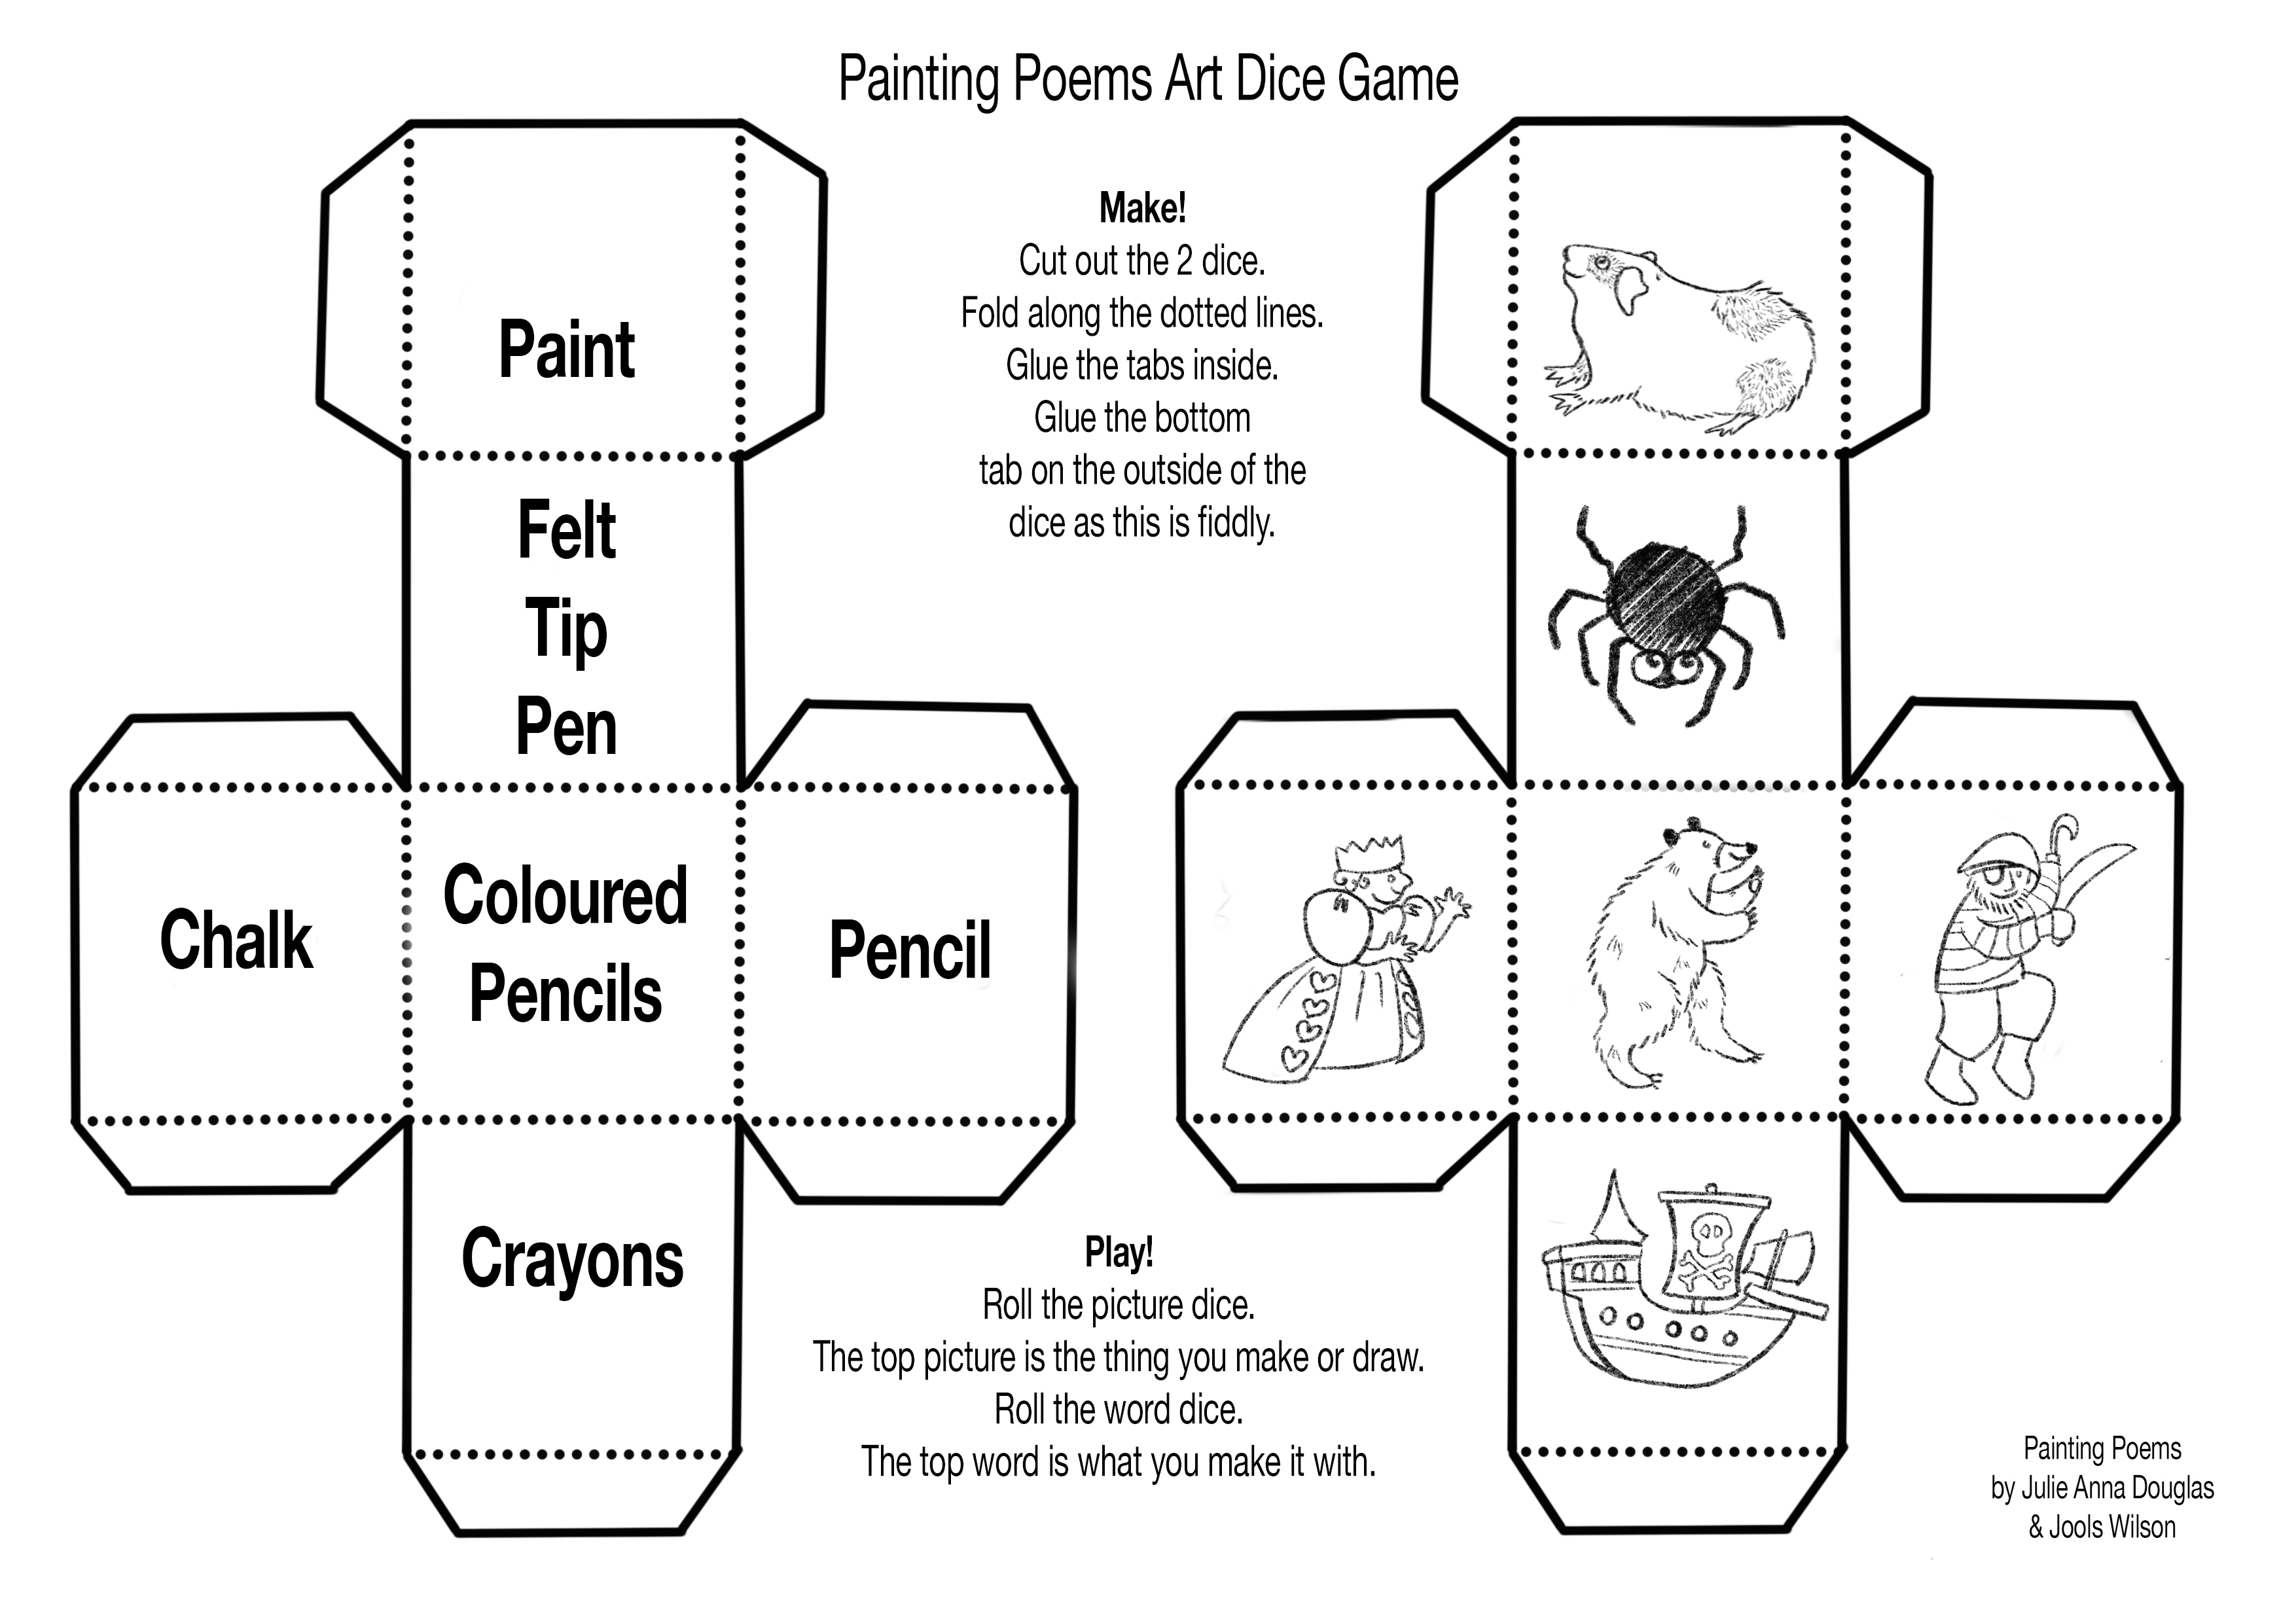
Download this fun art game. Cut out and make your dice then roll them. Create some art!


There are two versions of each dice, so get Drawing, Painting, Collaging, and Modelling!
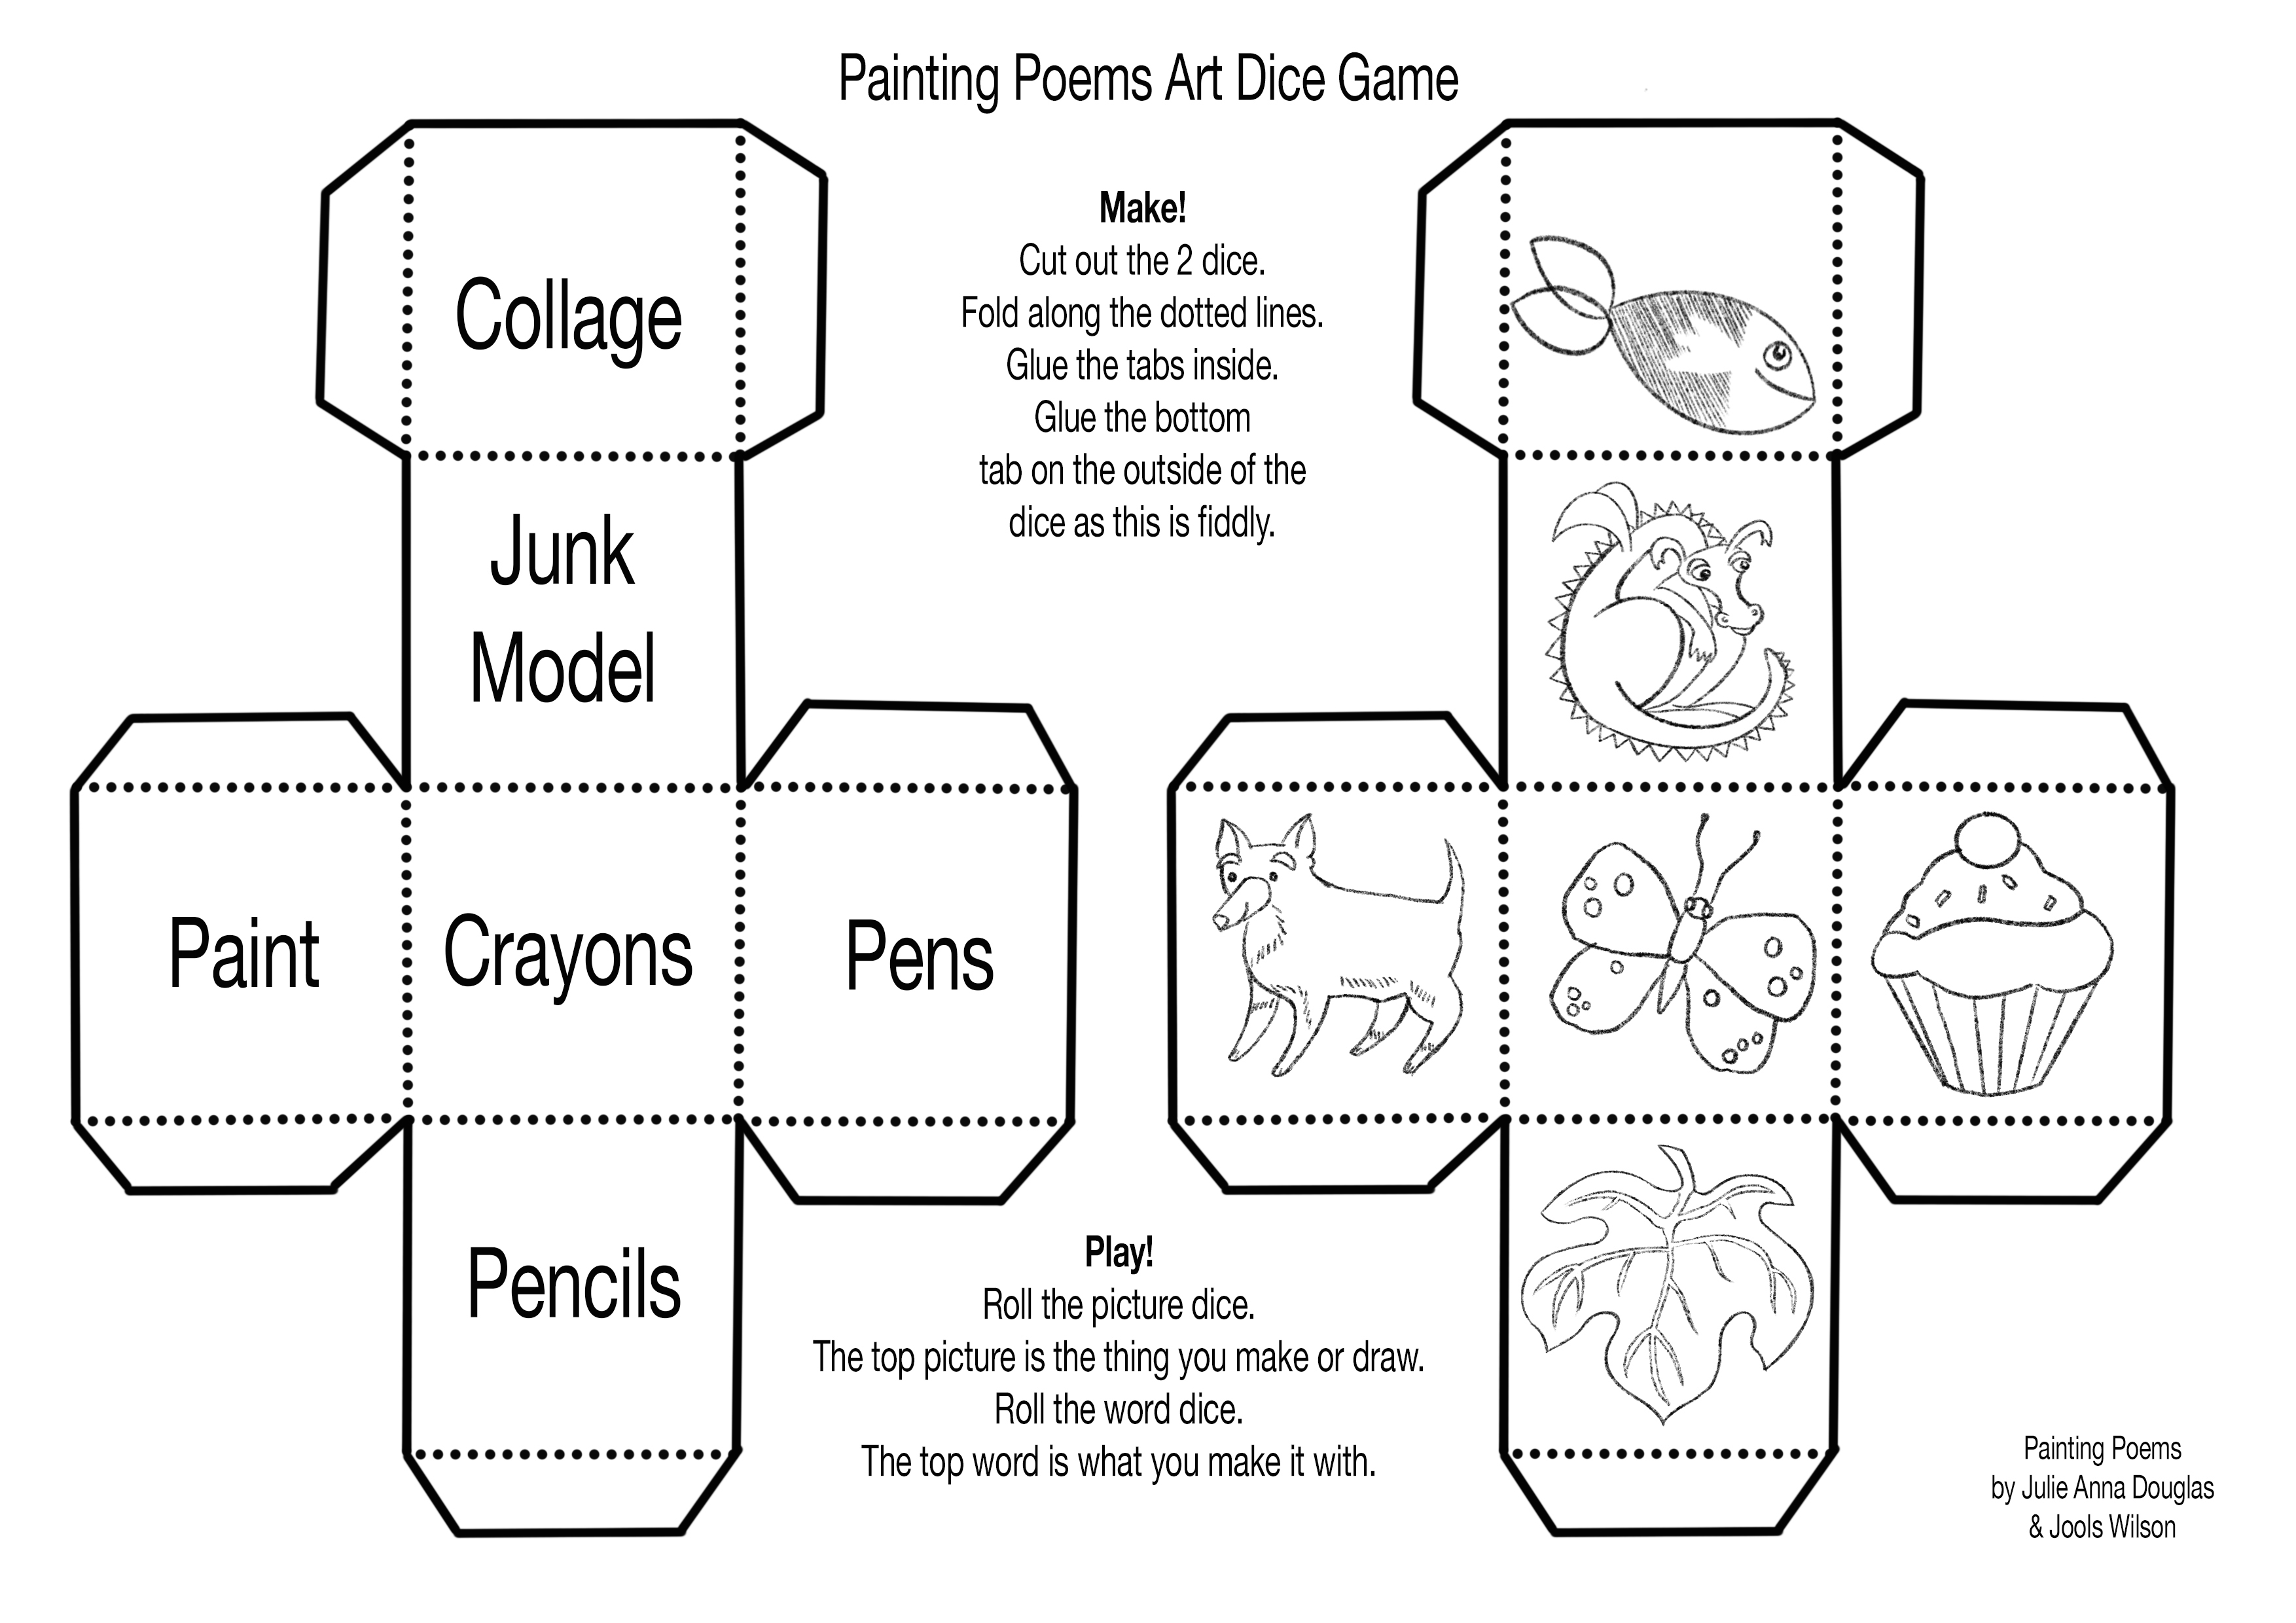
Download the first one here. Download the second one here.
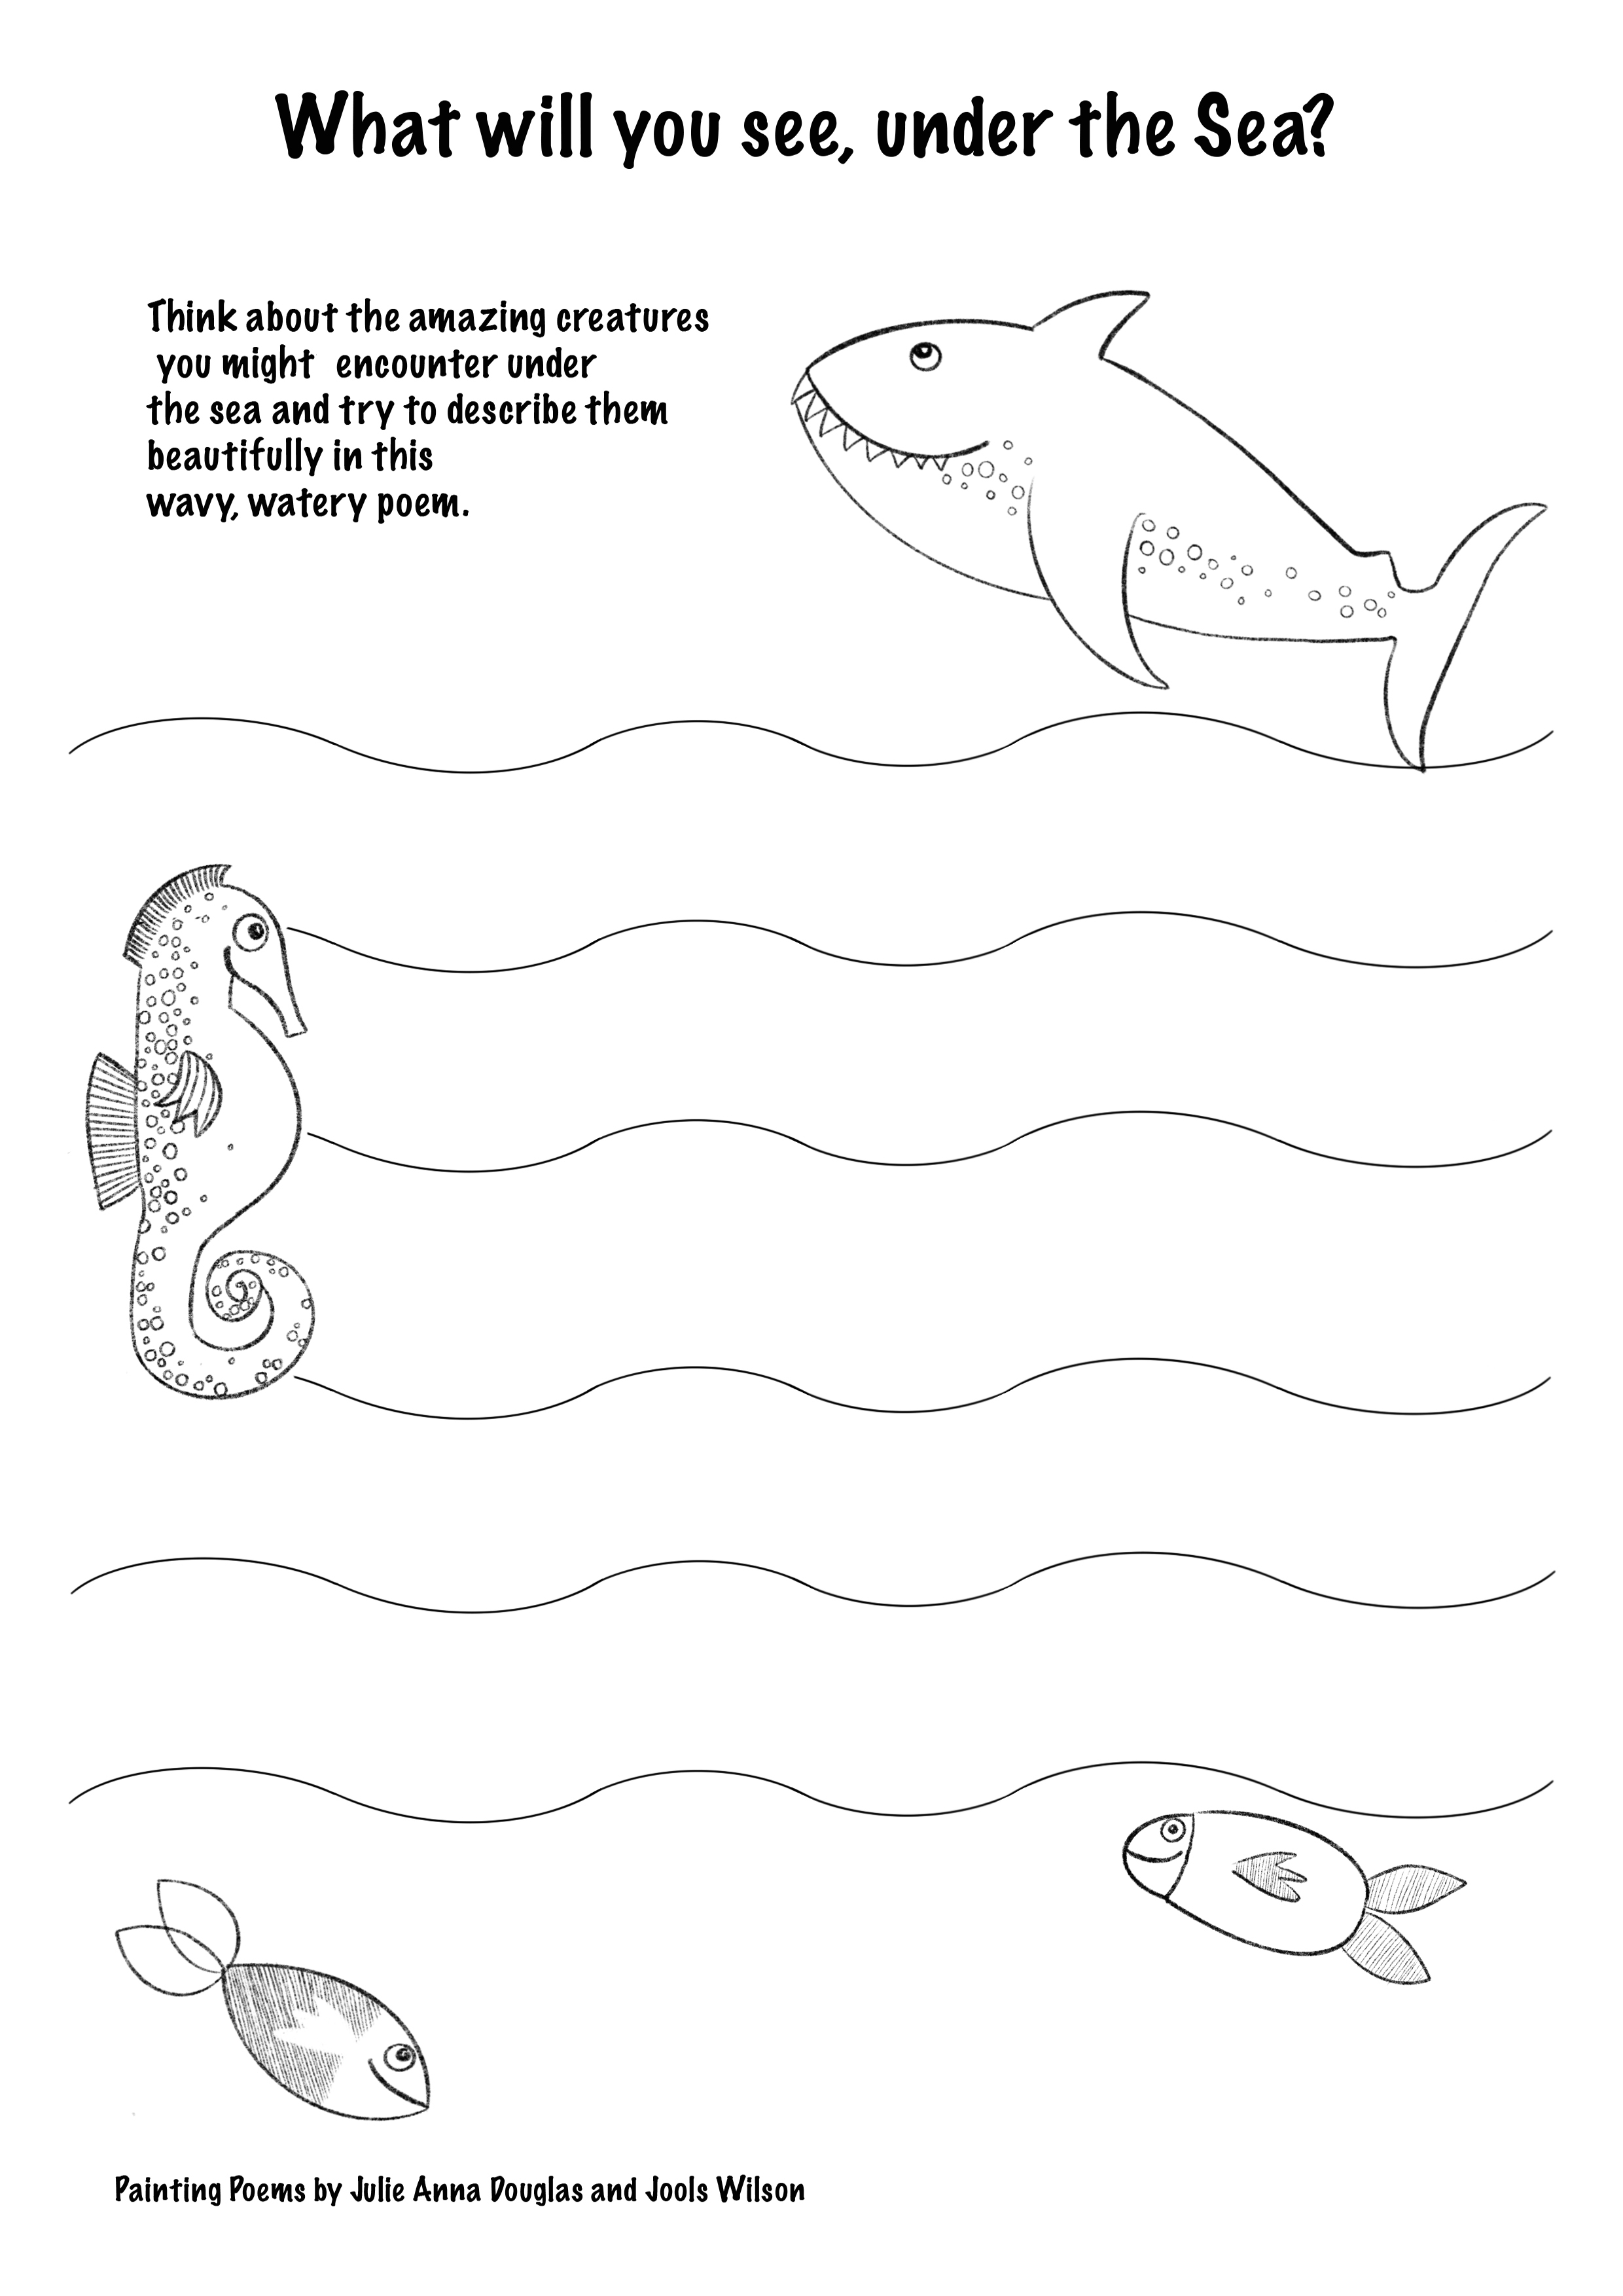
‘Underwater Collage’ by Julie Anna Douglas. Why not download the worksheet that accompanies this poem? Or get out your paints or pencils and some paper and make your own Underwater Collage?

Click here to download the worksheet.
Make your own collage fish.
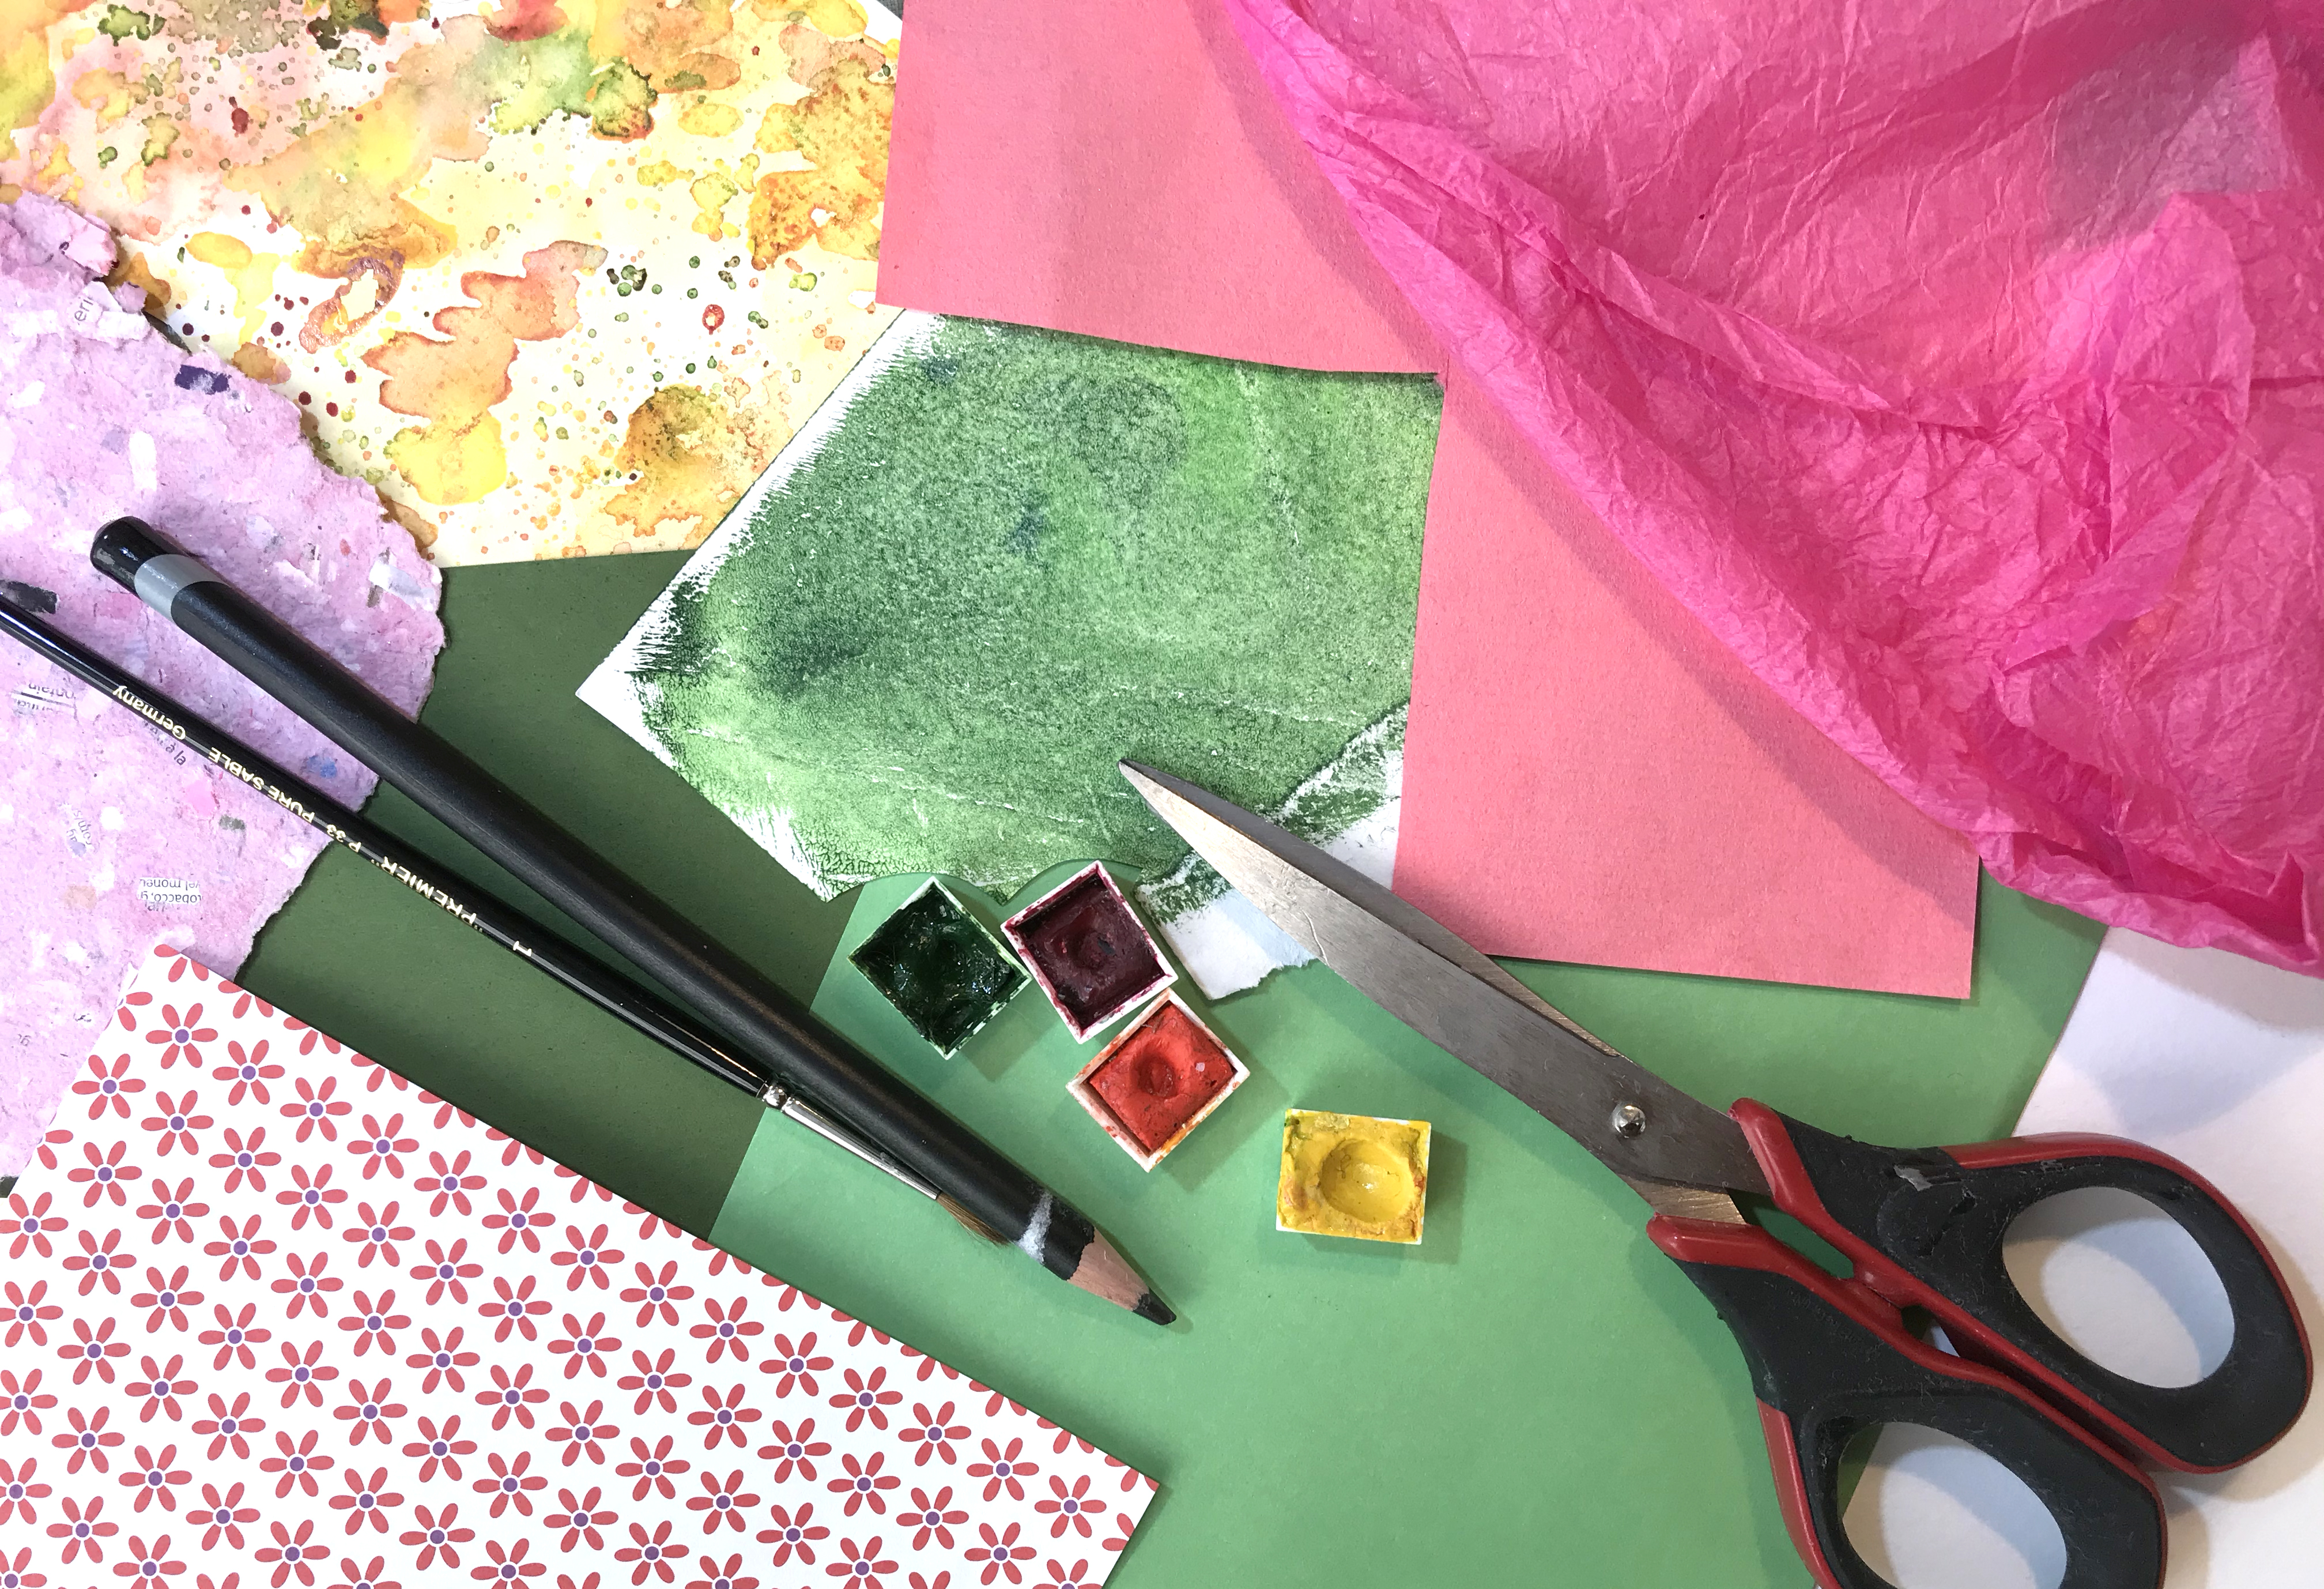 You will need: Scissor, different types of paper, glue, pencil, pen, paint.
If you only have plain paper you can paint it with splashes and blobs of paint.
Cut out the fishes body shapes from patterned or coloured paper. Cut out tail fin shapes from a different colour paper or tissue paper.
Glue the body shape to a background piece of paper. Draw or stick on fins. Draw the fishes faces with pencil or pen.
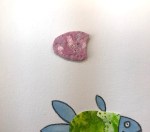


Colour the face and fins with paint, coloured pencils or felt tip pens.
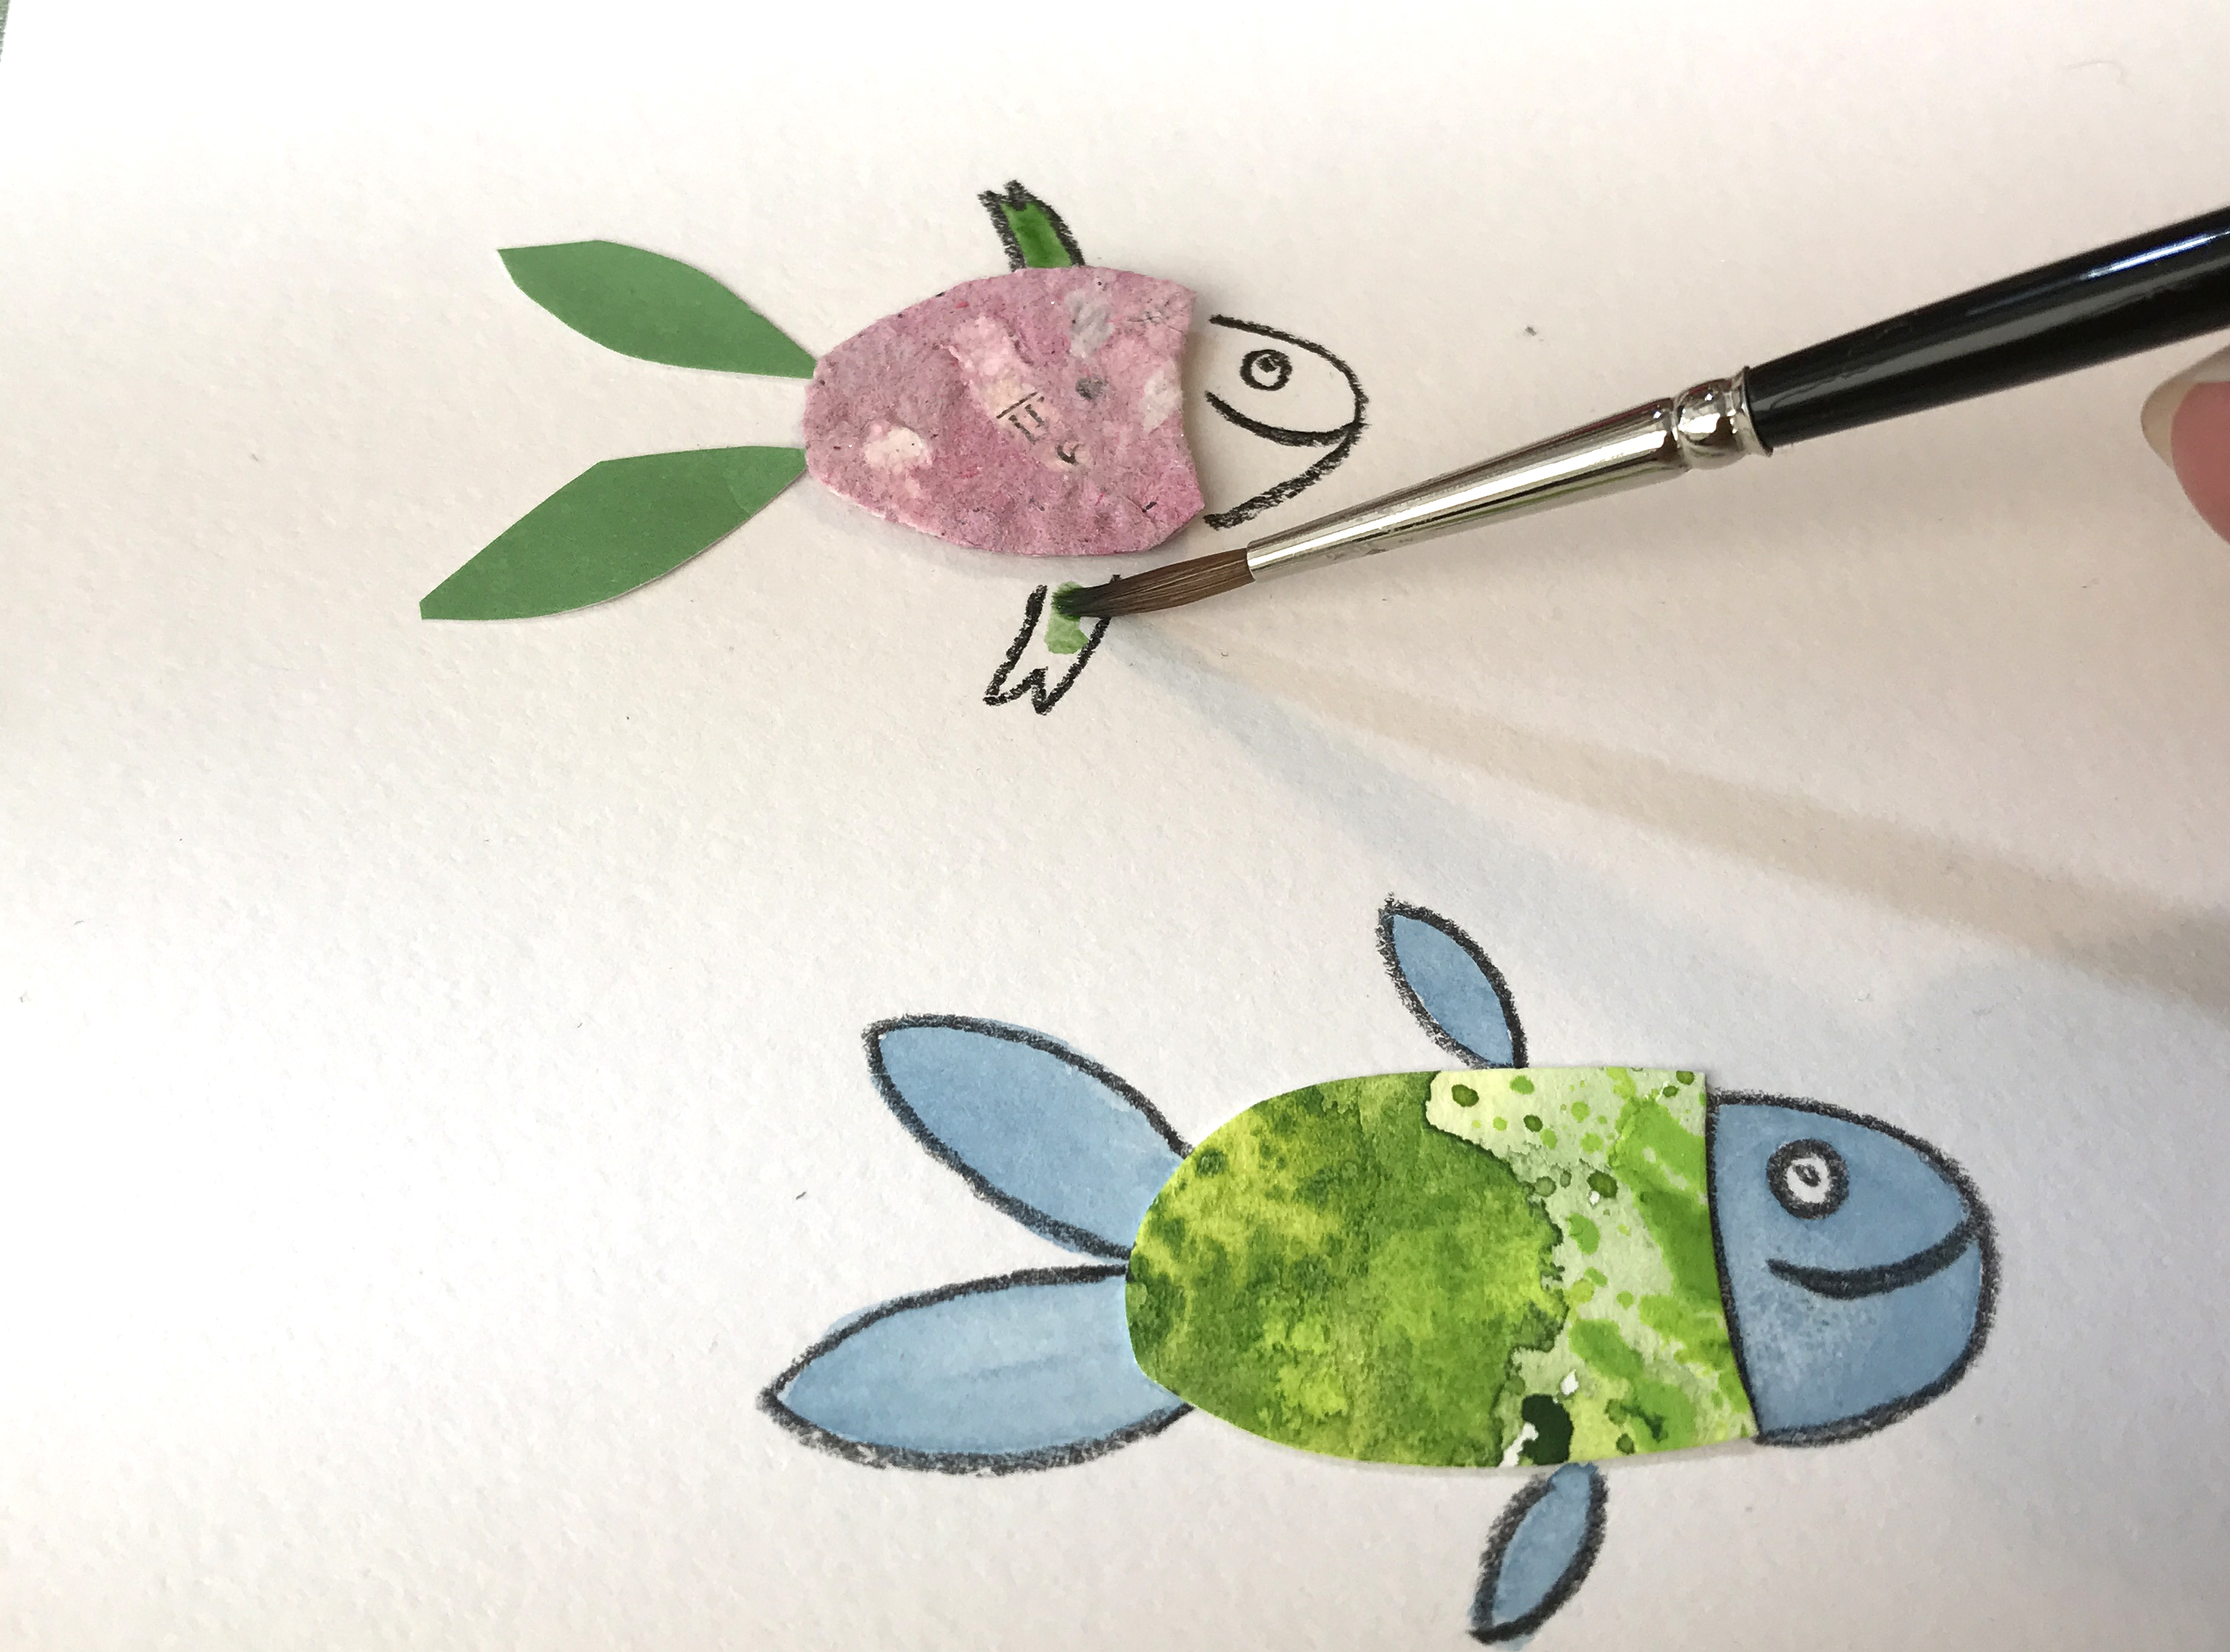
Create a sea full of colourful fish using as many different colours and papers as you can find.
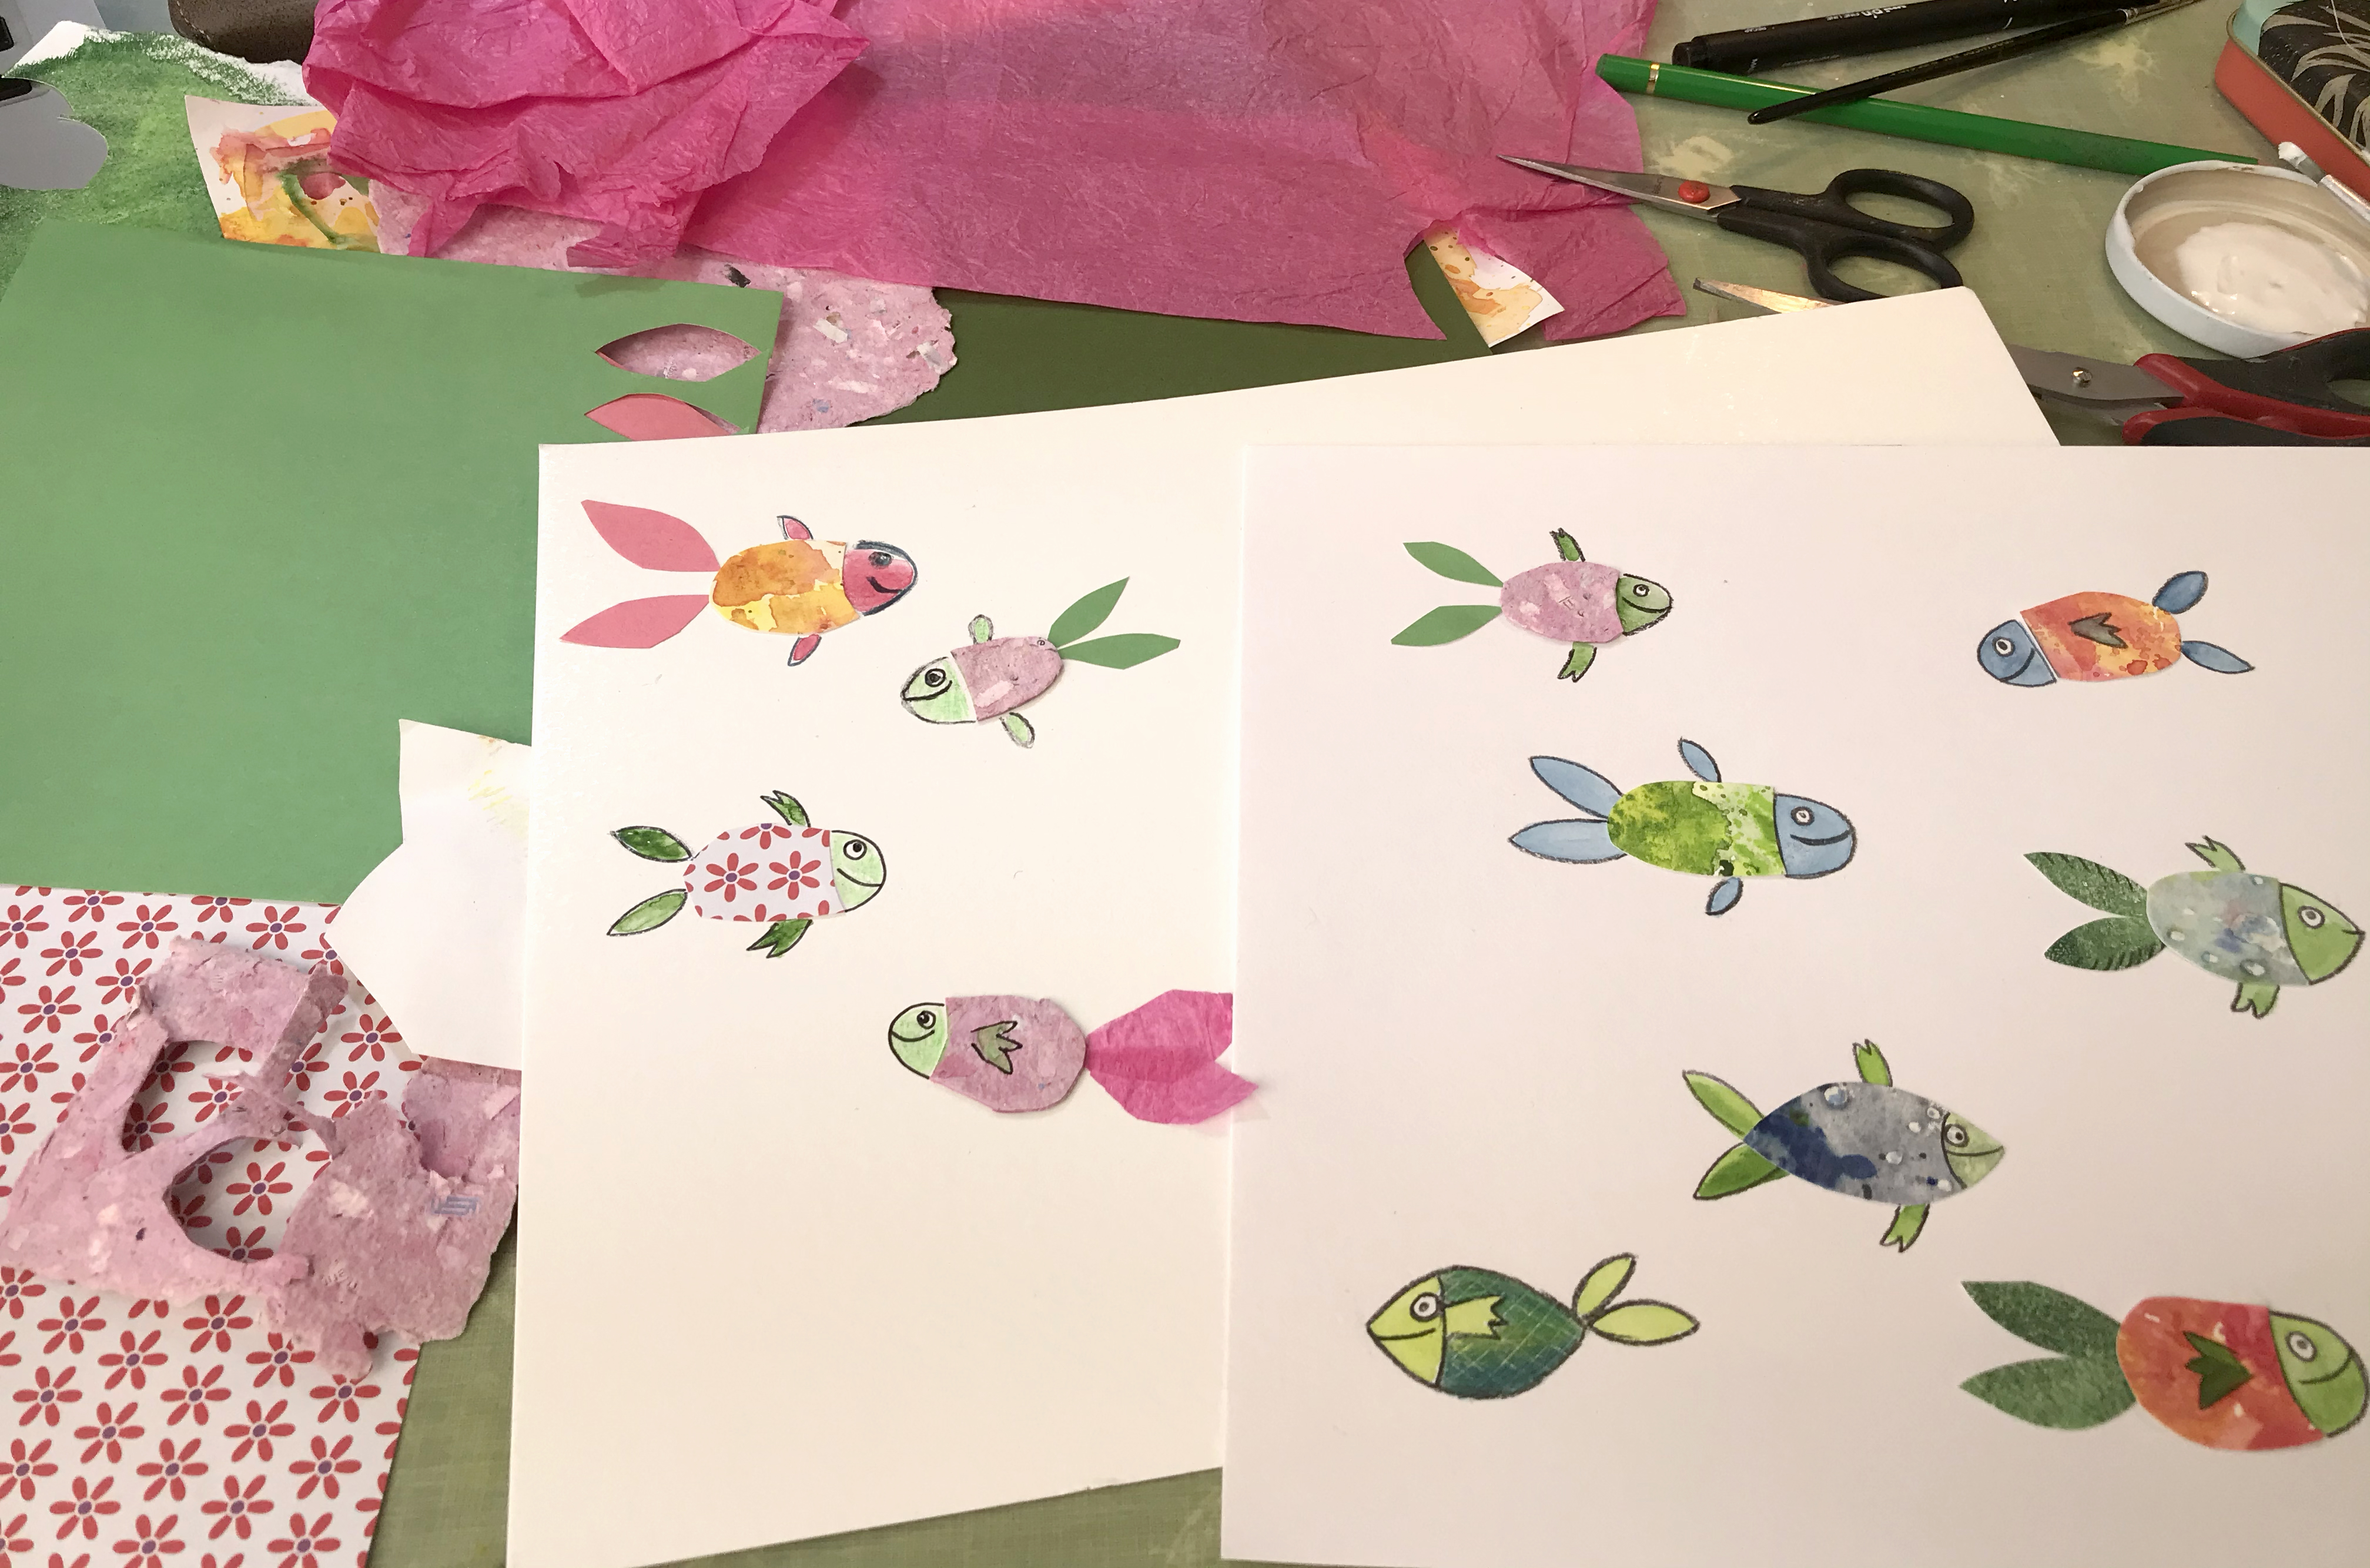
What other colourful sea creatures could you make using collage?
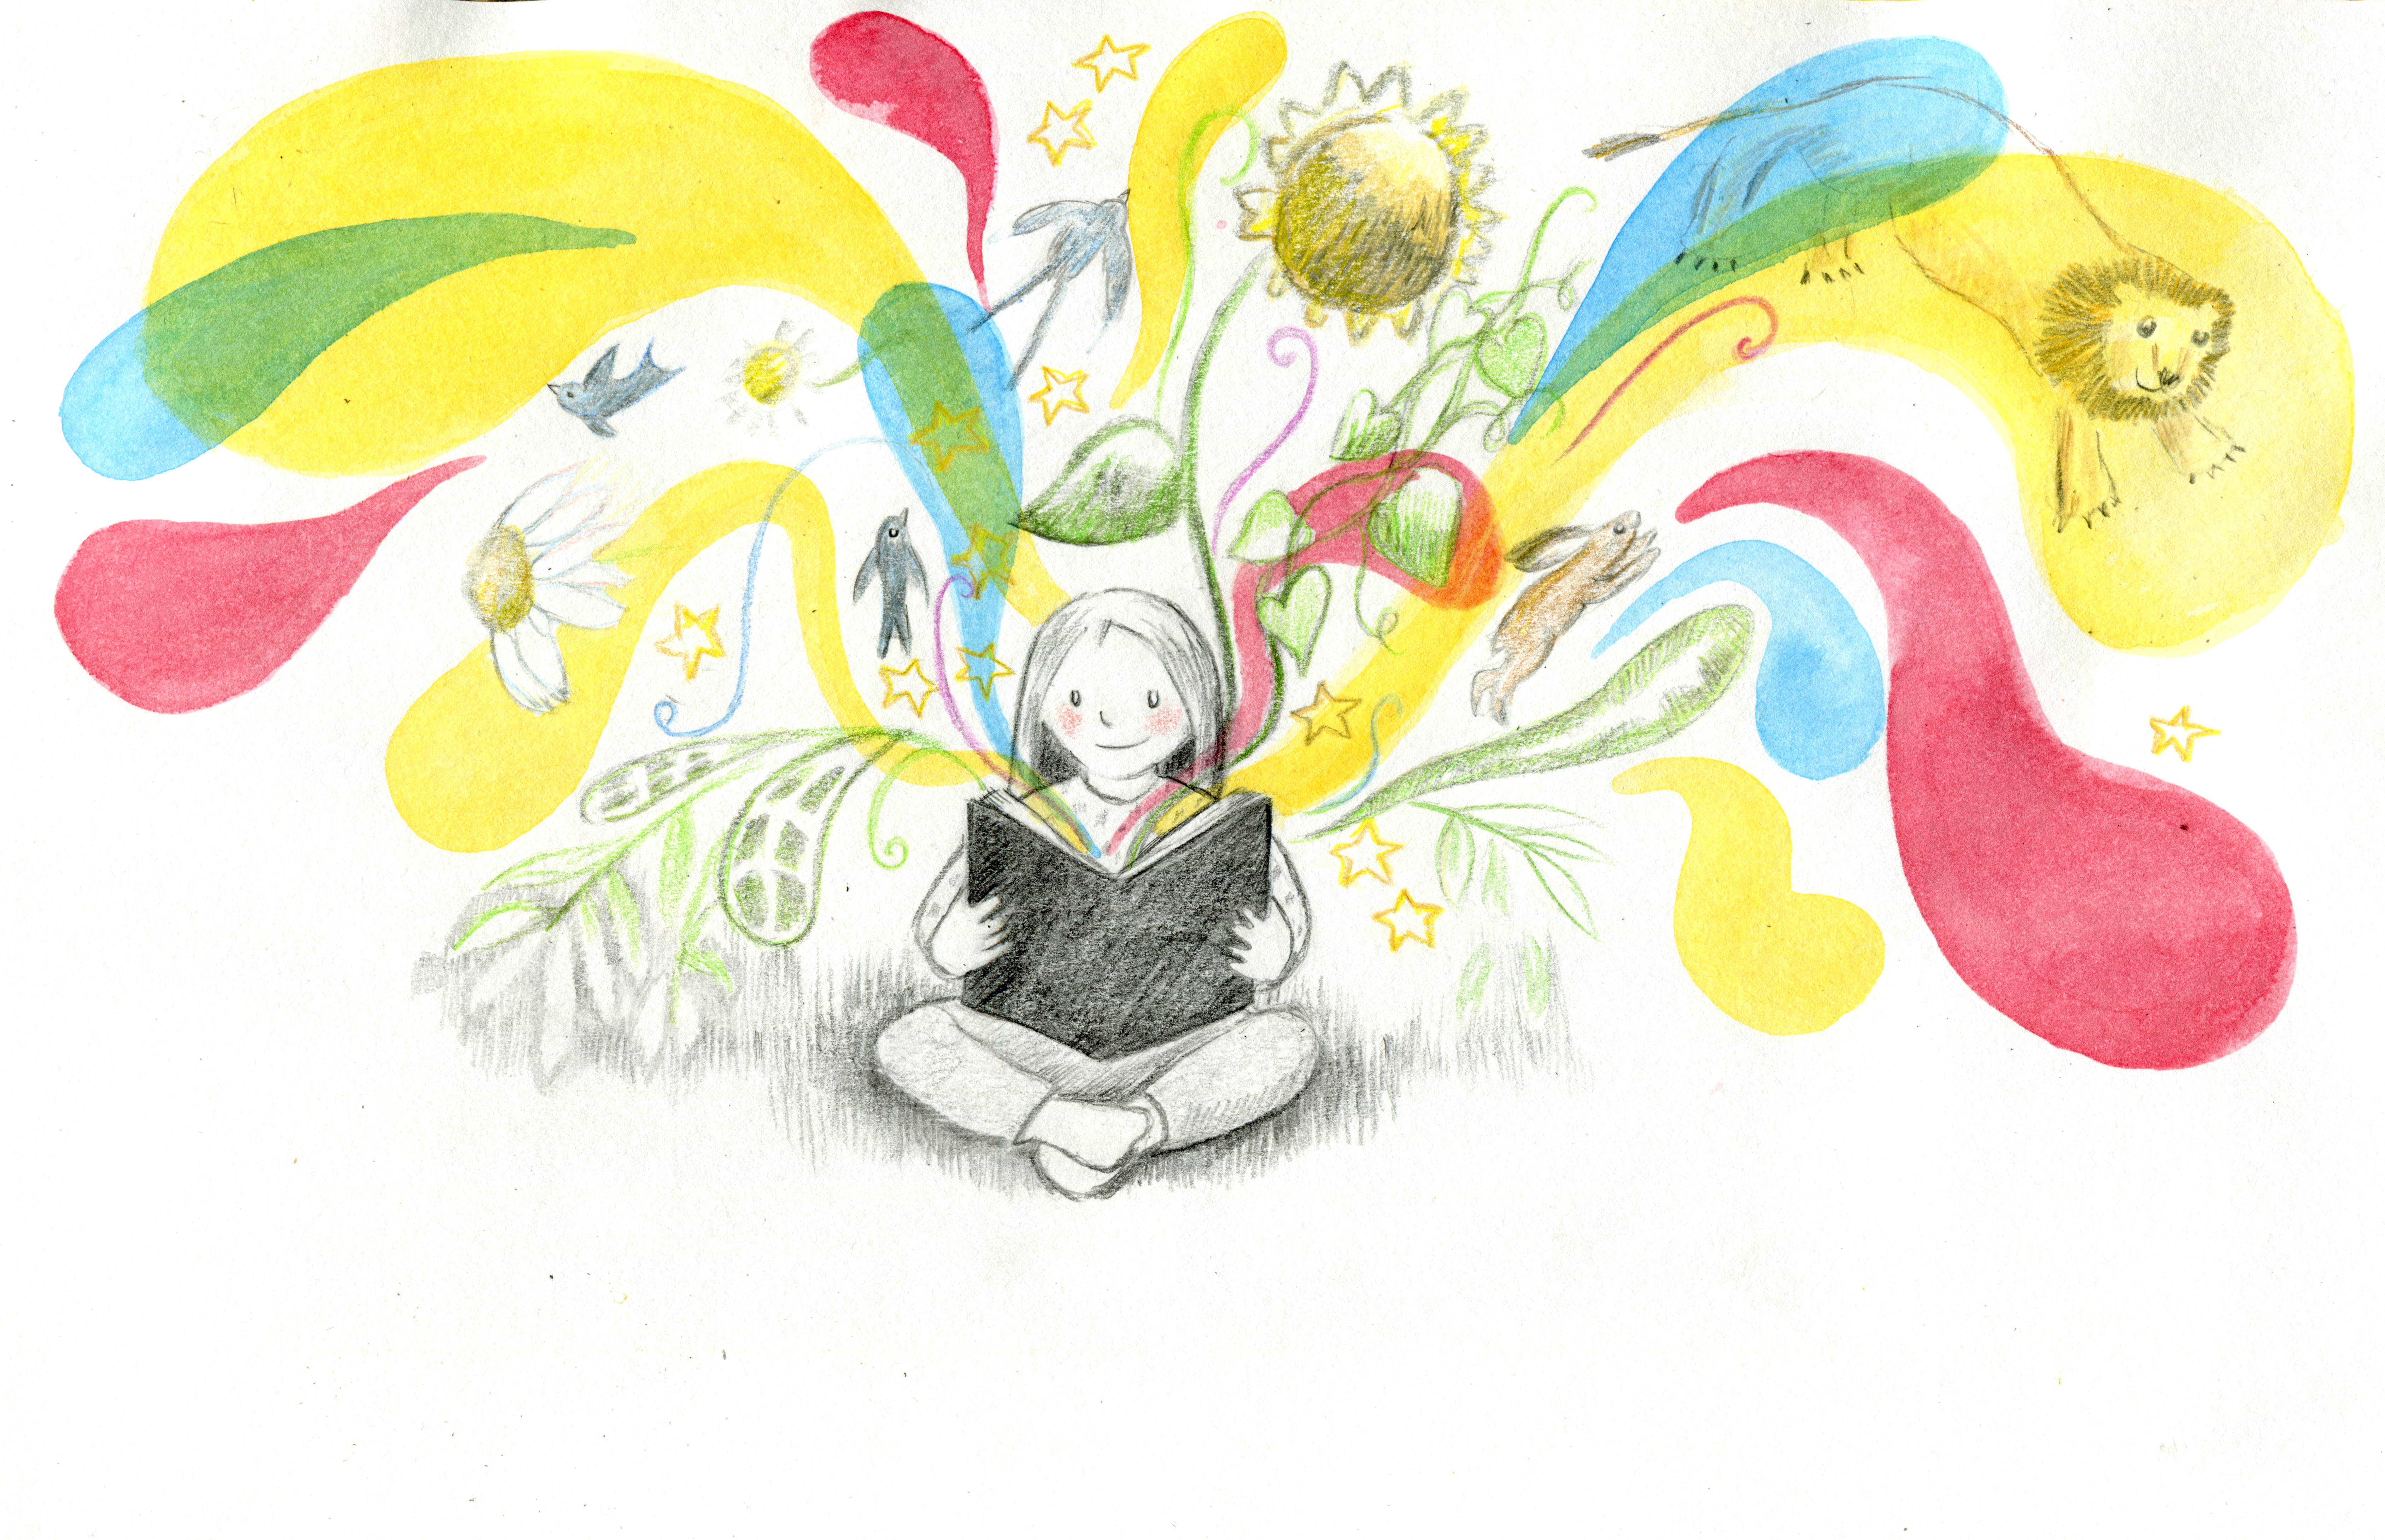
Here is a peep at the children’s poetry book I’ve illustrated for Julie Anna Douglas. It’s full of lovely poems and pictures and I think it will also appeal to grown up children. We hope it will inspire you play with words and art.
Here is ‘The Dragon’s Eyes’
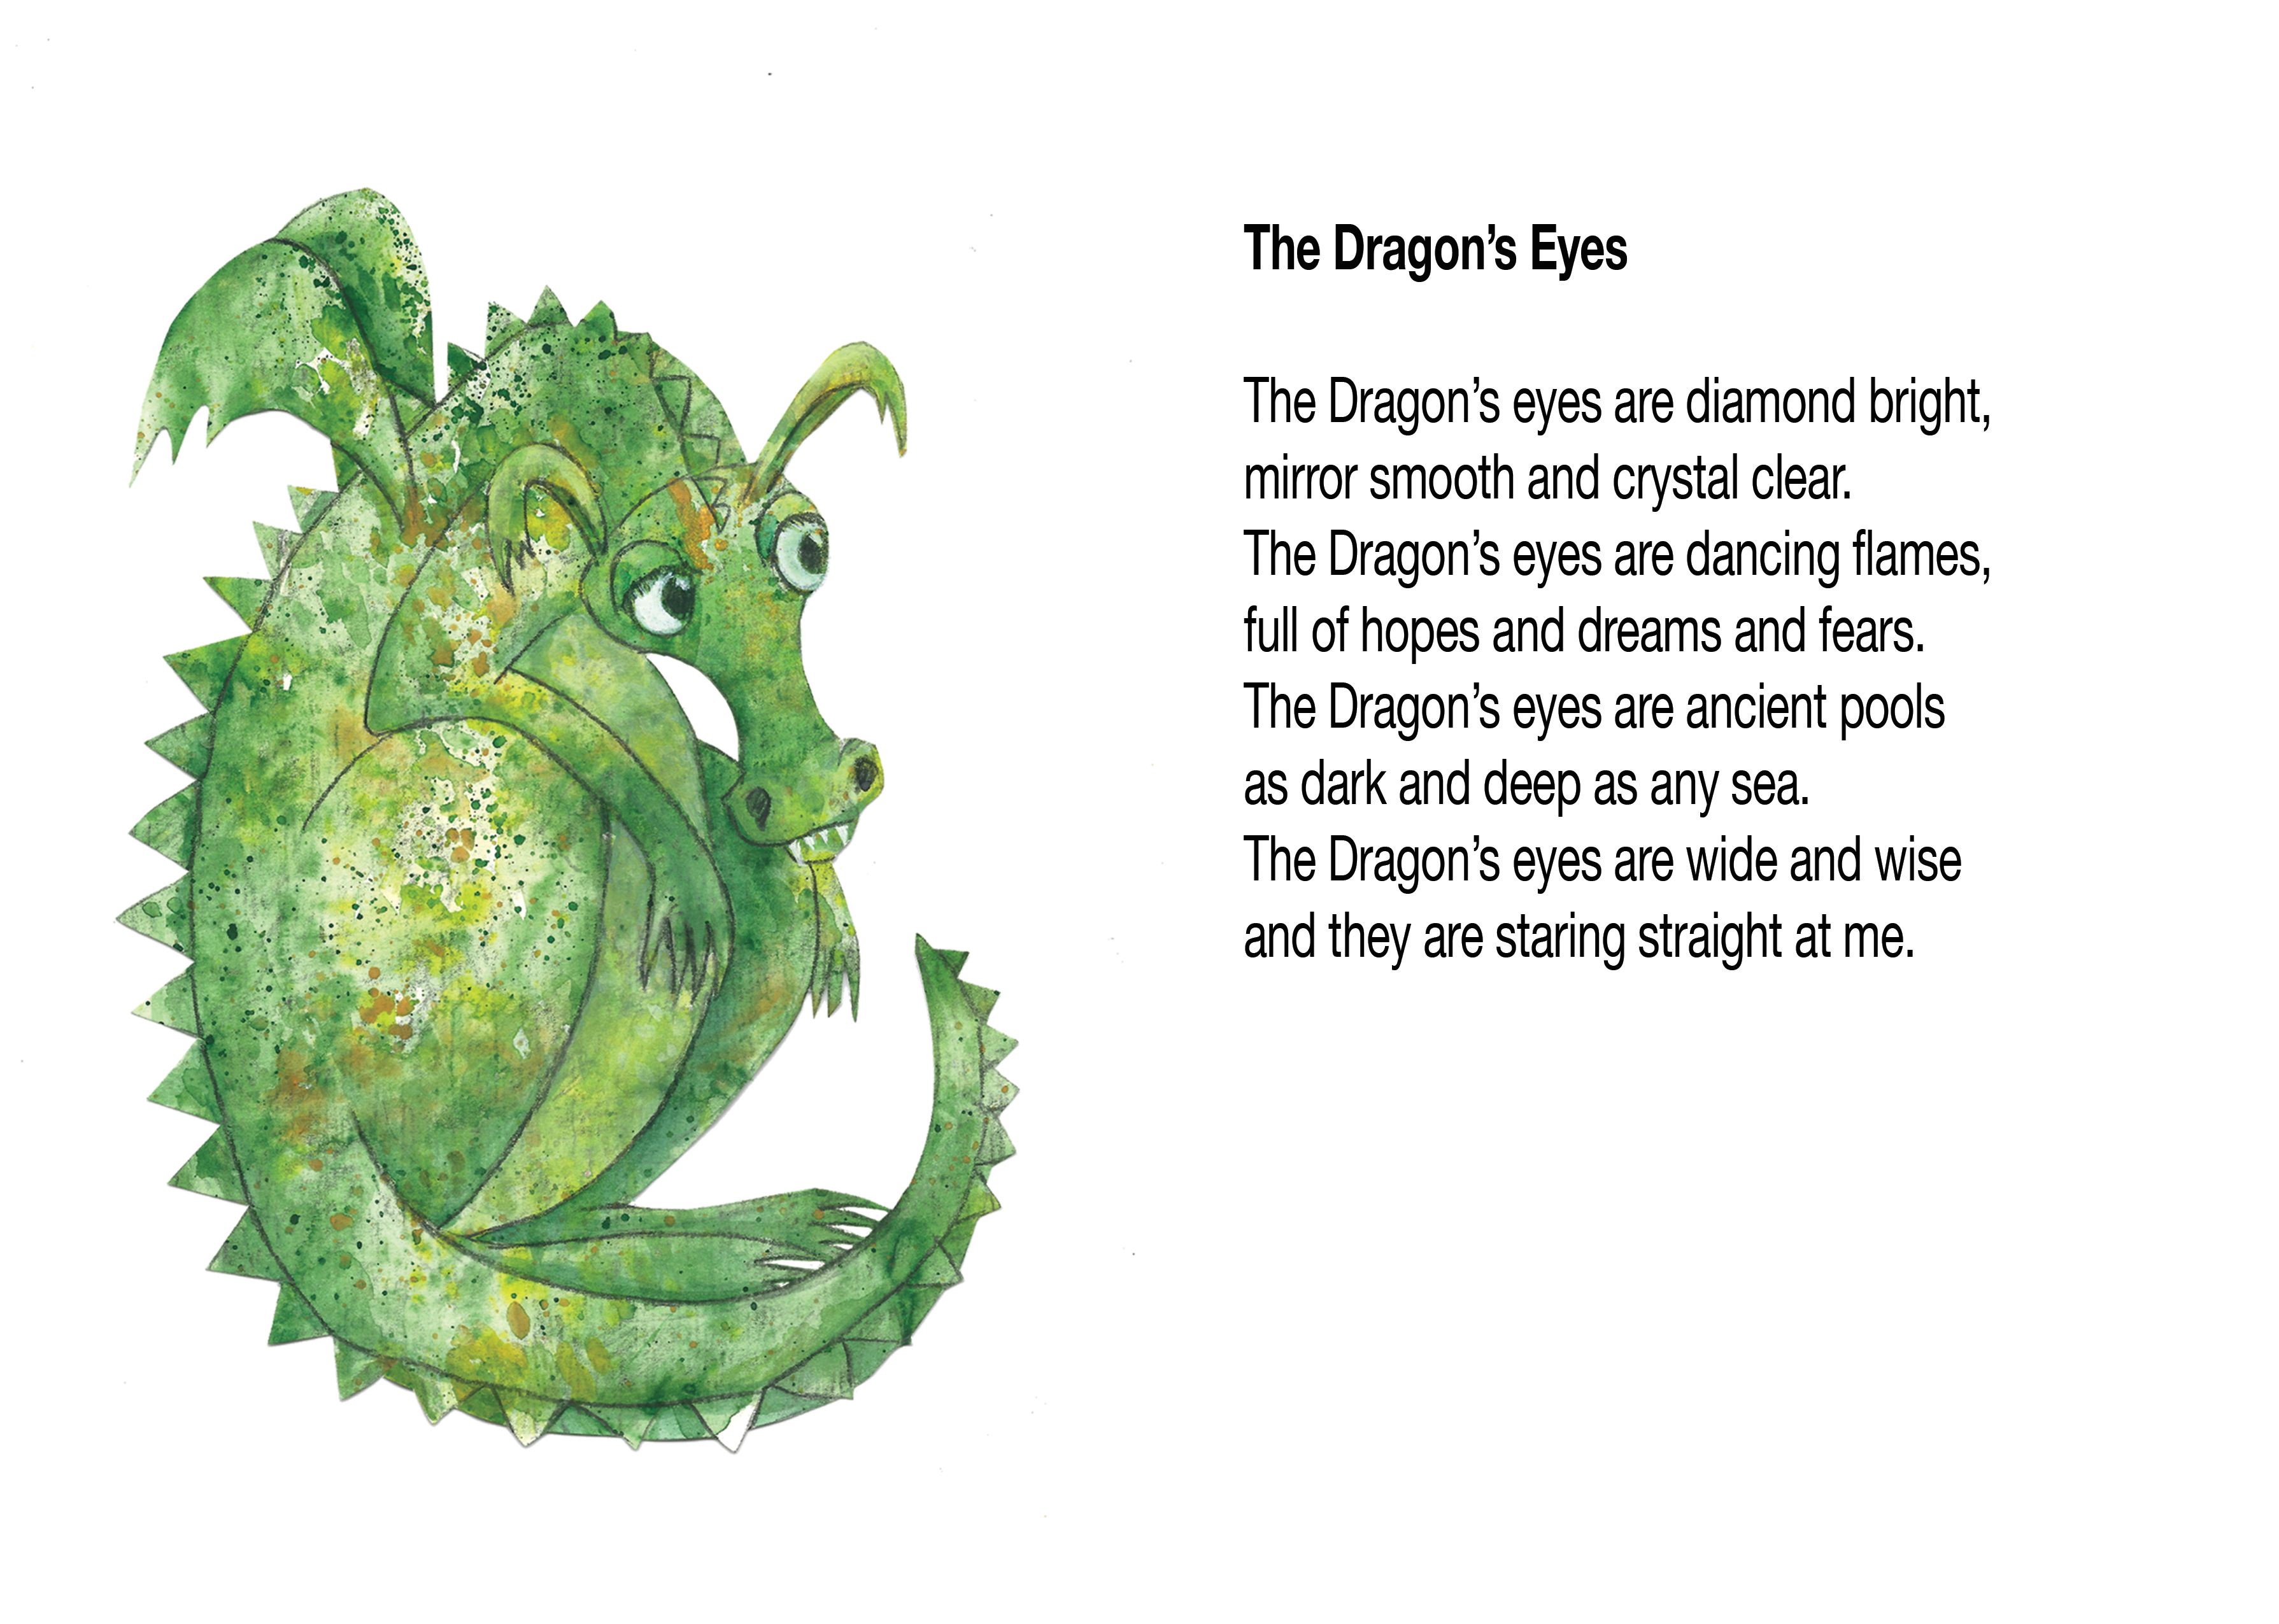
We are planning a series of activity sheets to go with the book. They will be available to download FREE. Here is a taster. What do you think are the rules for looking after a dragon?

..it’s been a while. Lately I used coloured pencils, pen, paint, collage, and drawn digitally, but I’ve neglected graphite to the point where I no longer felt comfortable drawing with it. There was nothing else to do but spend some time reacquainting myself with good old graphite pencils so I assembled some tools and my sketchbook and started to draw…

Surprisingly, the first thing I drew was not a bear.

These are drawn with various pencils from HB to 8B.
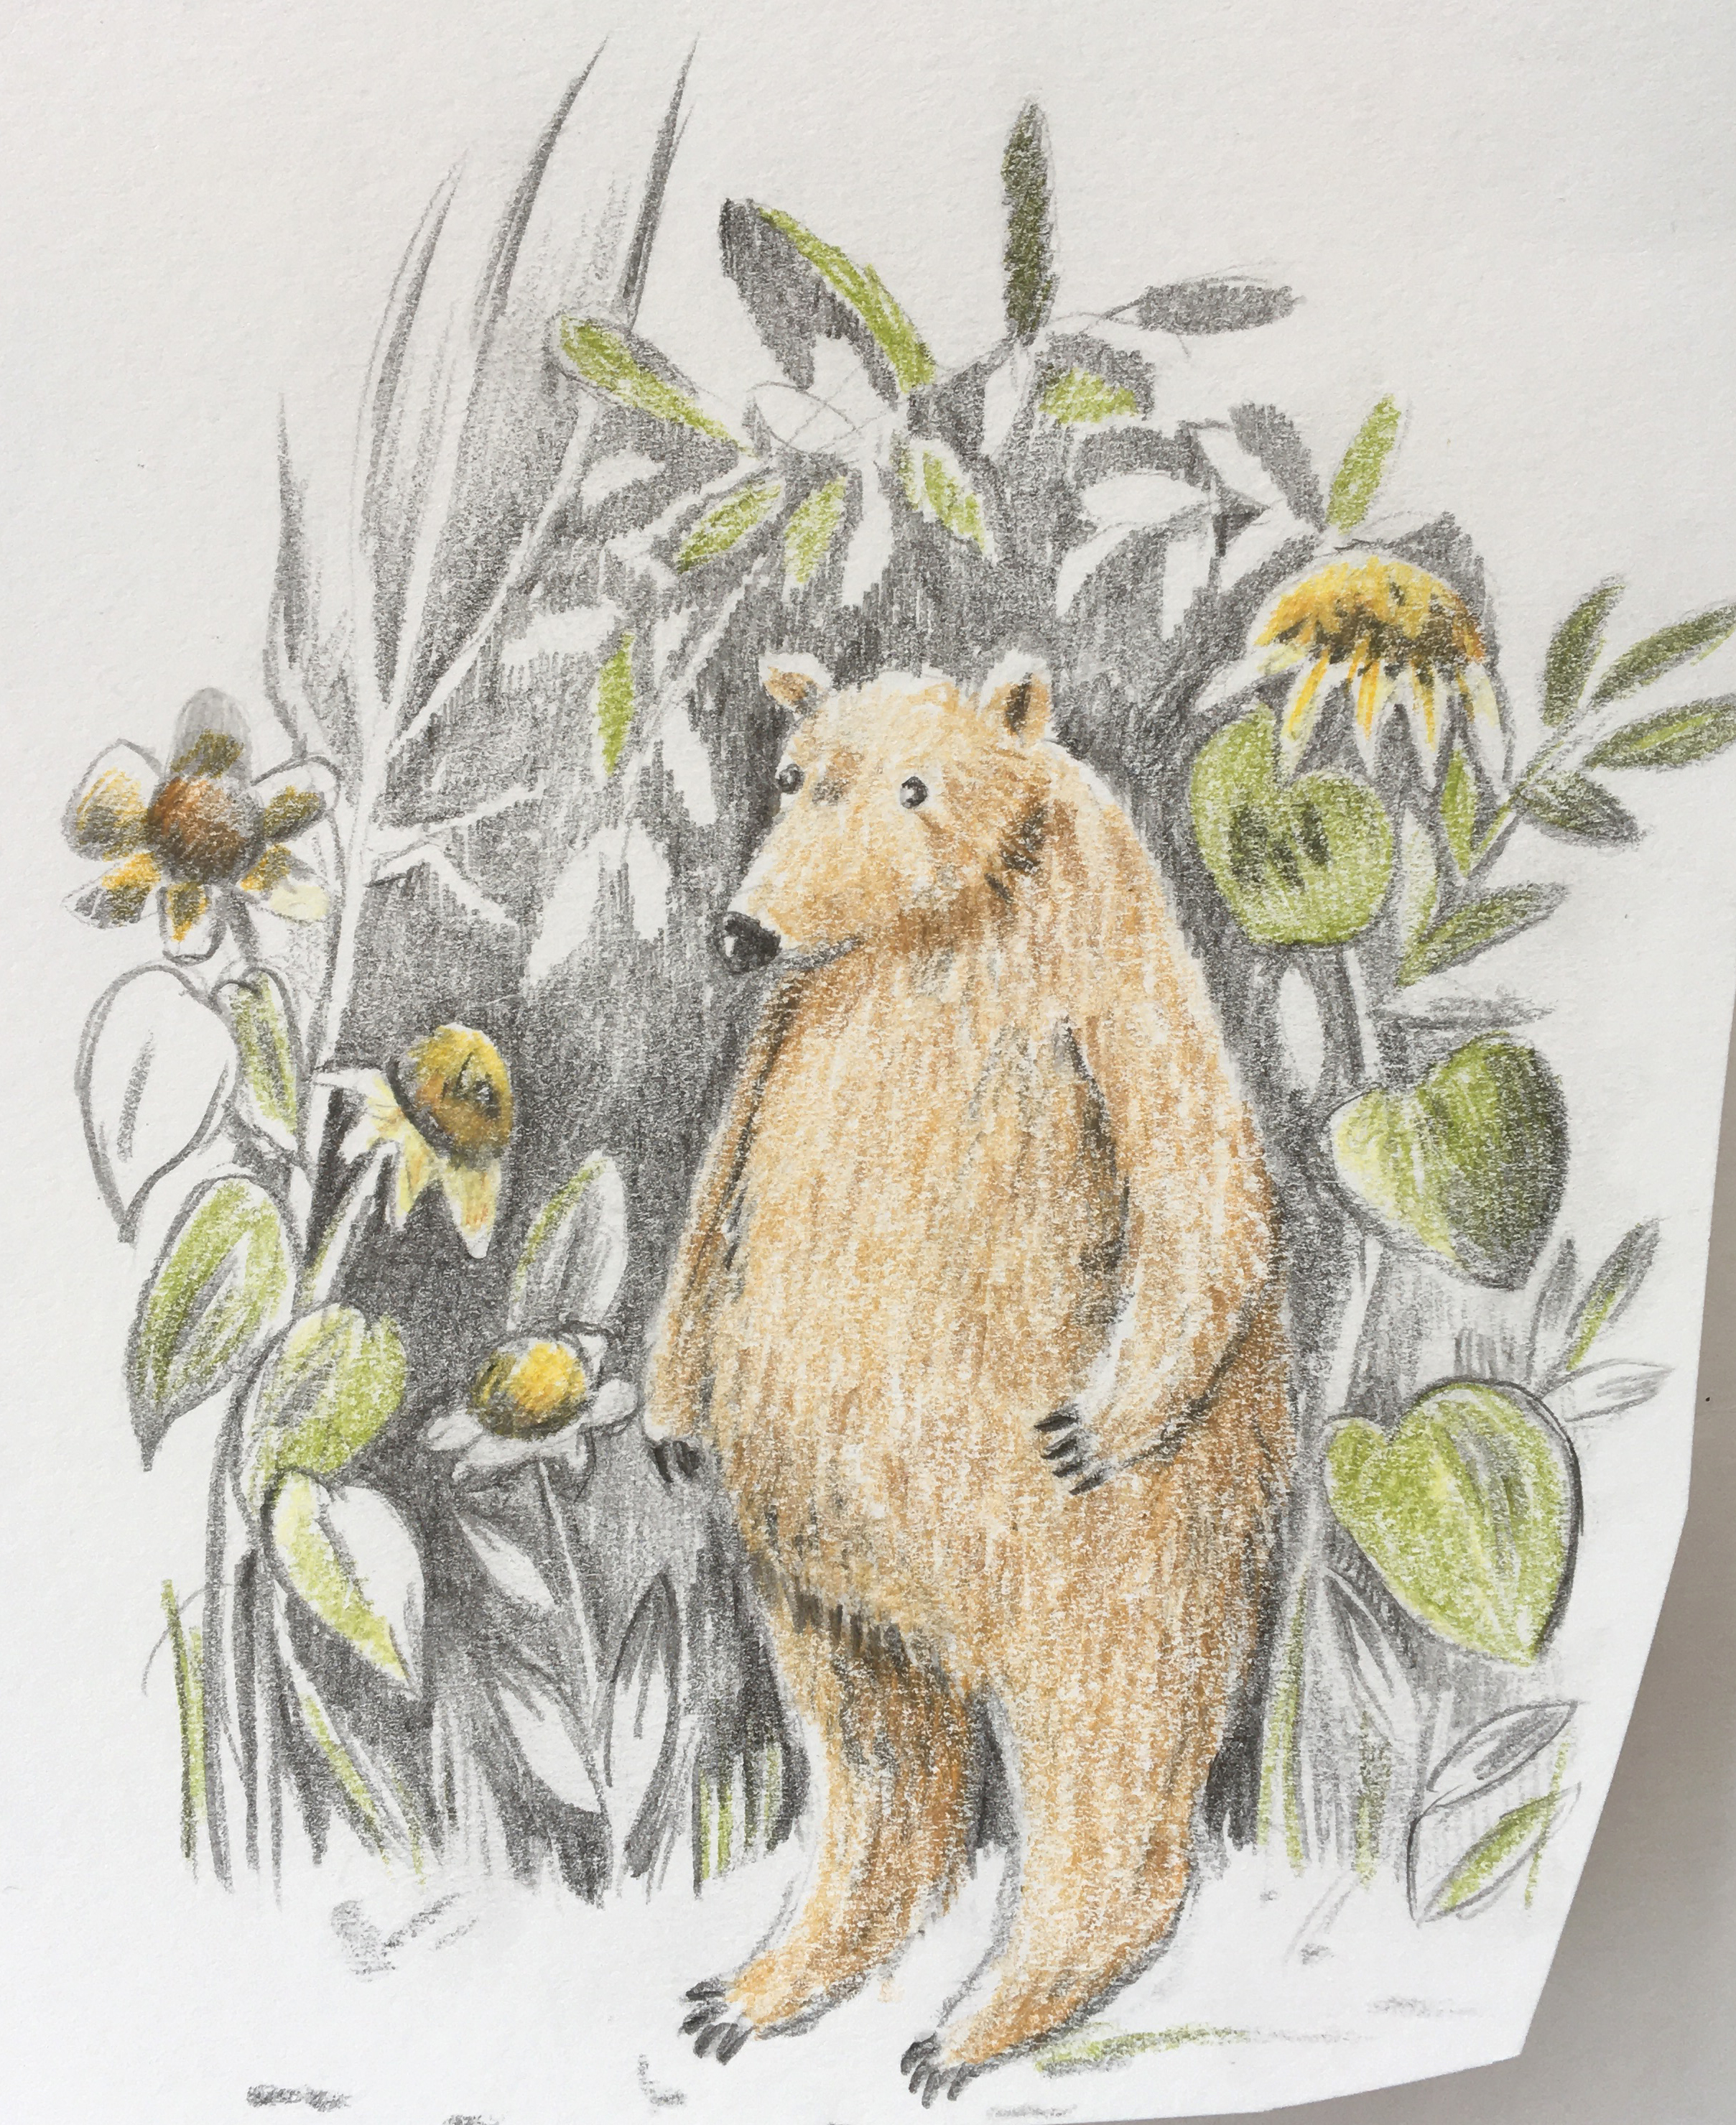
Oh, there’s a bear…

I like this mechanical pencil with a 4B lead for soft details. It keeps a nice point without having to constantly sharpen it.

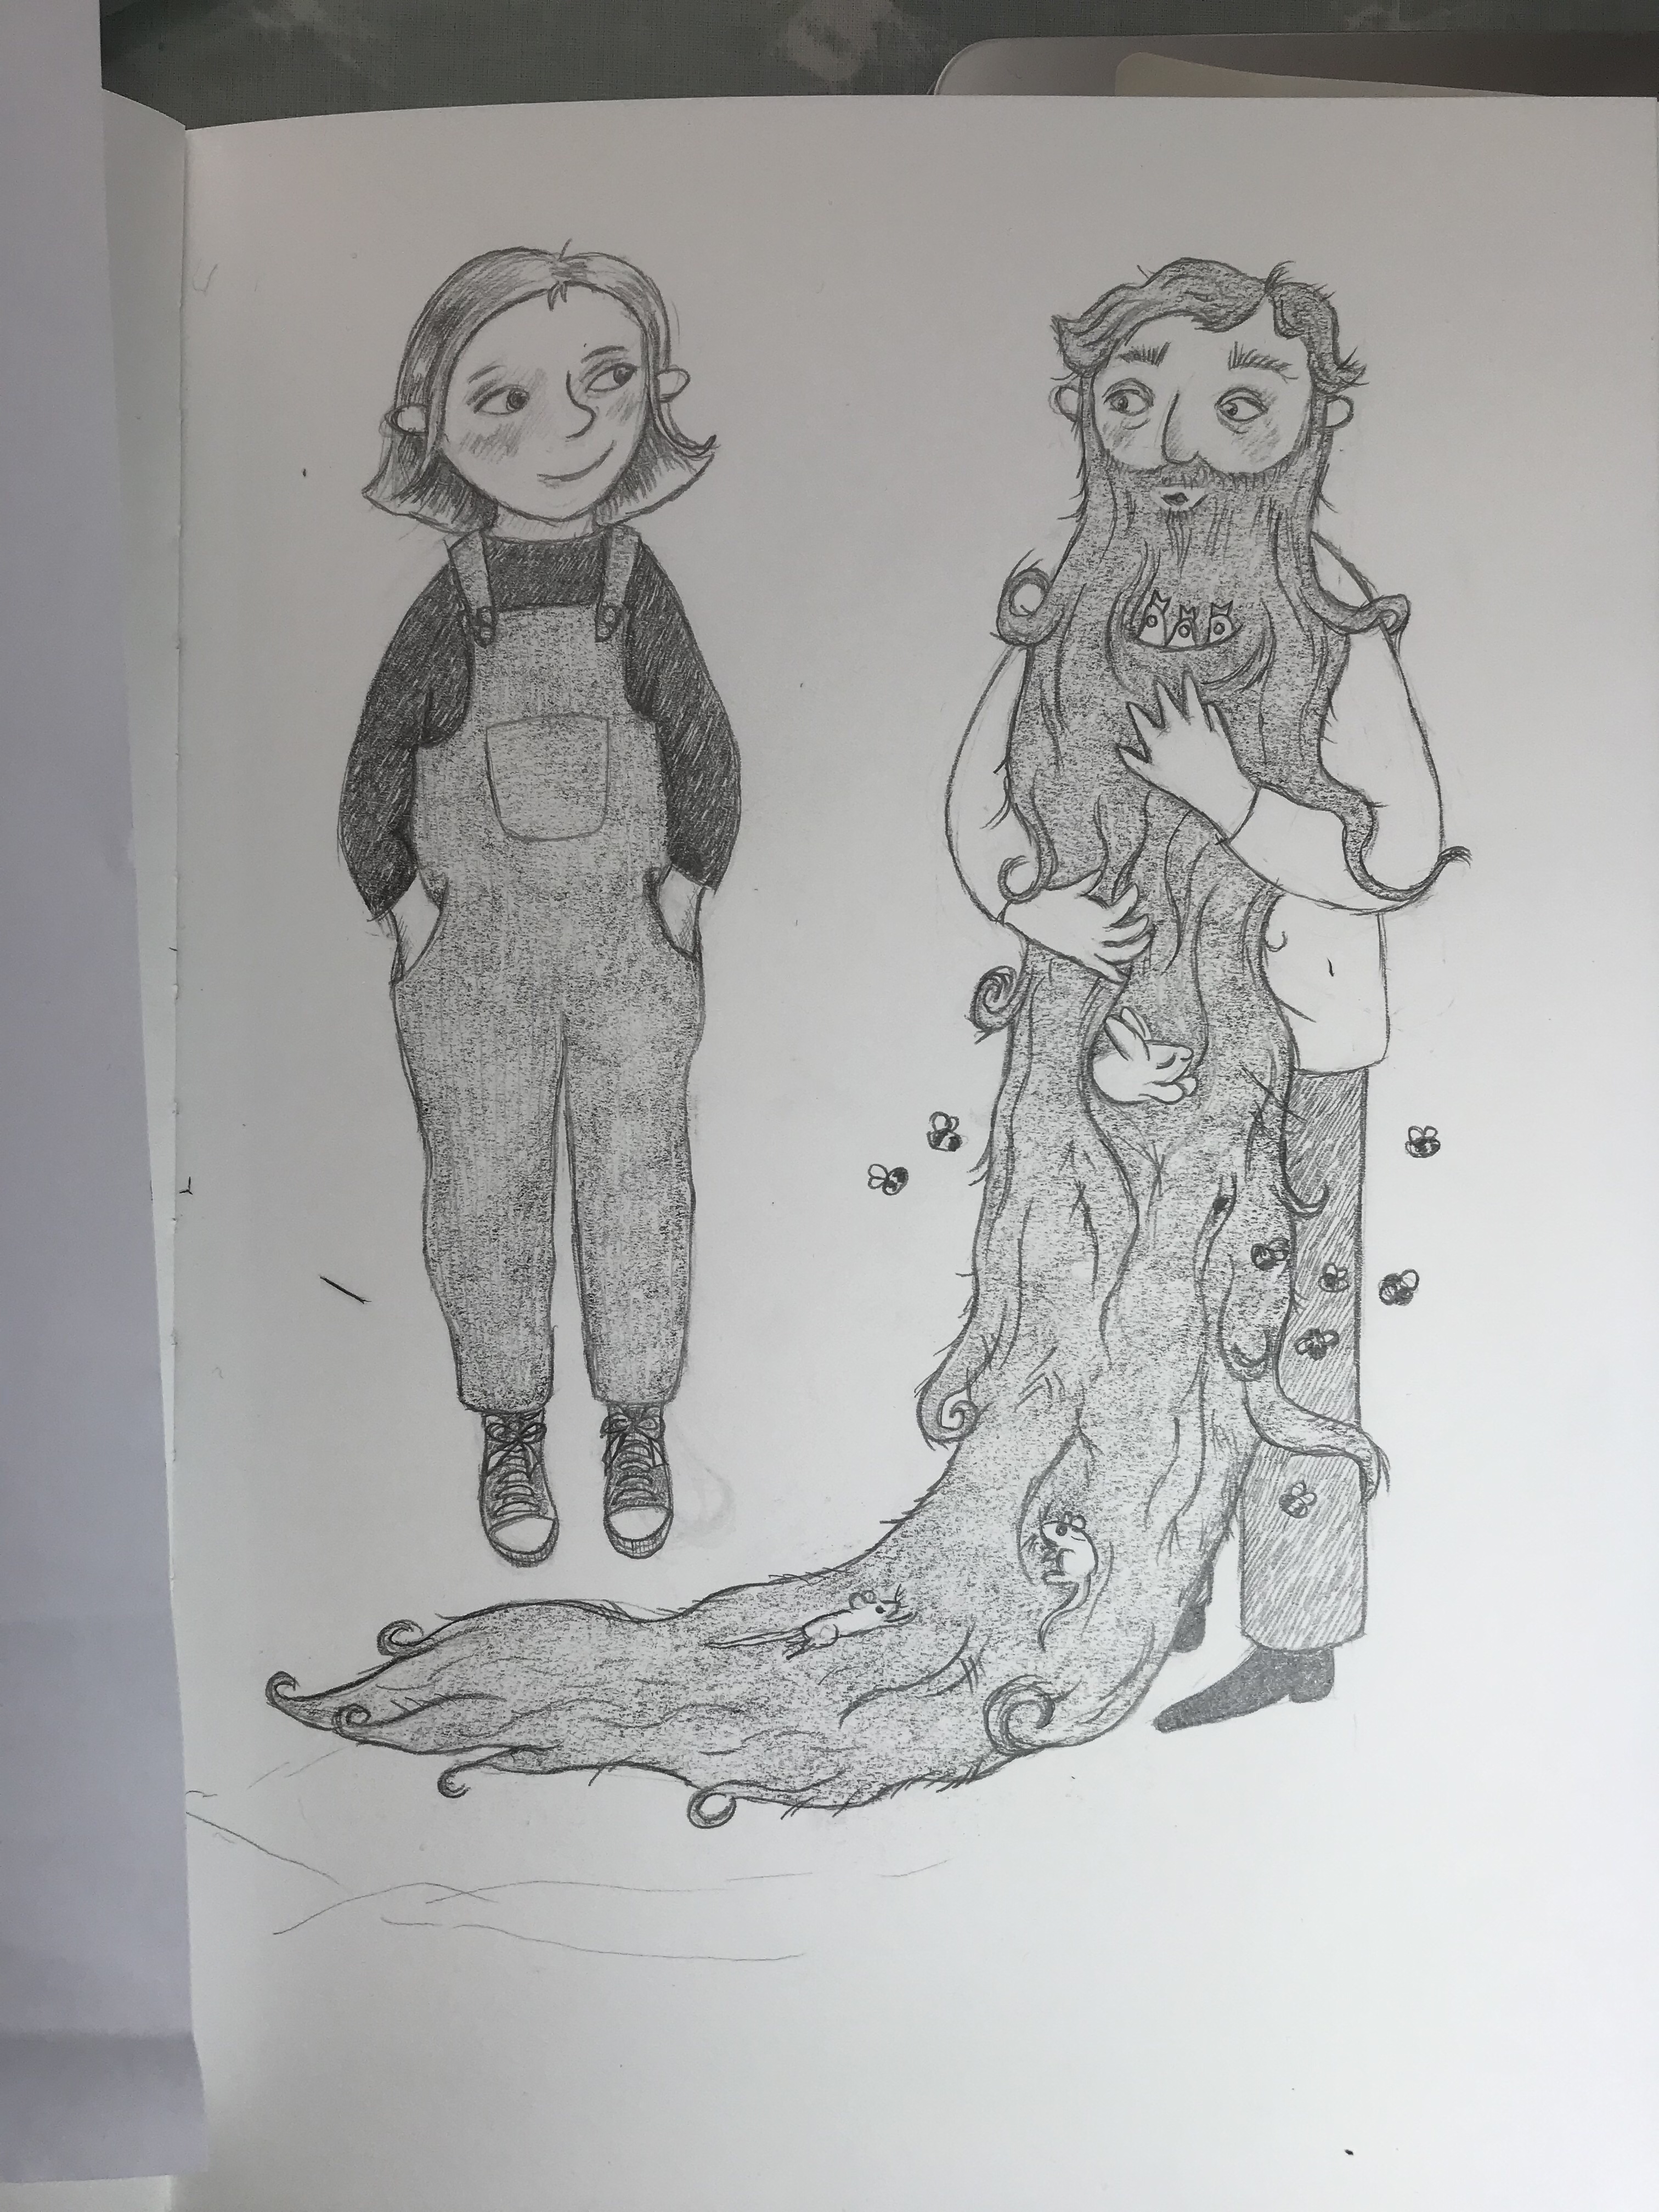
These two don’t belong together, they just happen to have been drawn on the same page. The texture on the beard is created by filling in with a 6B then lifting most of the graphite off with a bit of putty rubber.
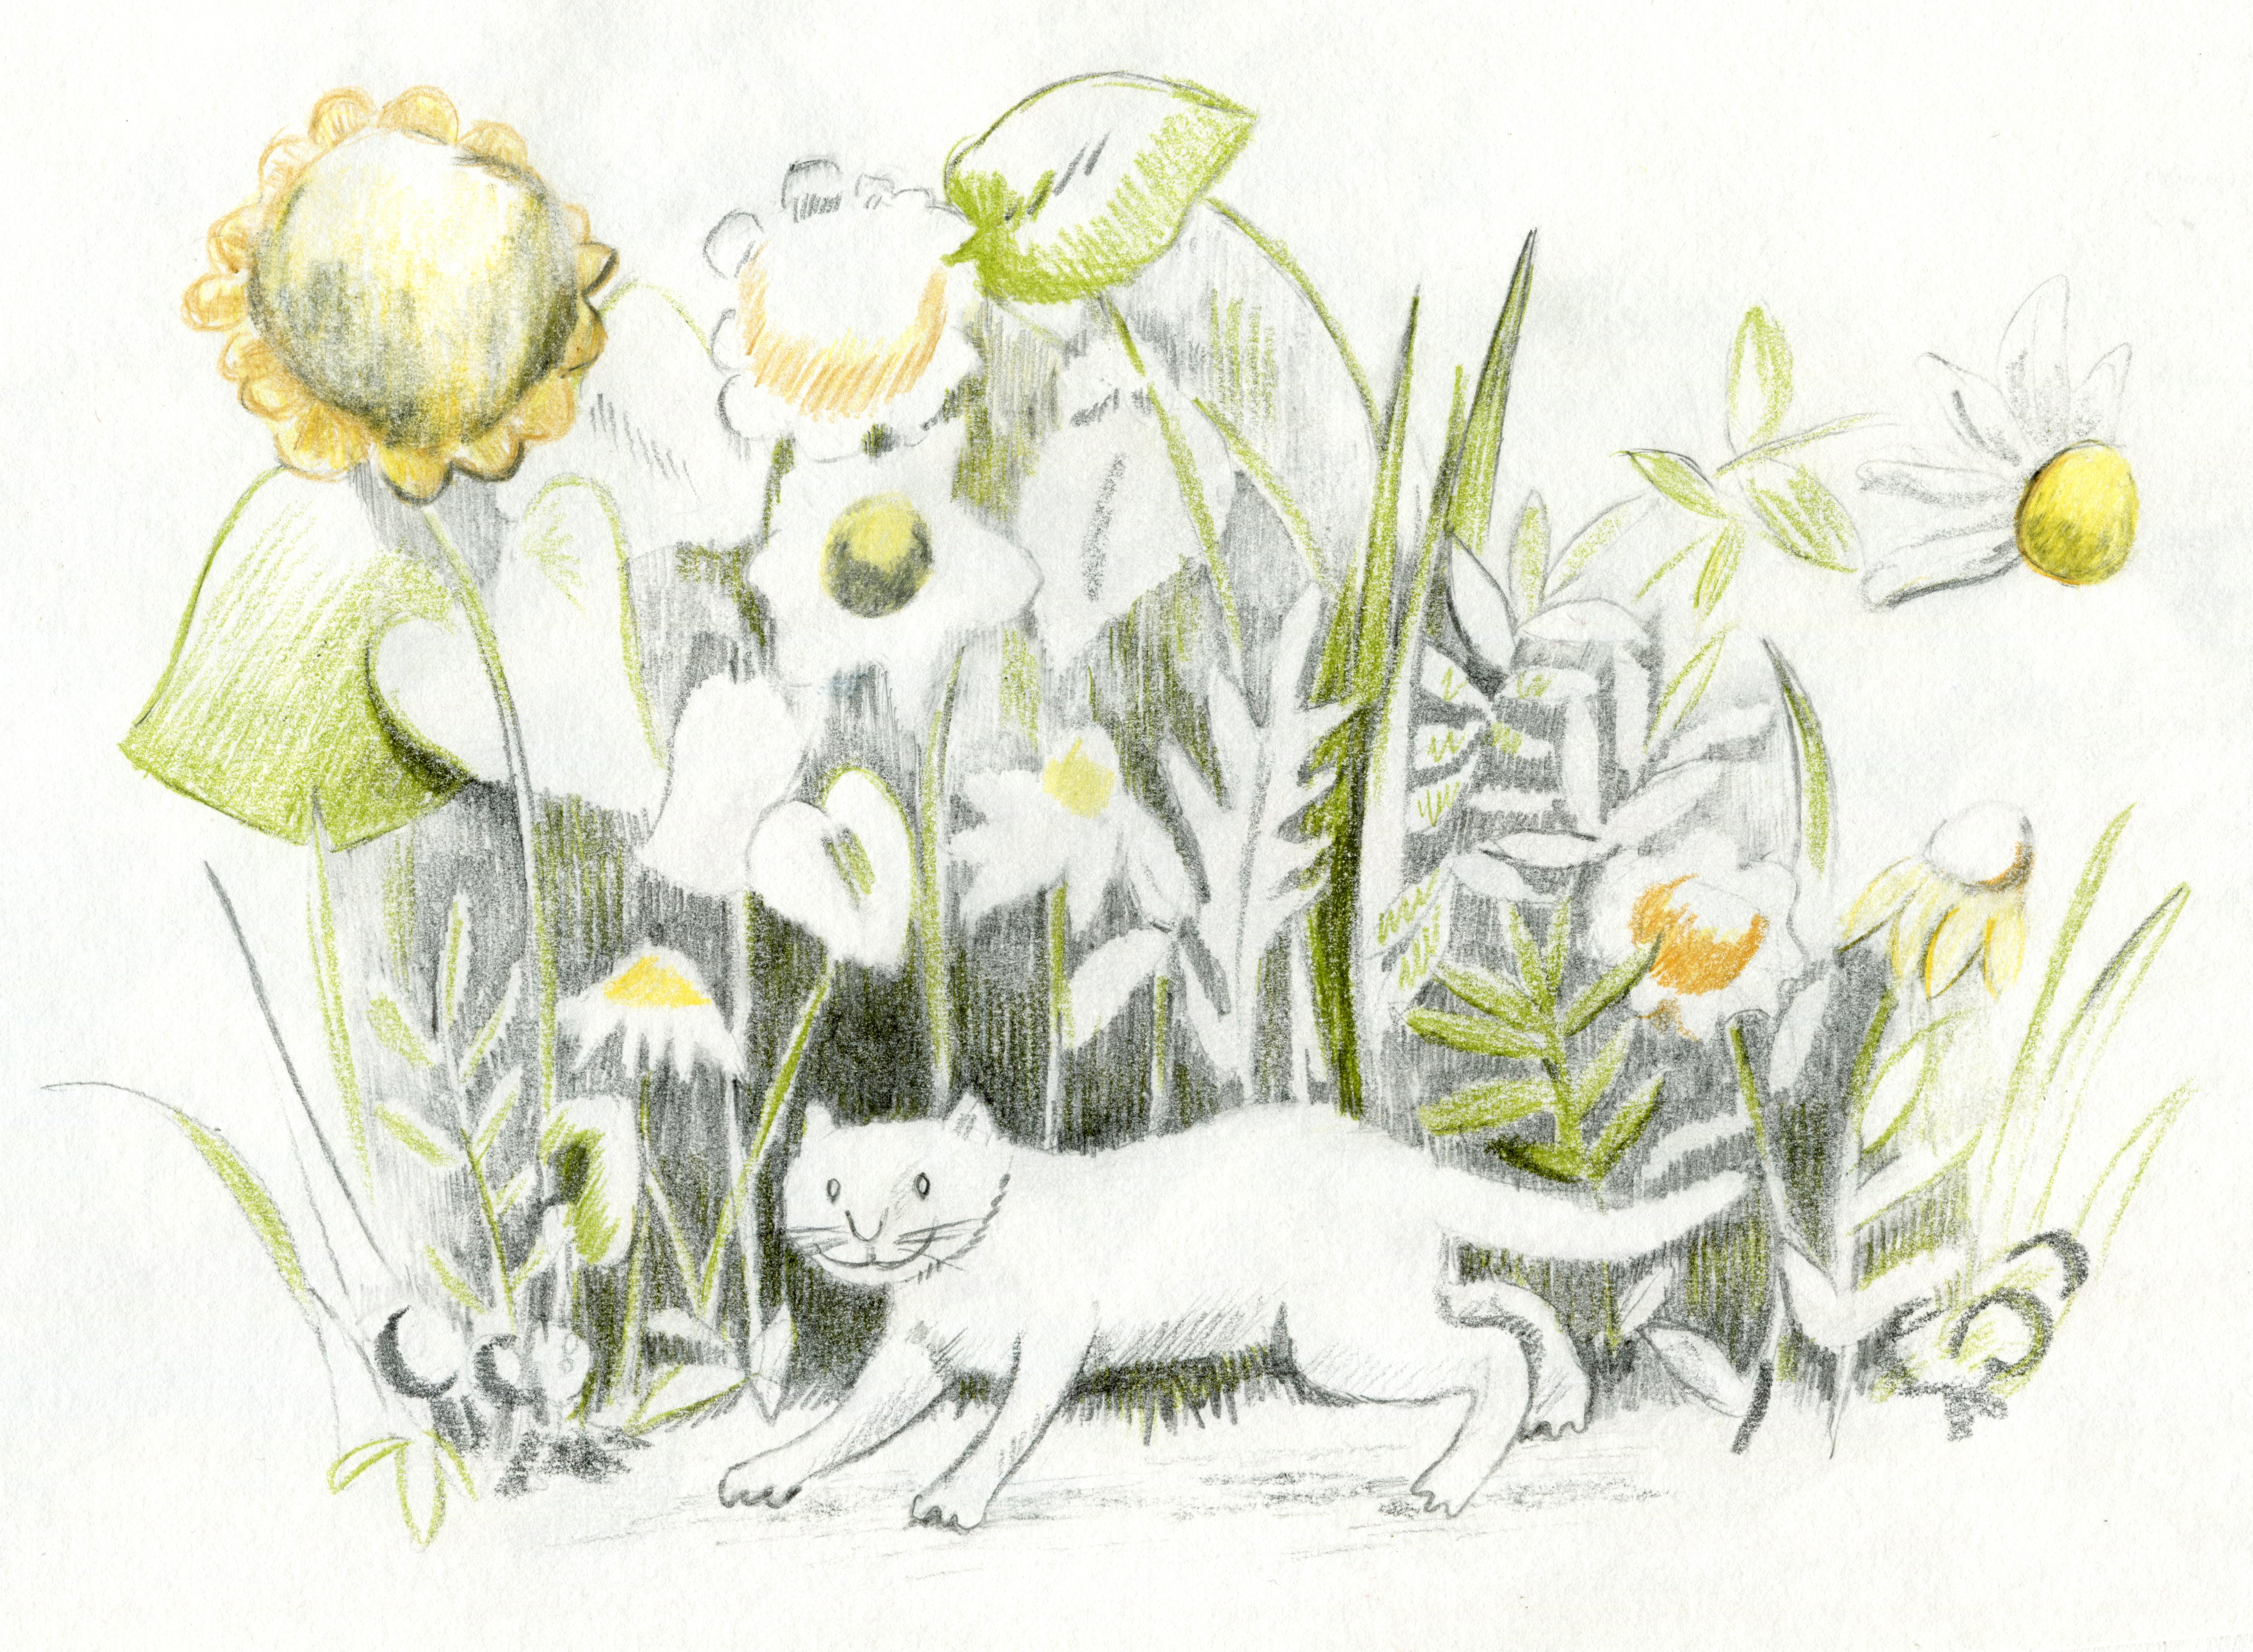
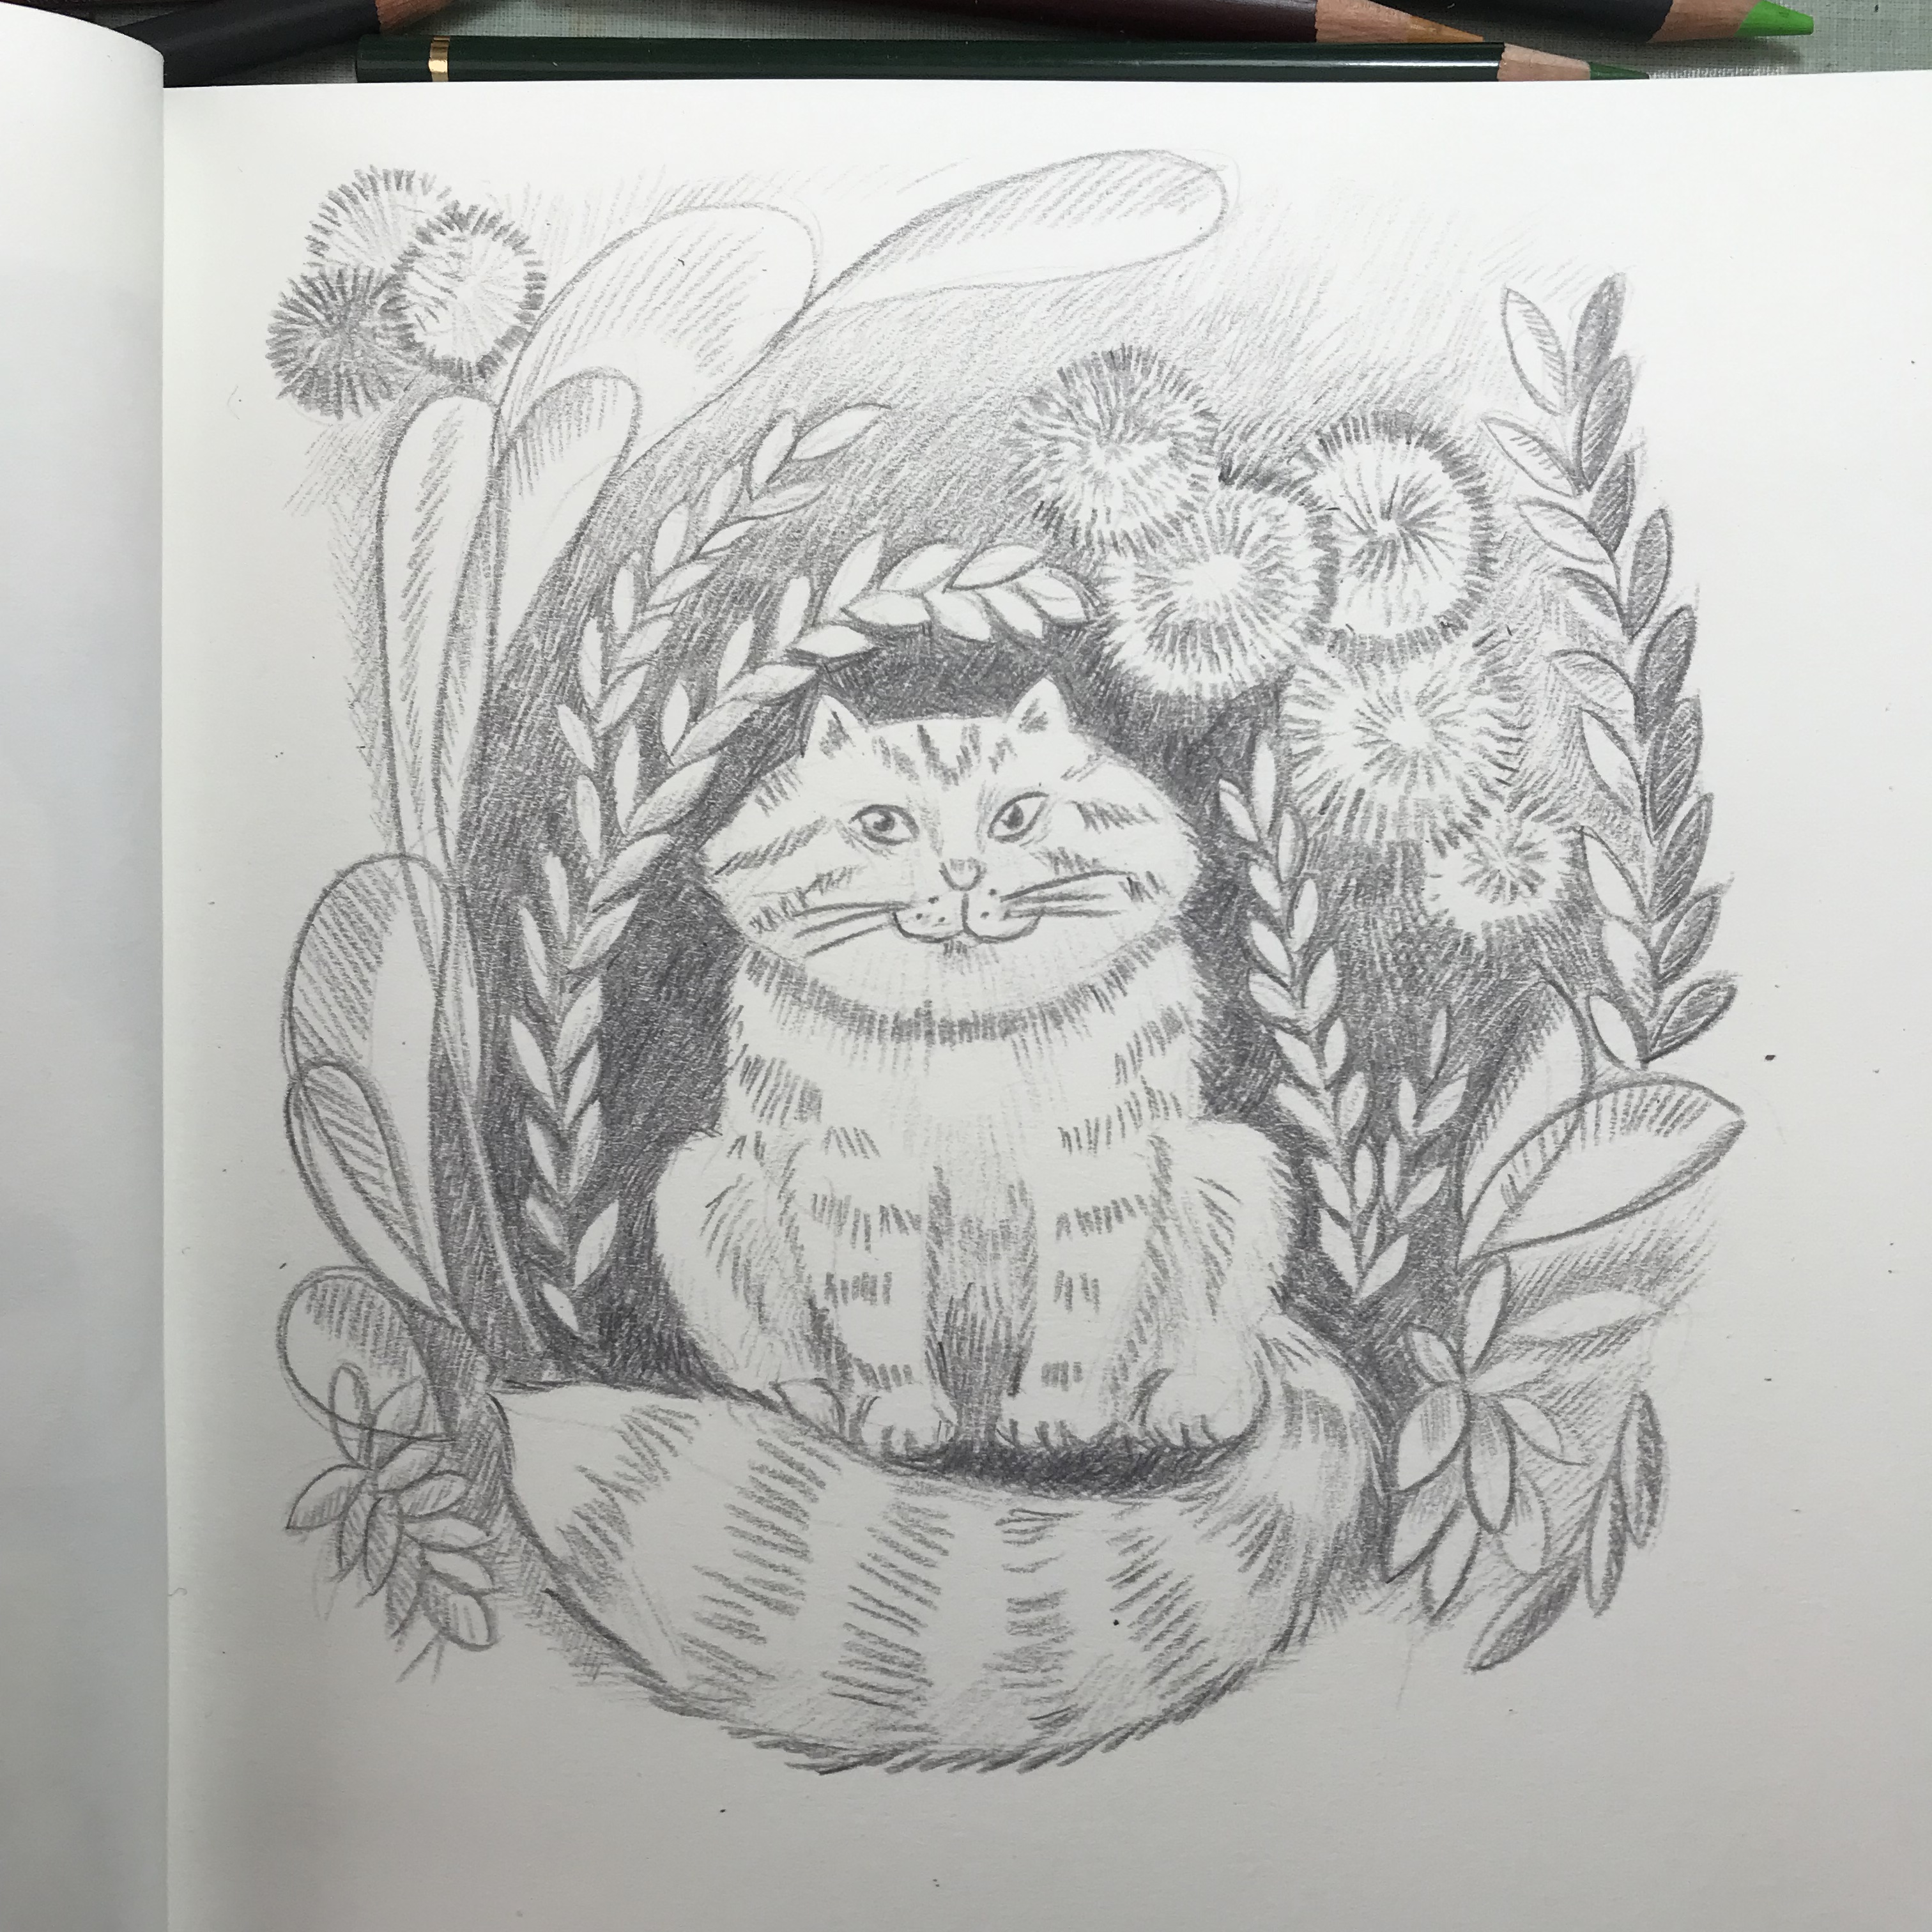
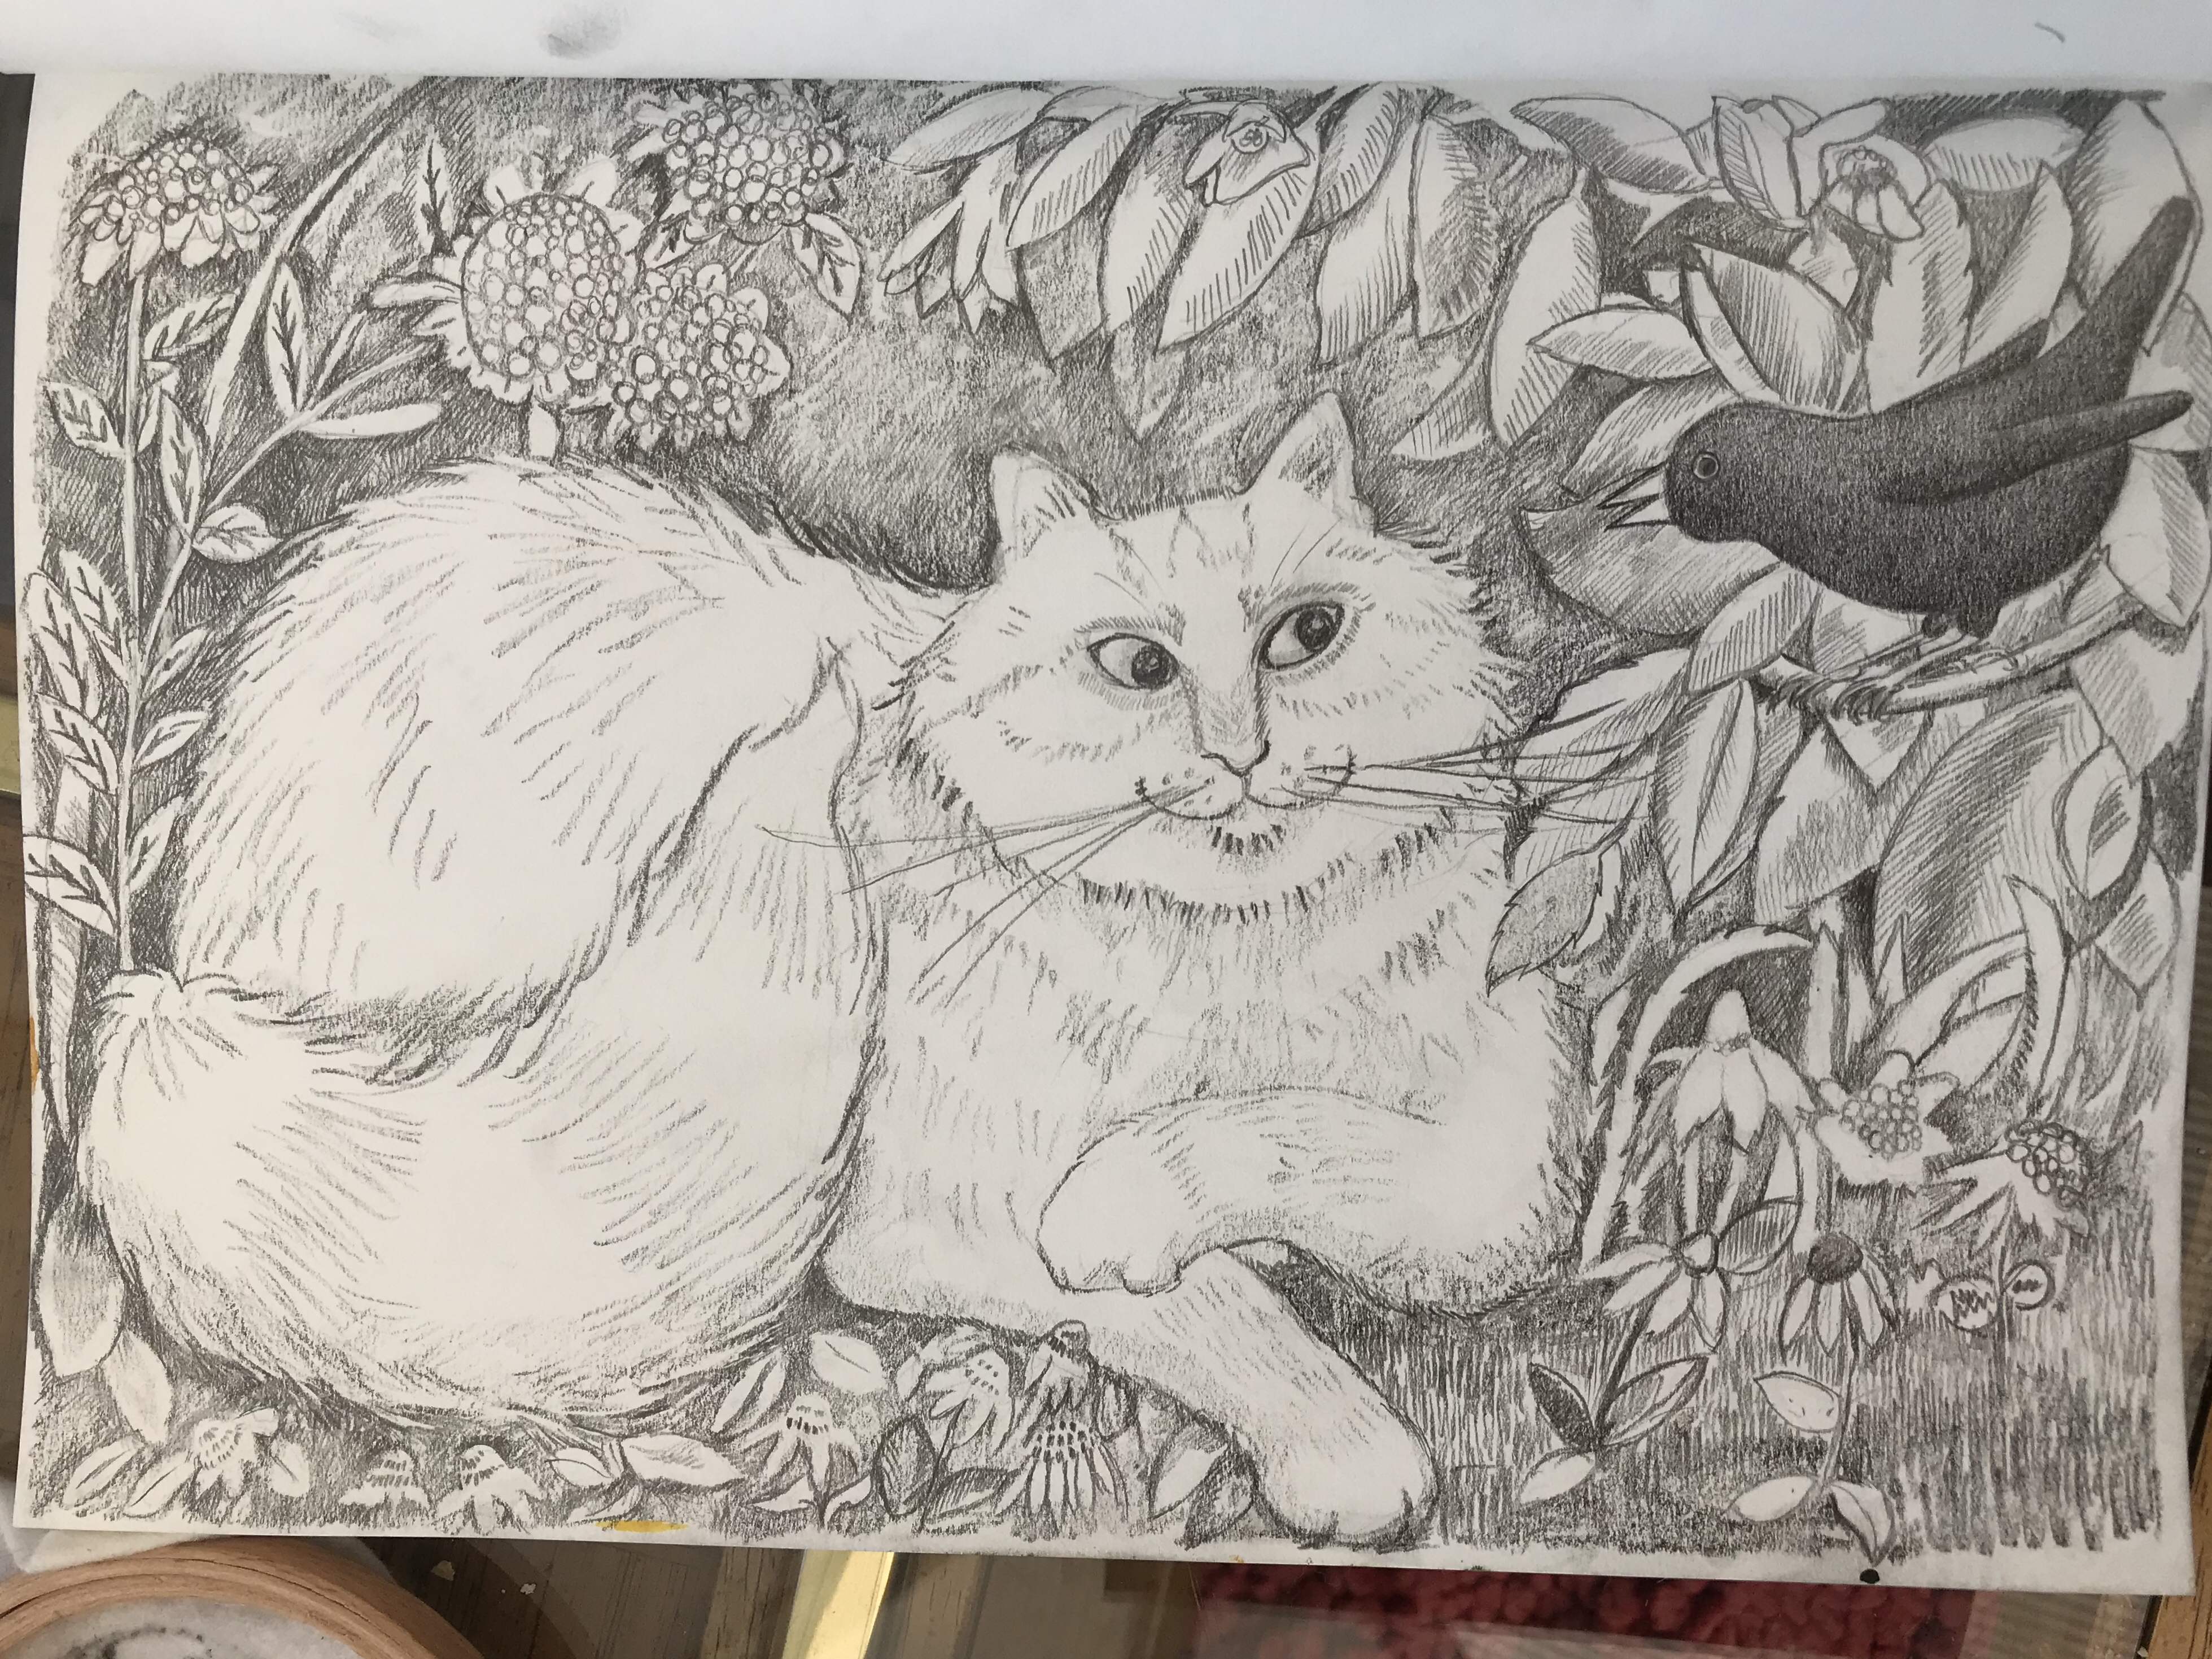
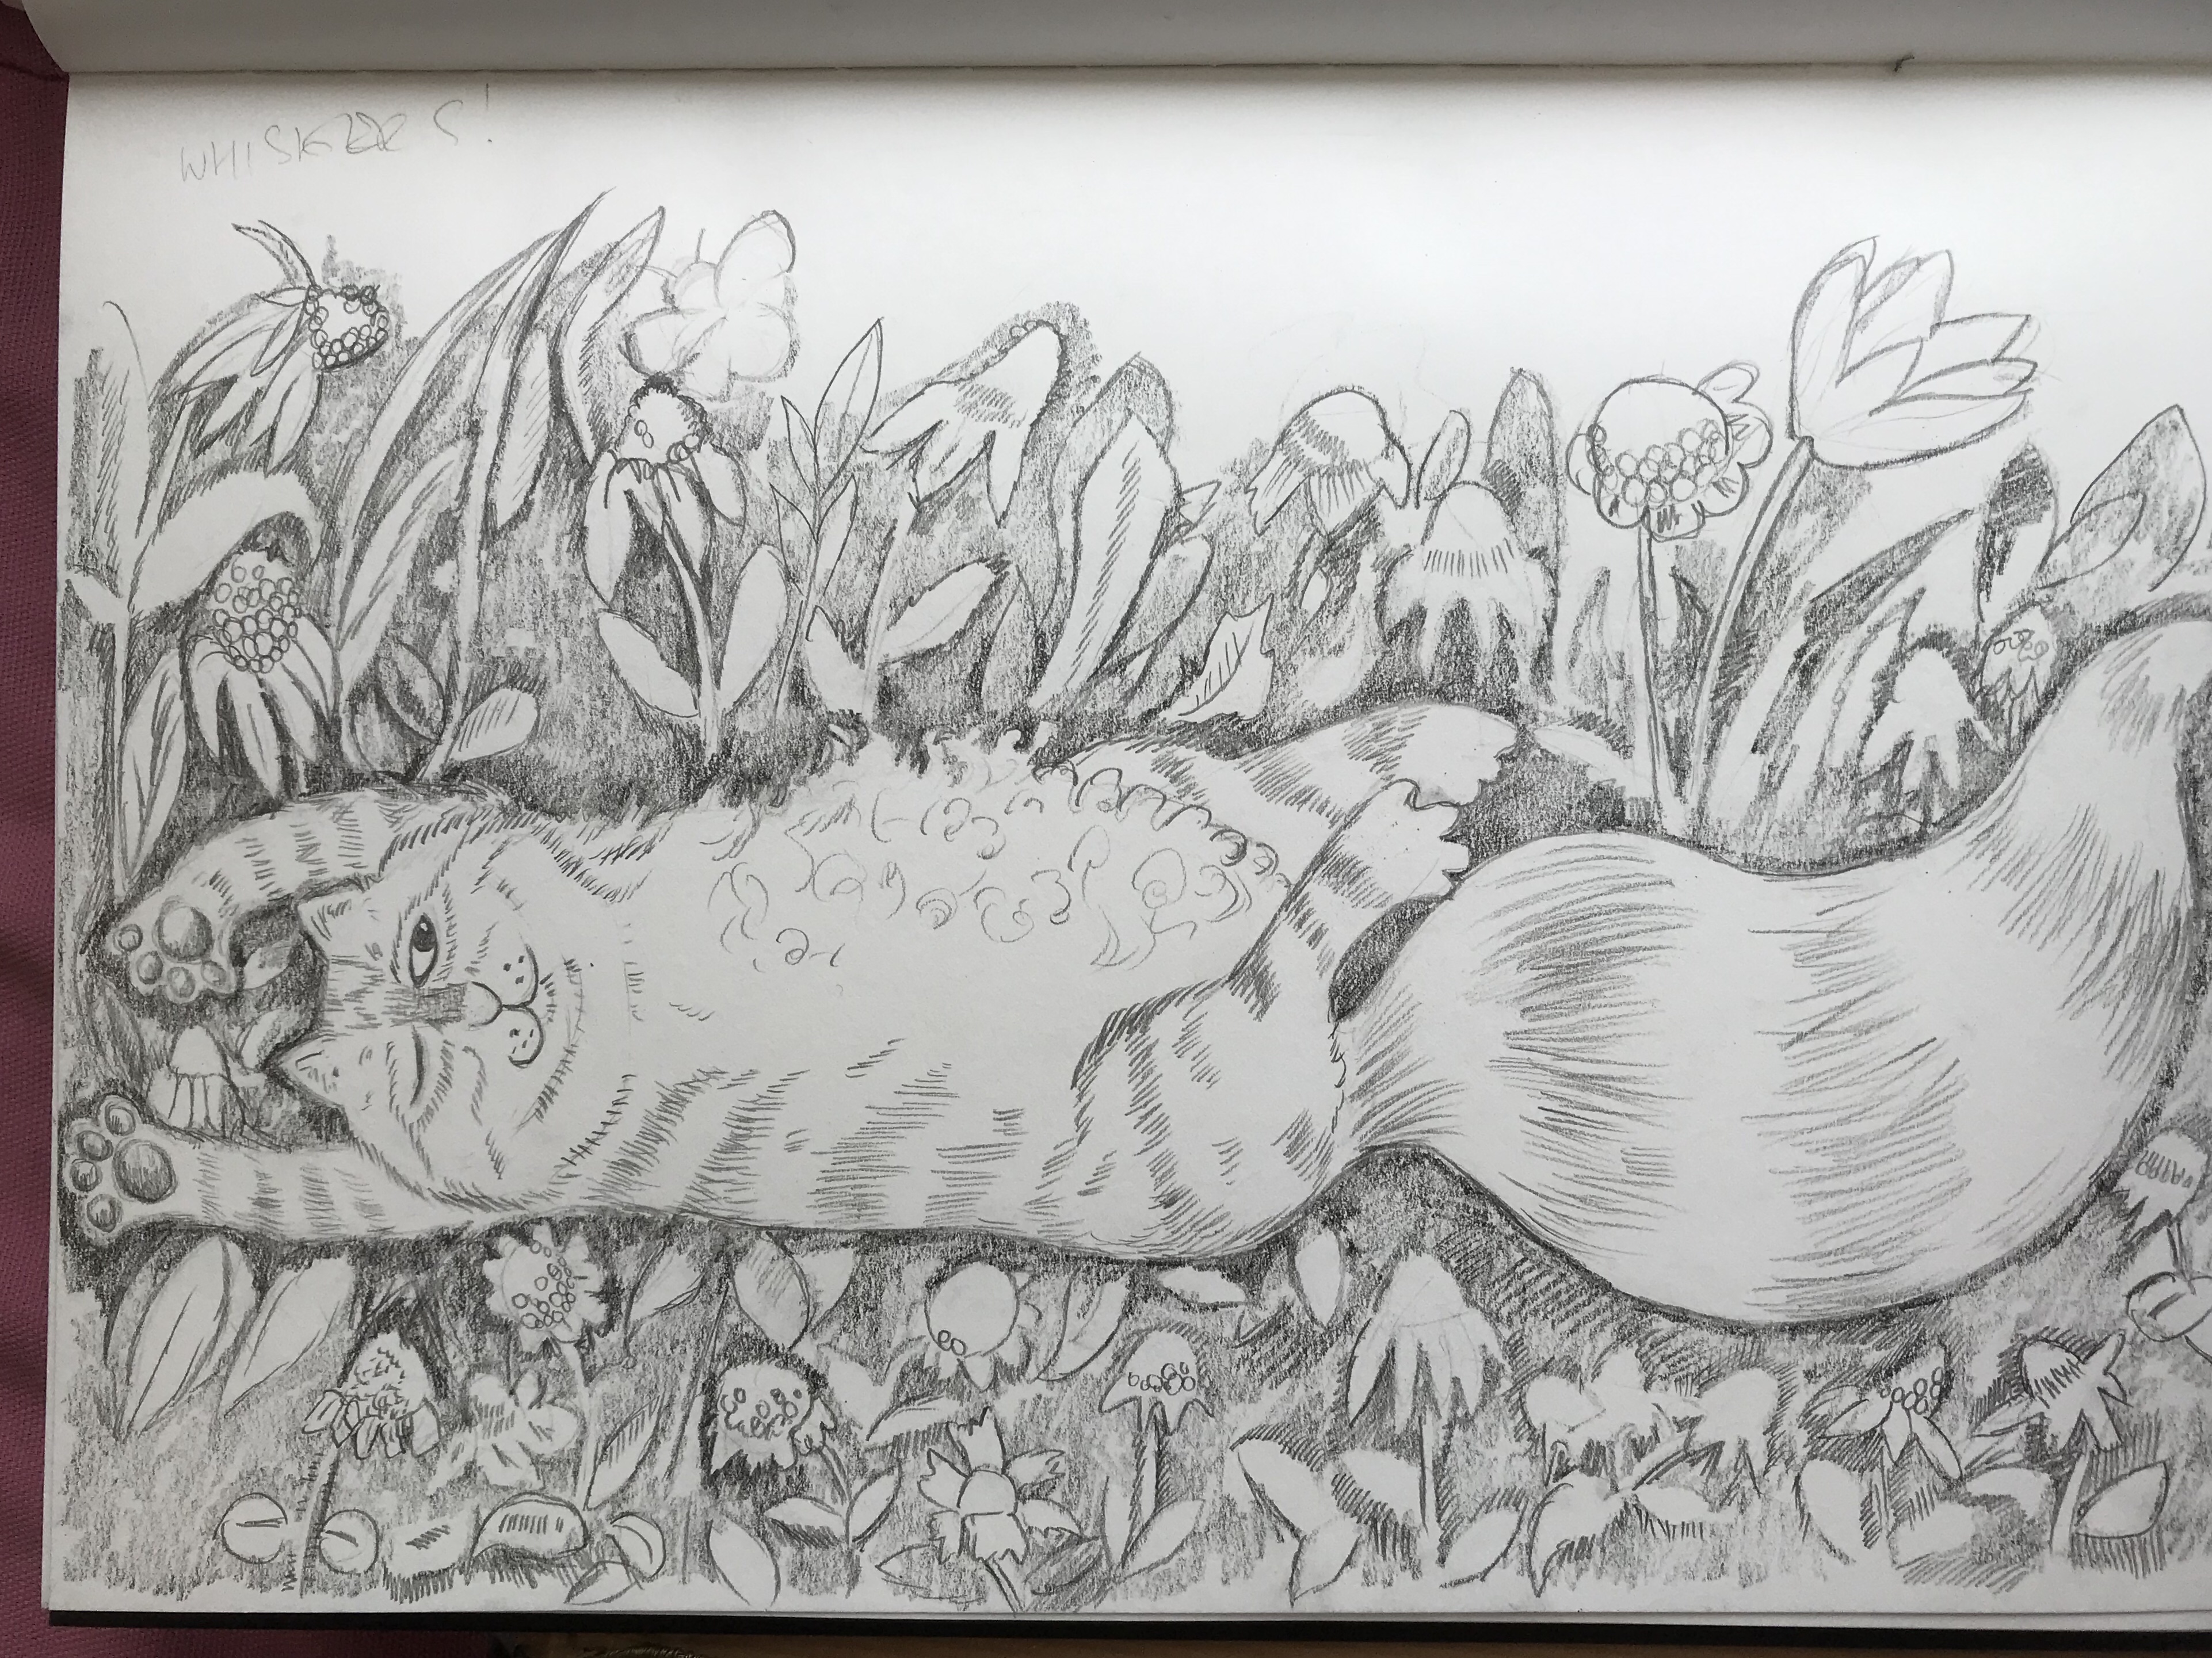
I made the textures on this cat in a similar way. Lots of shading and lifting off again of the pencil marks. You just pull off a small piece of putty rubber, roll it into a ball and dab it on the drawing. Then I drew on top with the mechanical pencil.


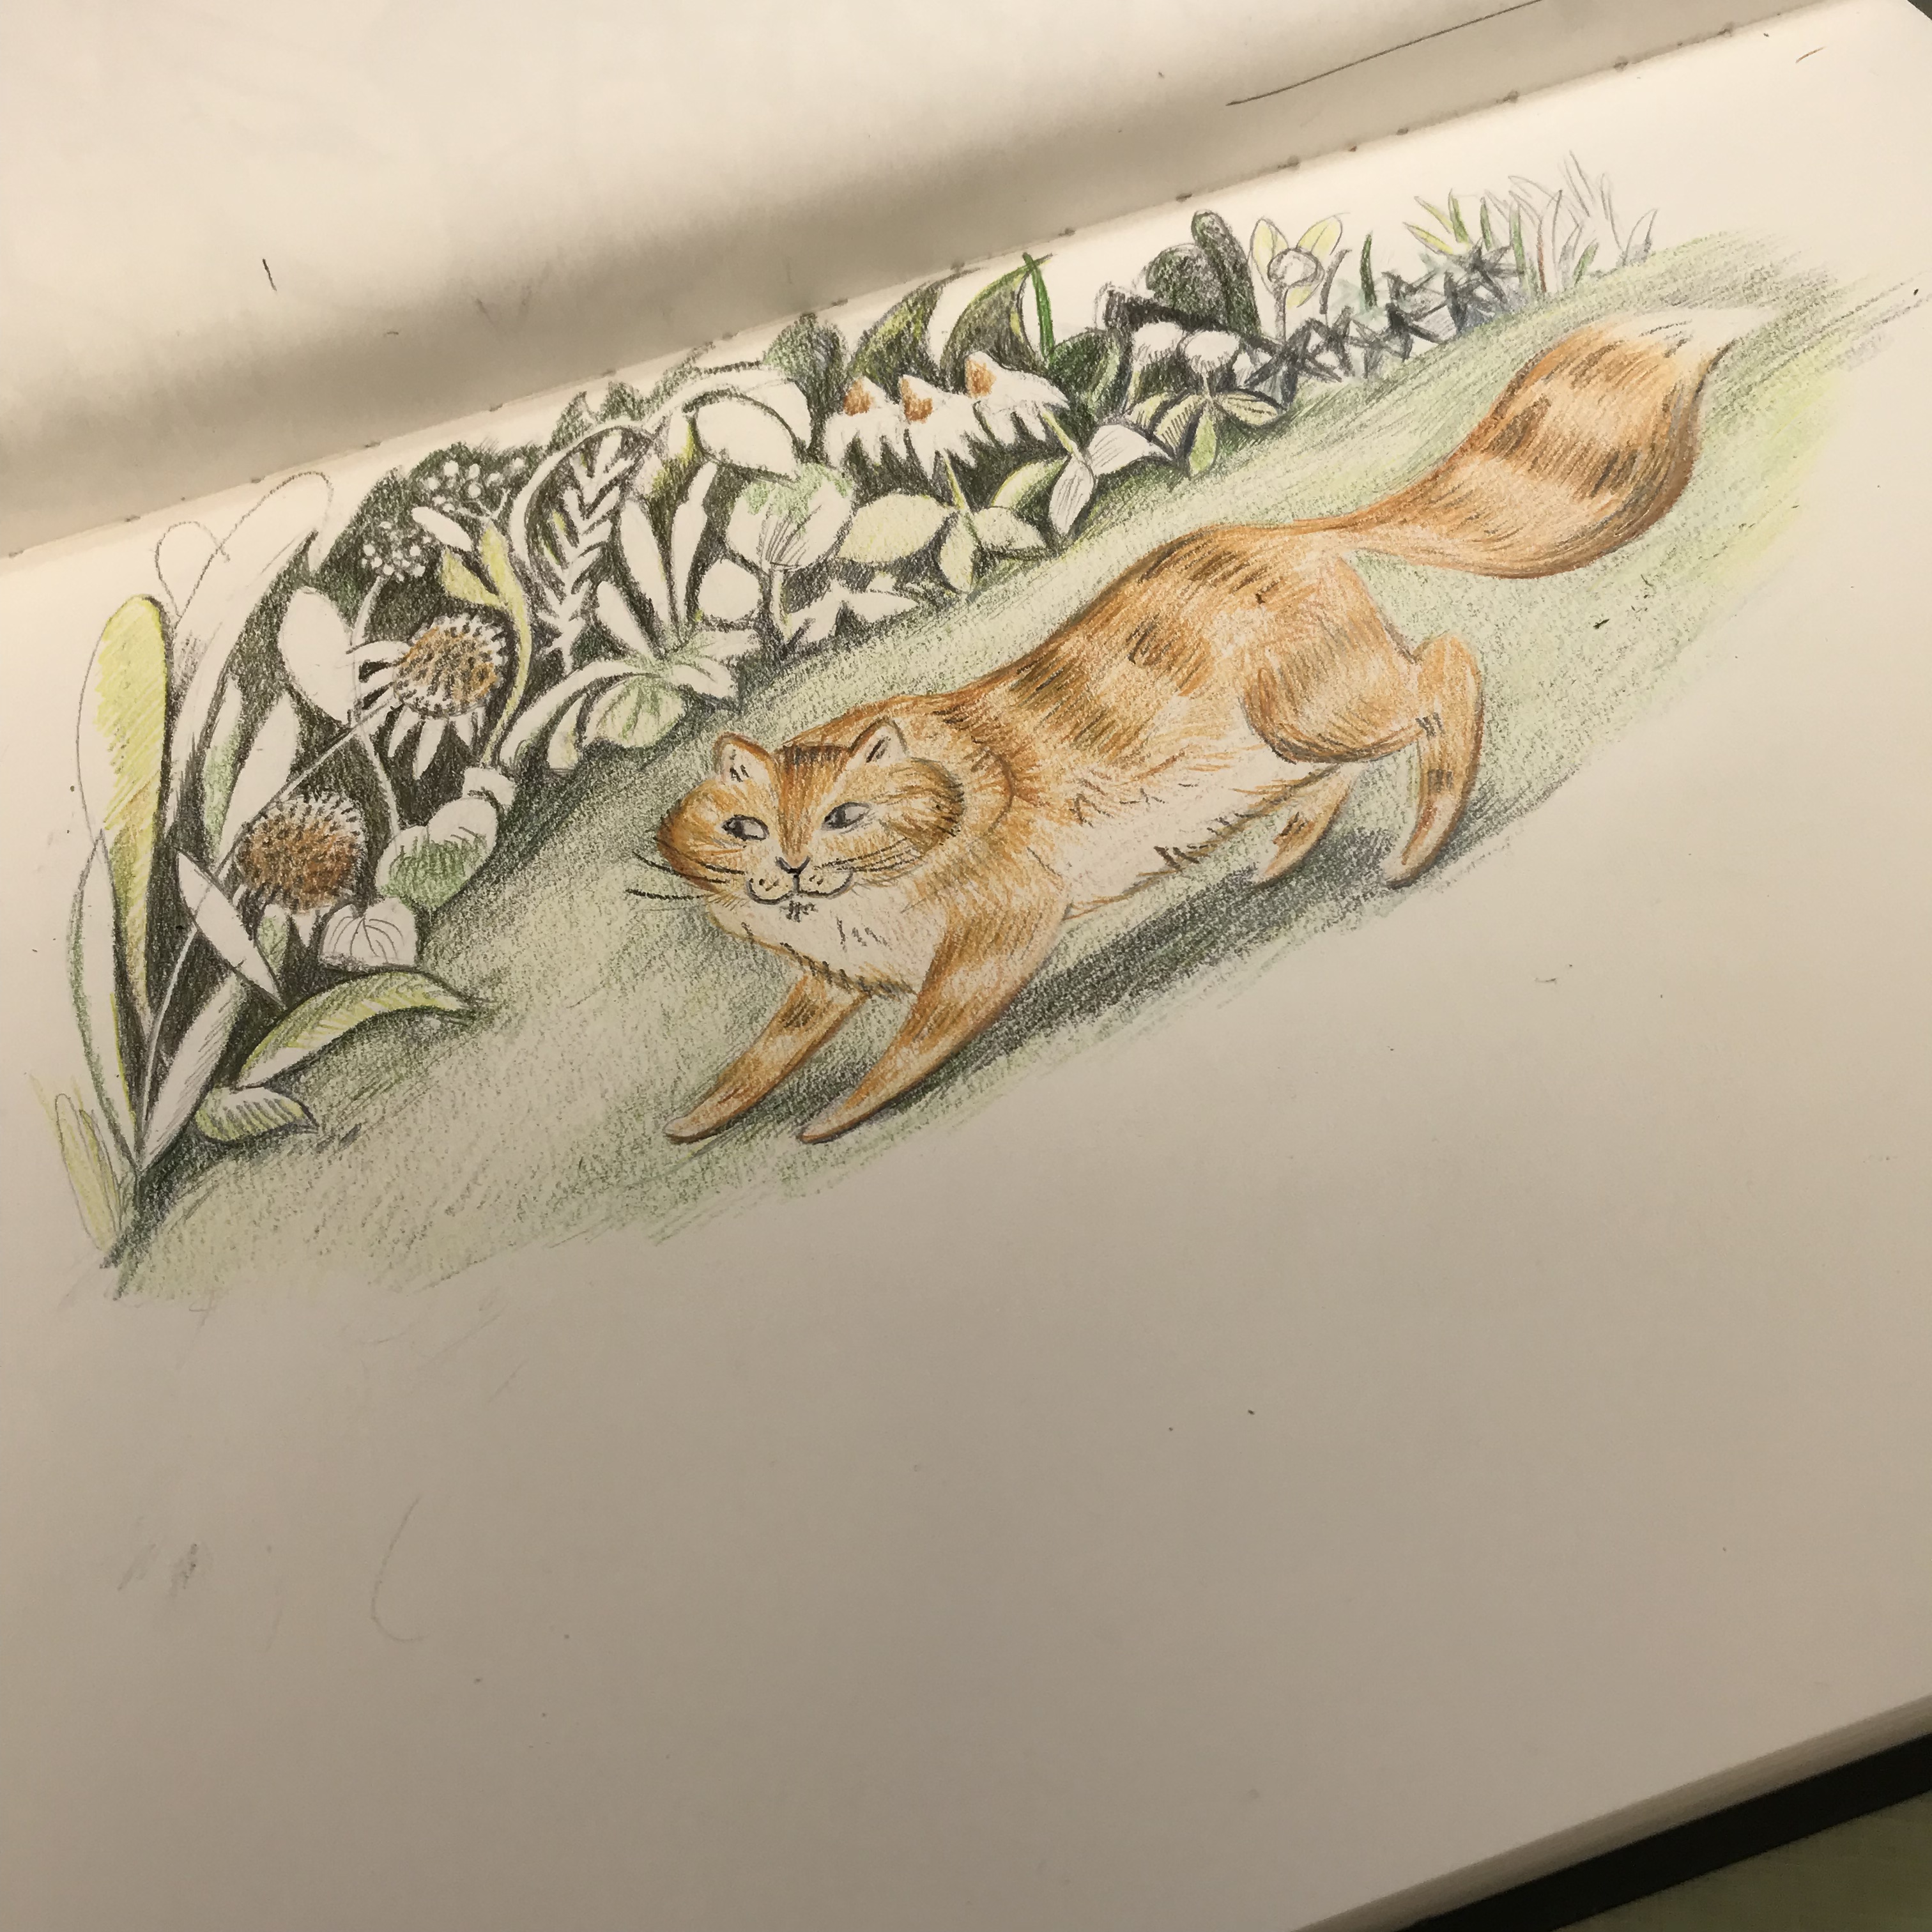
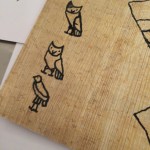
Here’s another cat drawn with the same technique.

I experimented with colouring both of these digitally. They’re a bit murky because I used not very good photos. If the drawings hadn’t been in my sketchbook I would have scanned them.


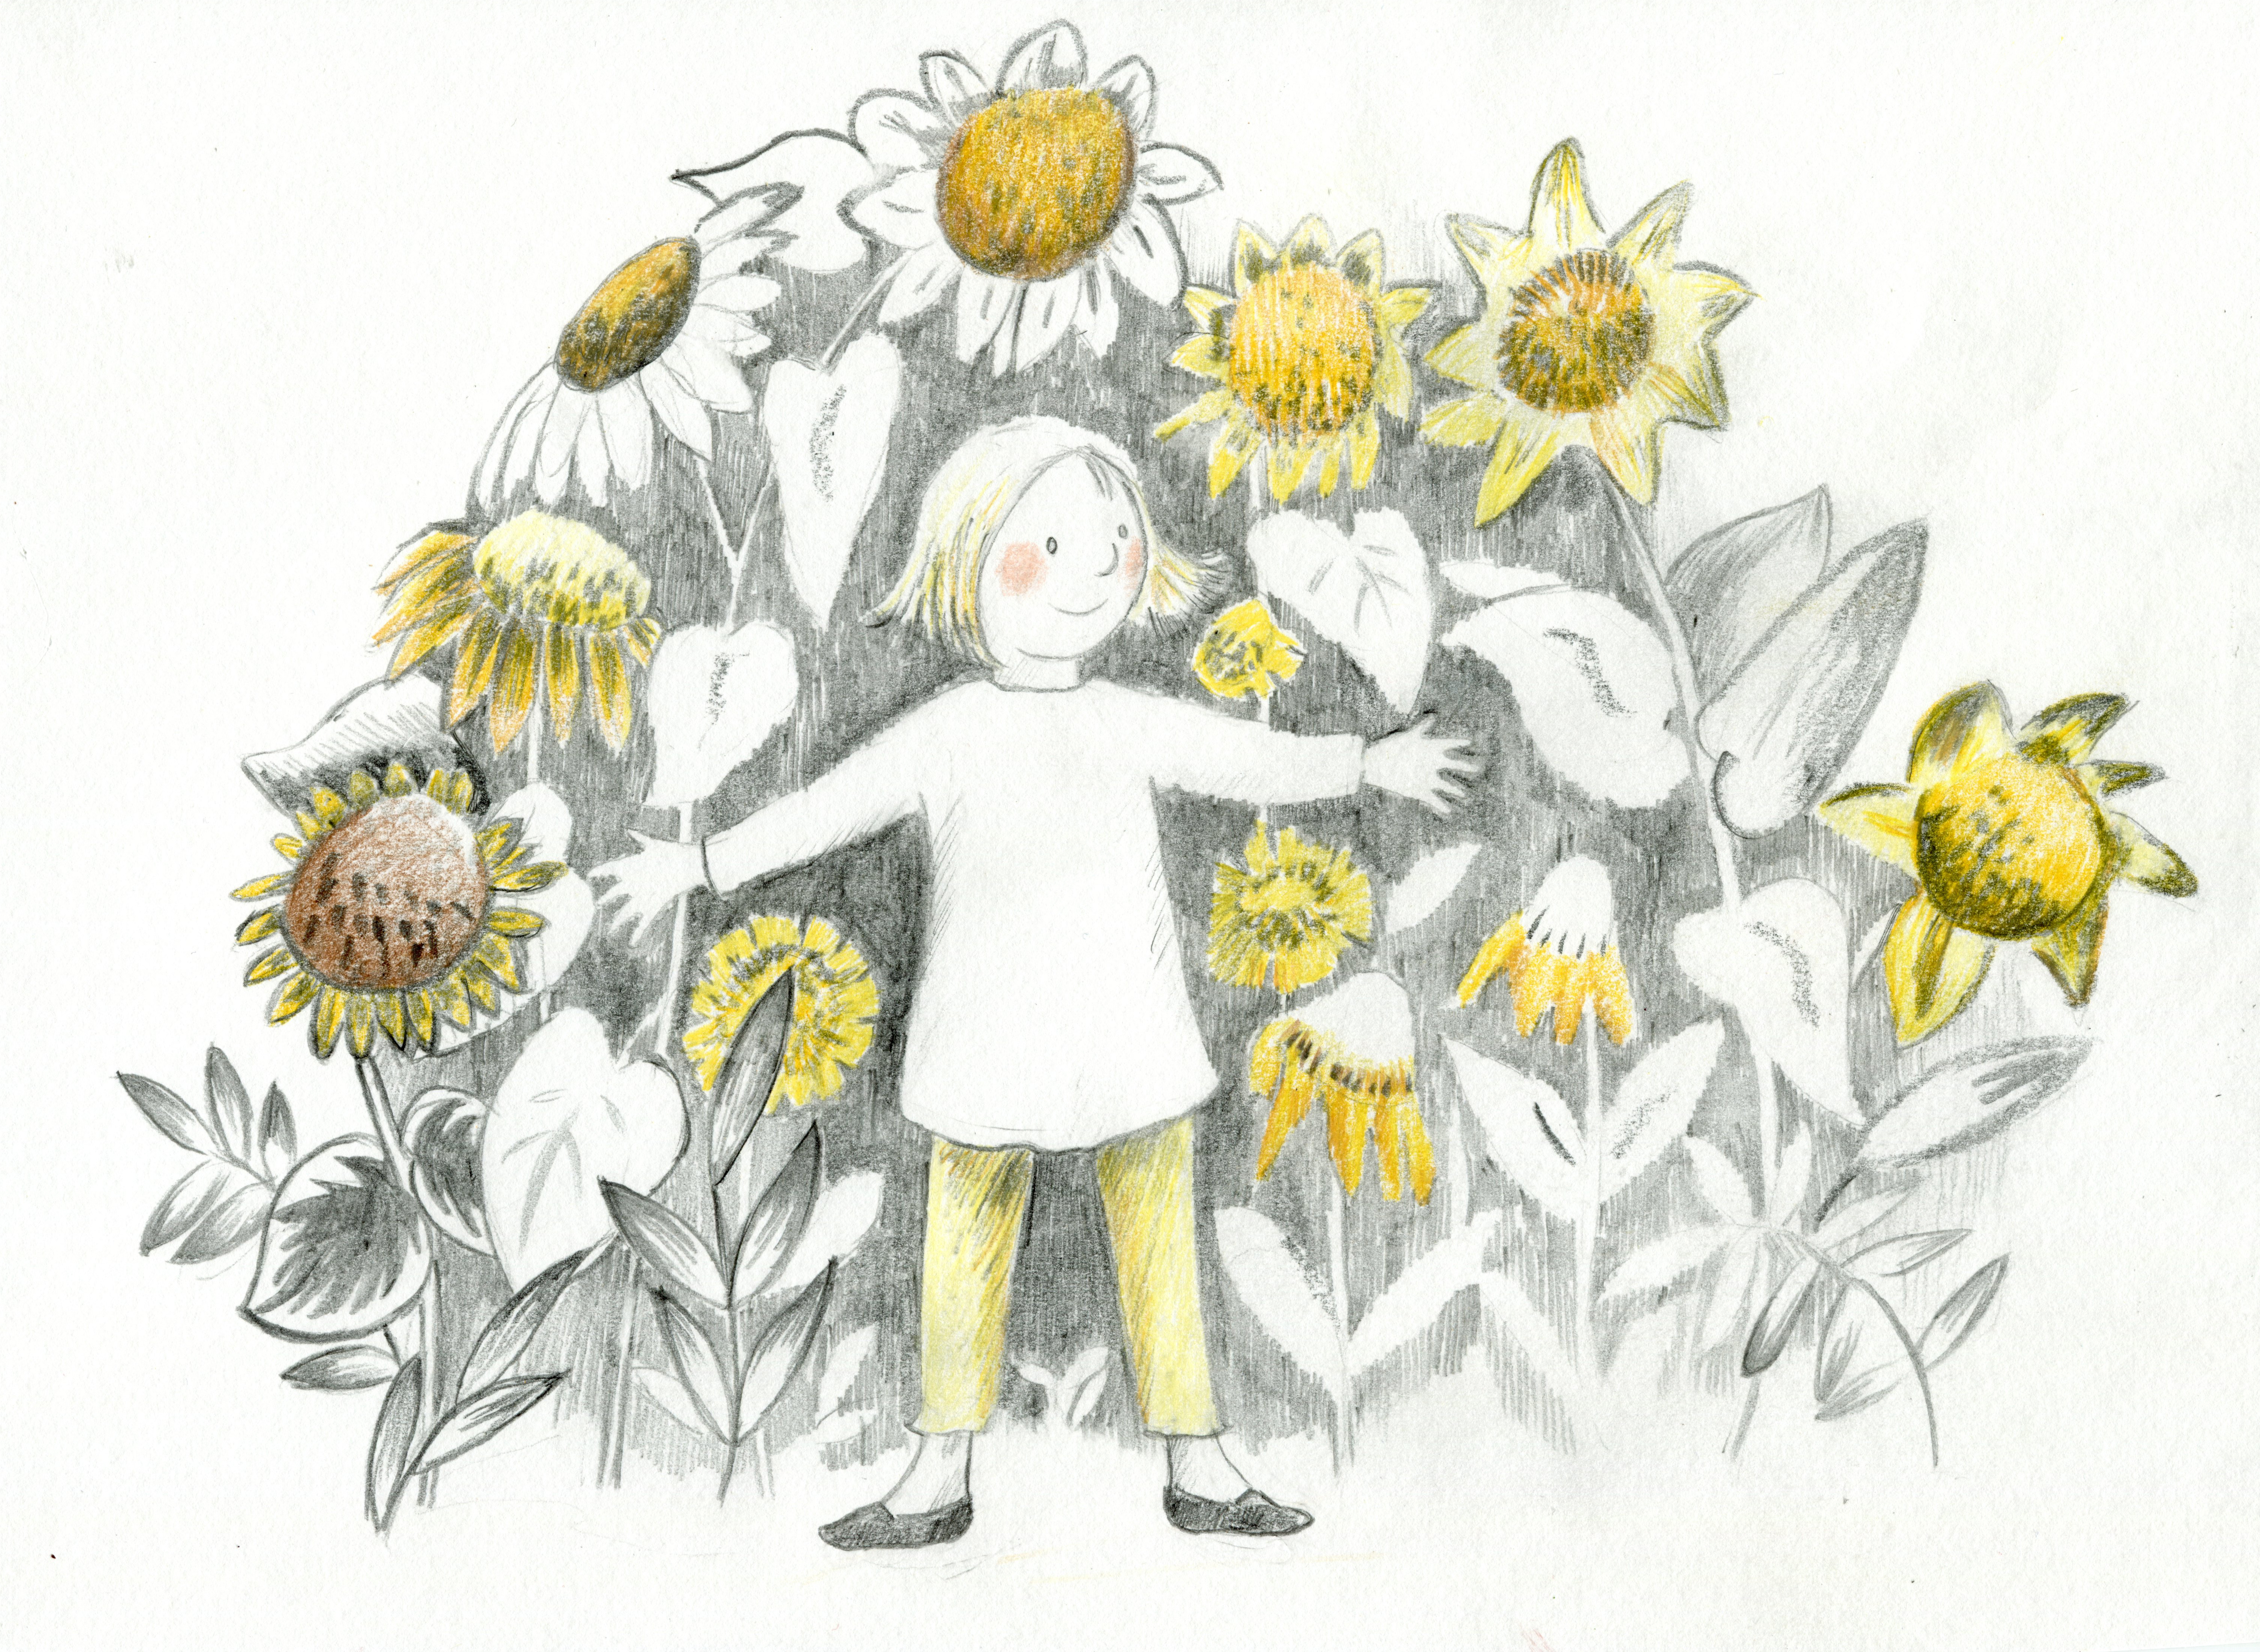
This sketch is a mixture of graphite and coloured pencils.
I’d seen some work by an artist who used coloured pencils on top of a graphite drawing, so I decided to try that technique.
Having a shaded drawing underneath really adds depth to coloured pencils. Some of the dark area ended up a little too dark. This looks ok in the photo, but in reality it’s quite dirty looking as the coloured pencils smudged the graphite.

I had wondered if that would happen, so I did what I should have done in the first place and I looked up the technique on the internet. I discovered I’d made a basic mistake, I should have sprayed the under drawing with fixative before adding the colour.

That worked a lot better! No smudging, much crisper colour.
I’m finding out that there’s so much more to drawing with graphite than I knew and I’m looking forward to learning more techniques.
I love pencils.

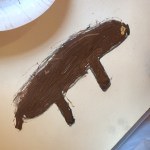
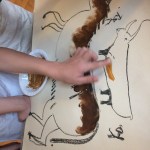
Today I ran a lovely session with my local Young Archaeologists group. We looked at cave painting and talked about what sort of materials were used to make it, and had a go at making some ourselves. Unfortunately we didn’t have a handy cave to decorate but we did have a big roll of paper, brushes made from sticks, some natural pigments, and some fat and water to mix the pigments with.
Here is some of the fabulous art they made.


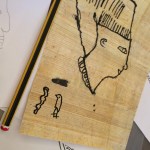
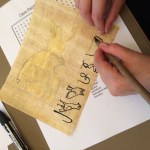
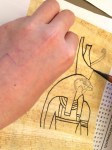
When we had finished our fantastic cave gallery we whizzed forward in time for a brief look at Egyptian art and messed about with papyrus and ink to make some more stunning images.


In my daughter’s flat waiting for someone to come and pick something up I drew the view from where I was sitting. Fine liner over pencil on cartridge paper.


