By Julie Anna Douglas and Jools Wilson

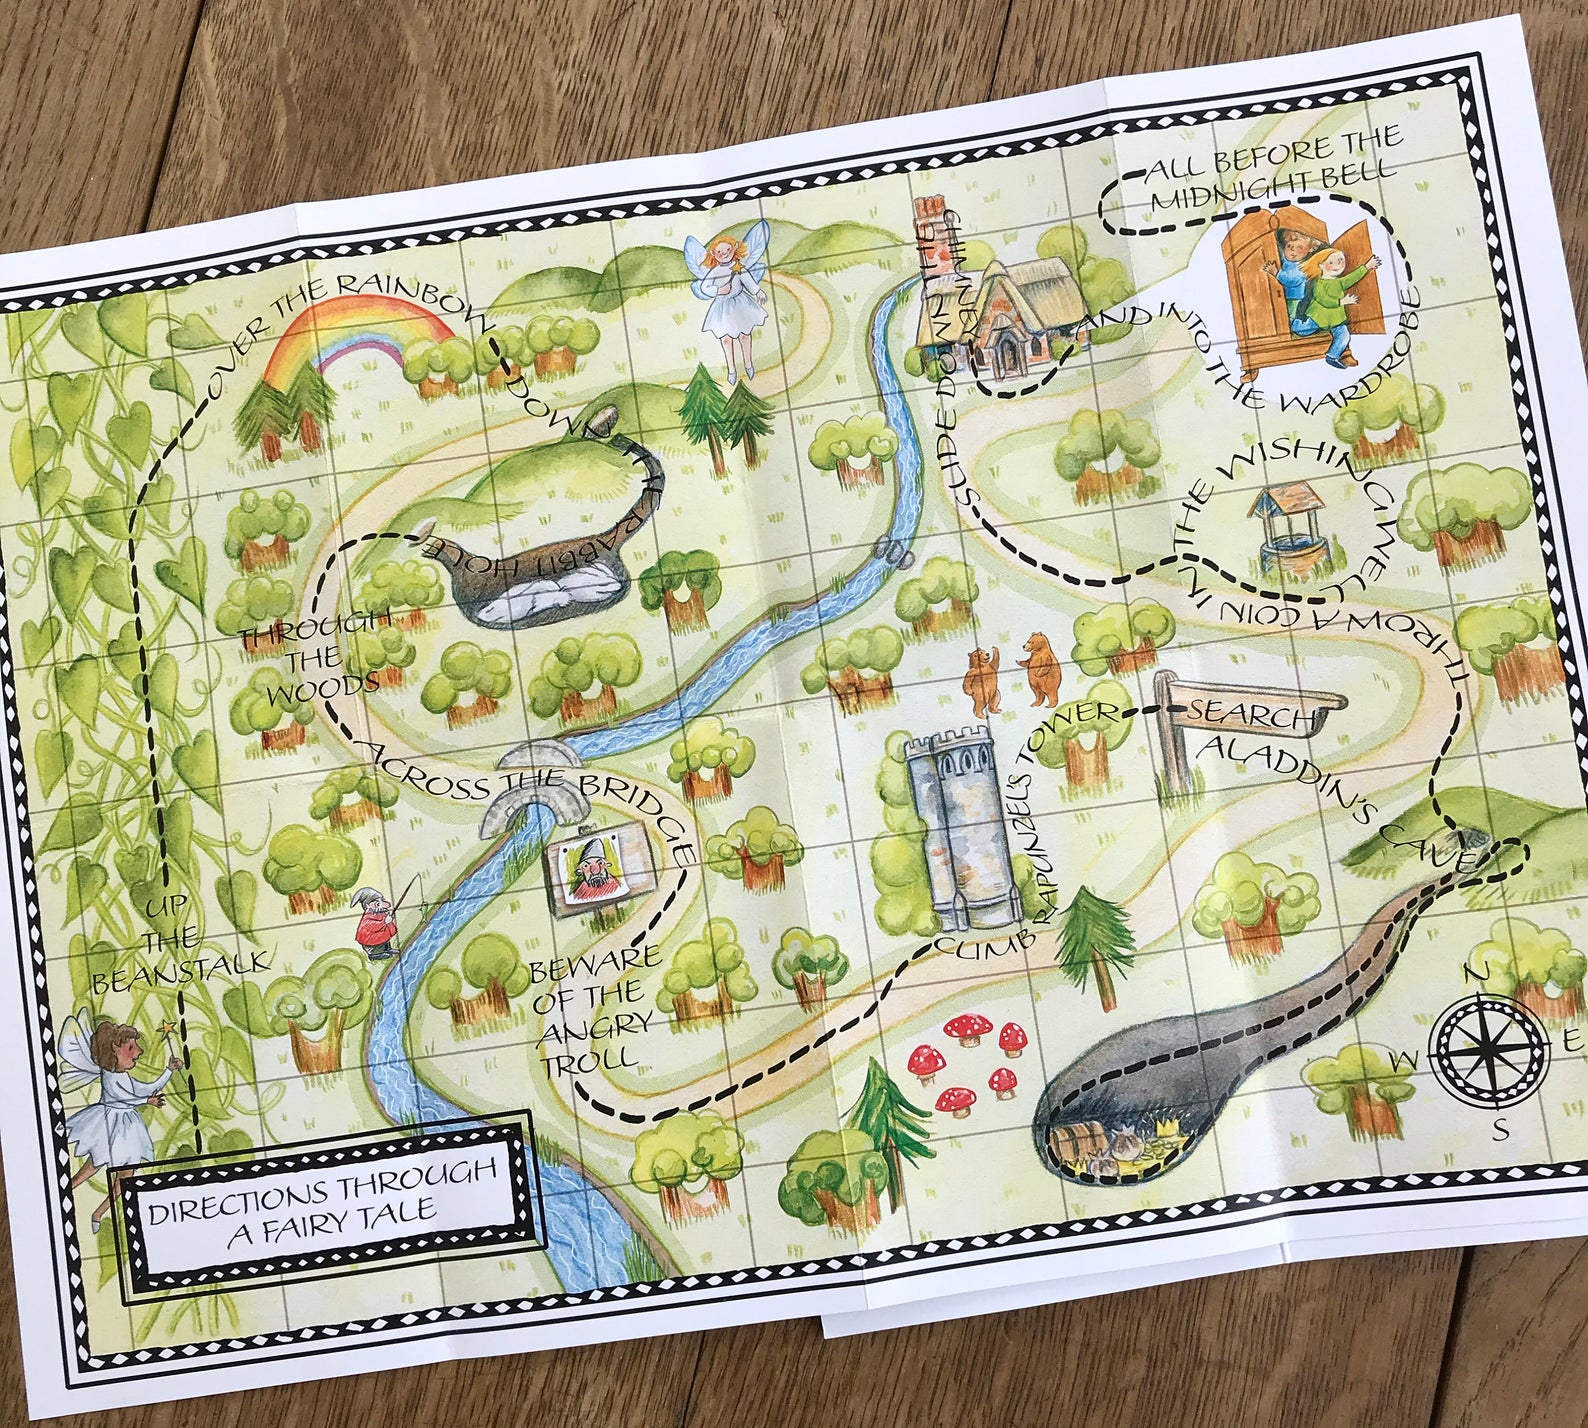
10 fun, colourful poems lavishly illustrated with maps, plans and cross sections. Go shopping with a pirate! Find your way through a fairytale! Be scared in a haunted house!
‘Directions Through a Fairytale (and other Poetic Adventures)’ with words by Julie Anna Douglas and pictures by Jools Wilson.
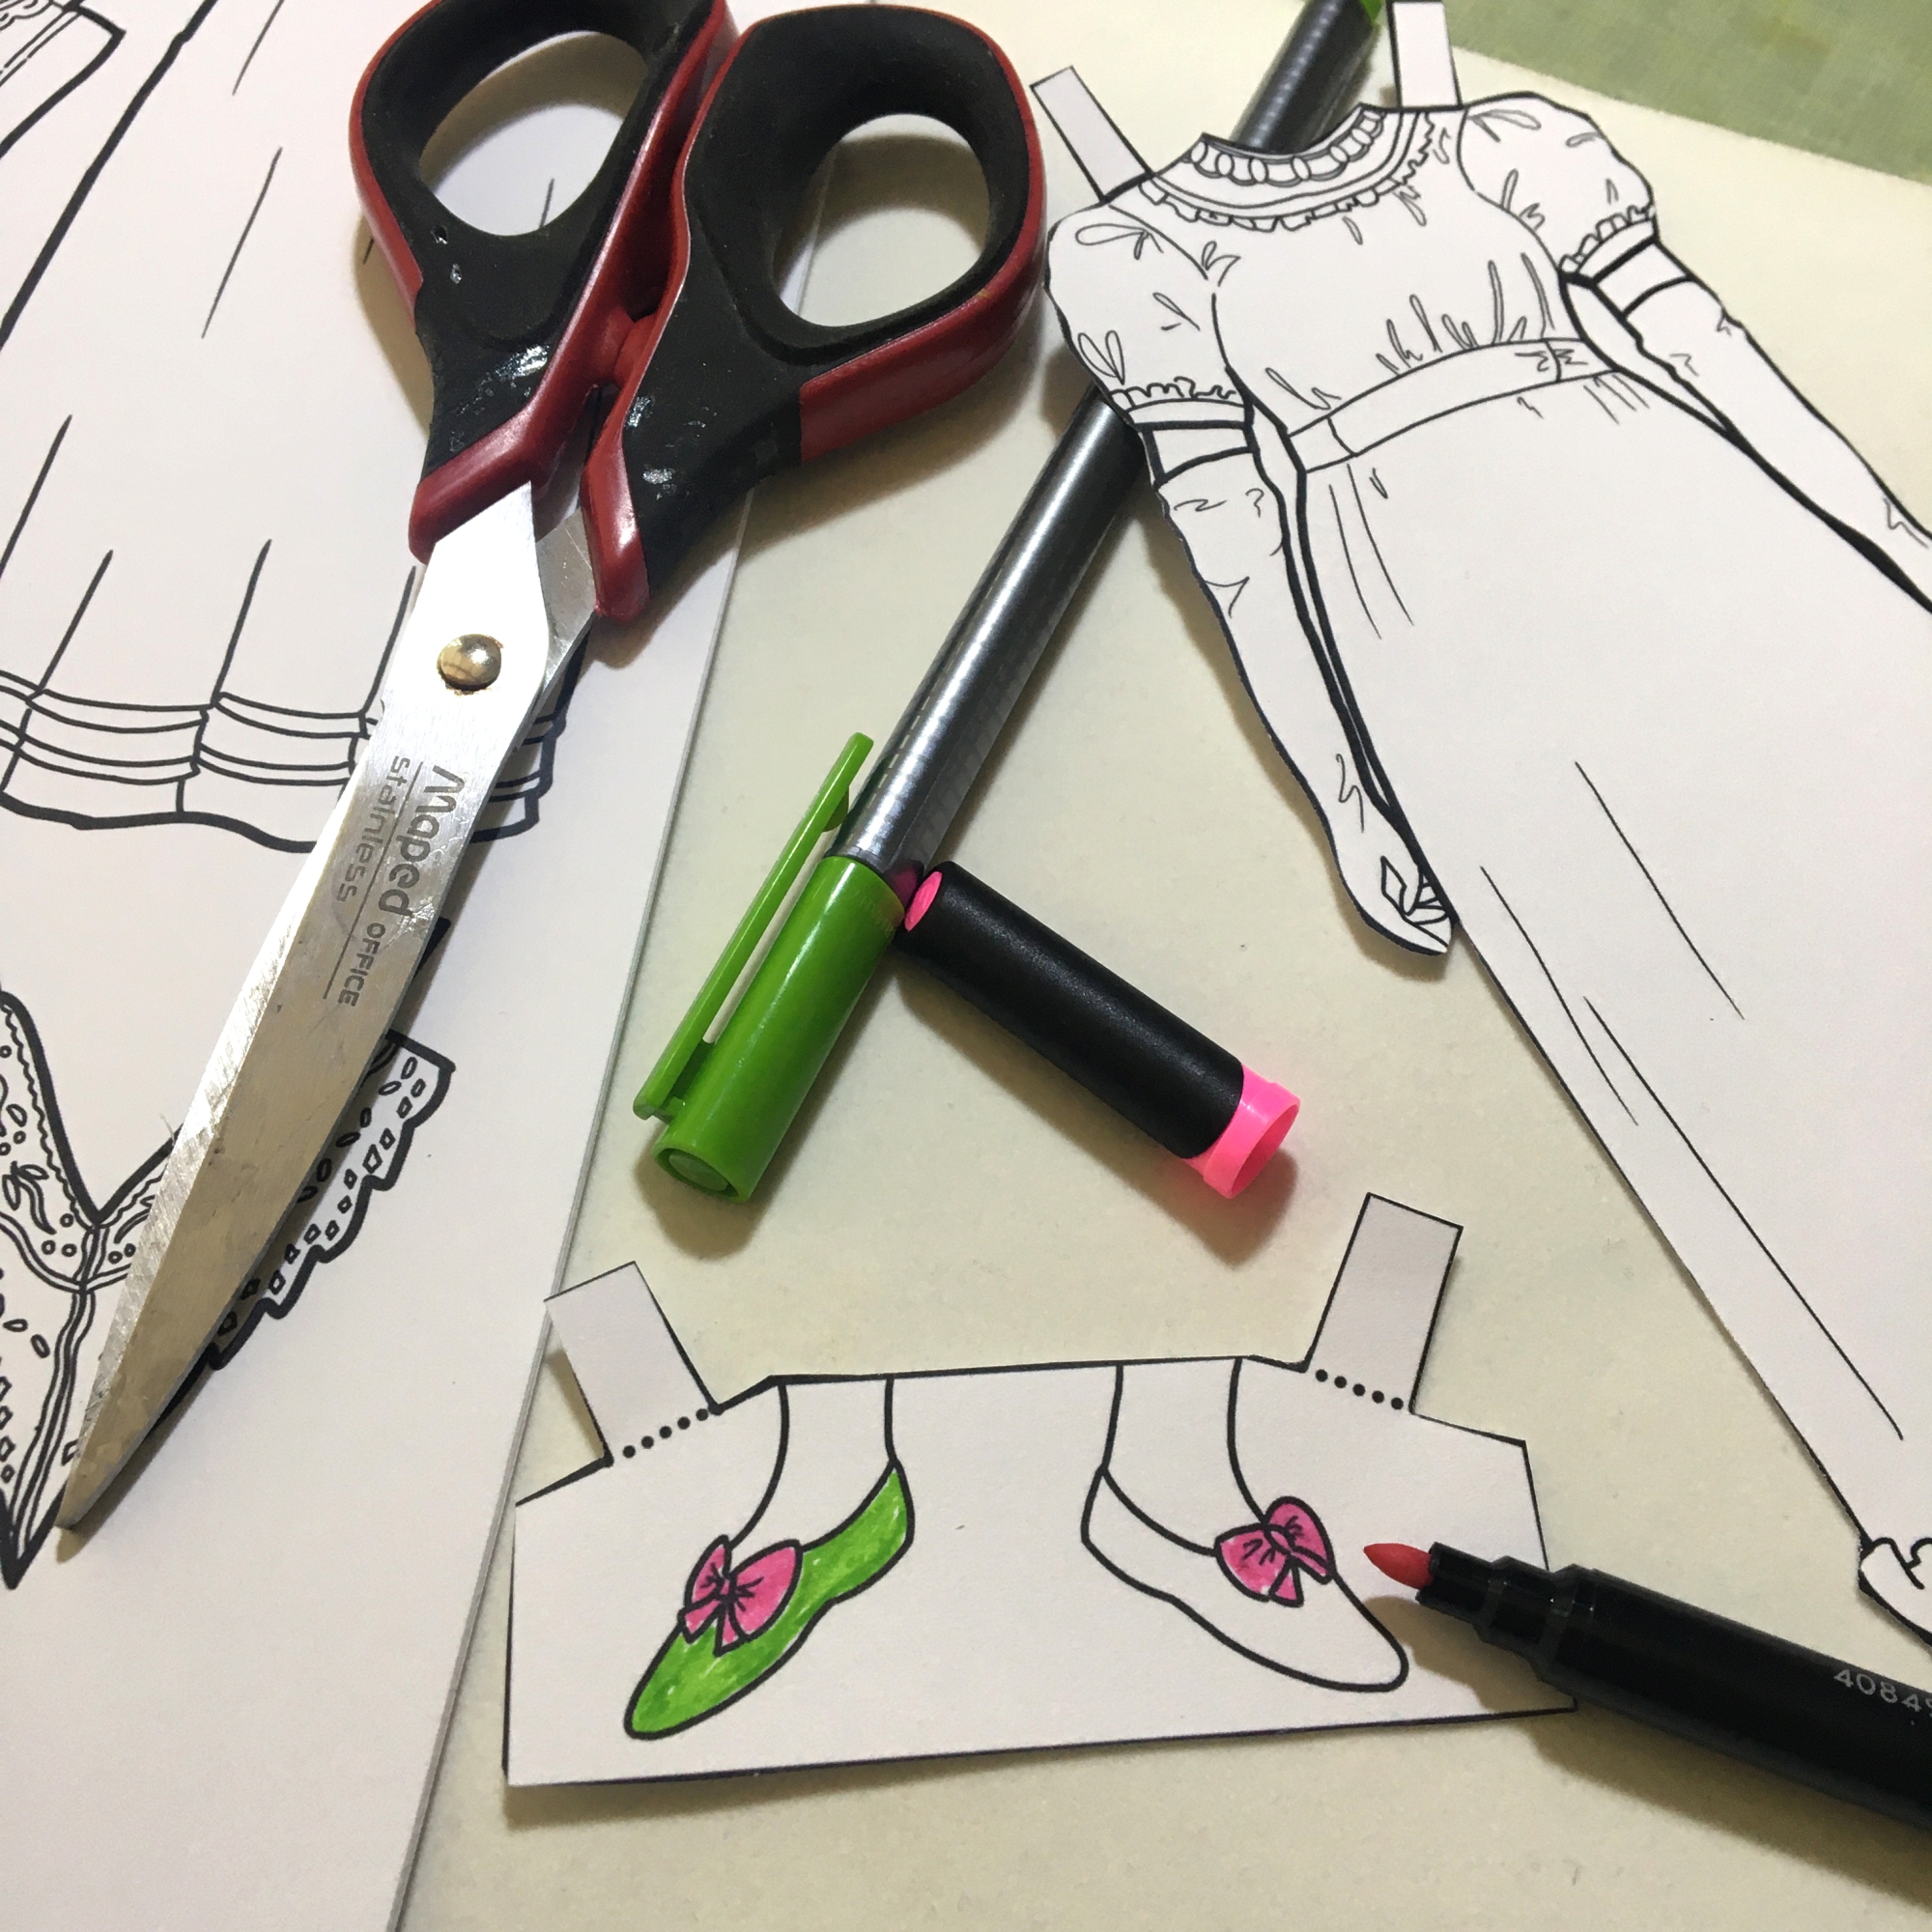
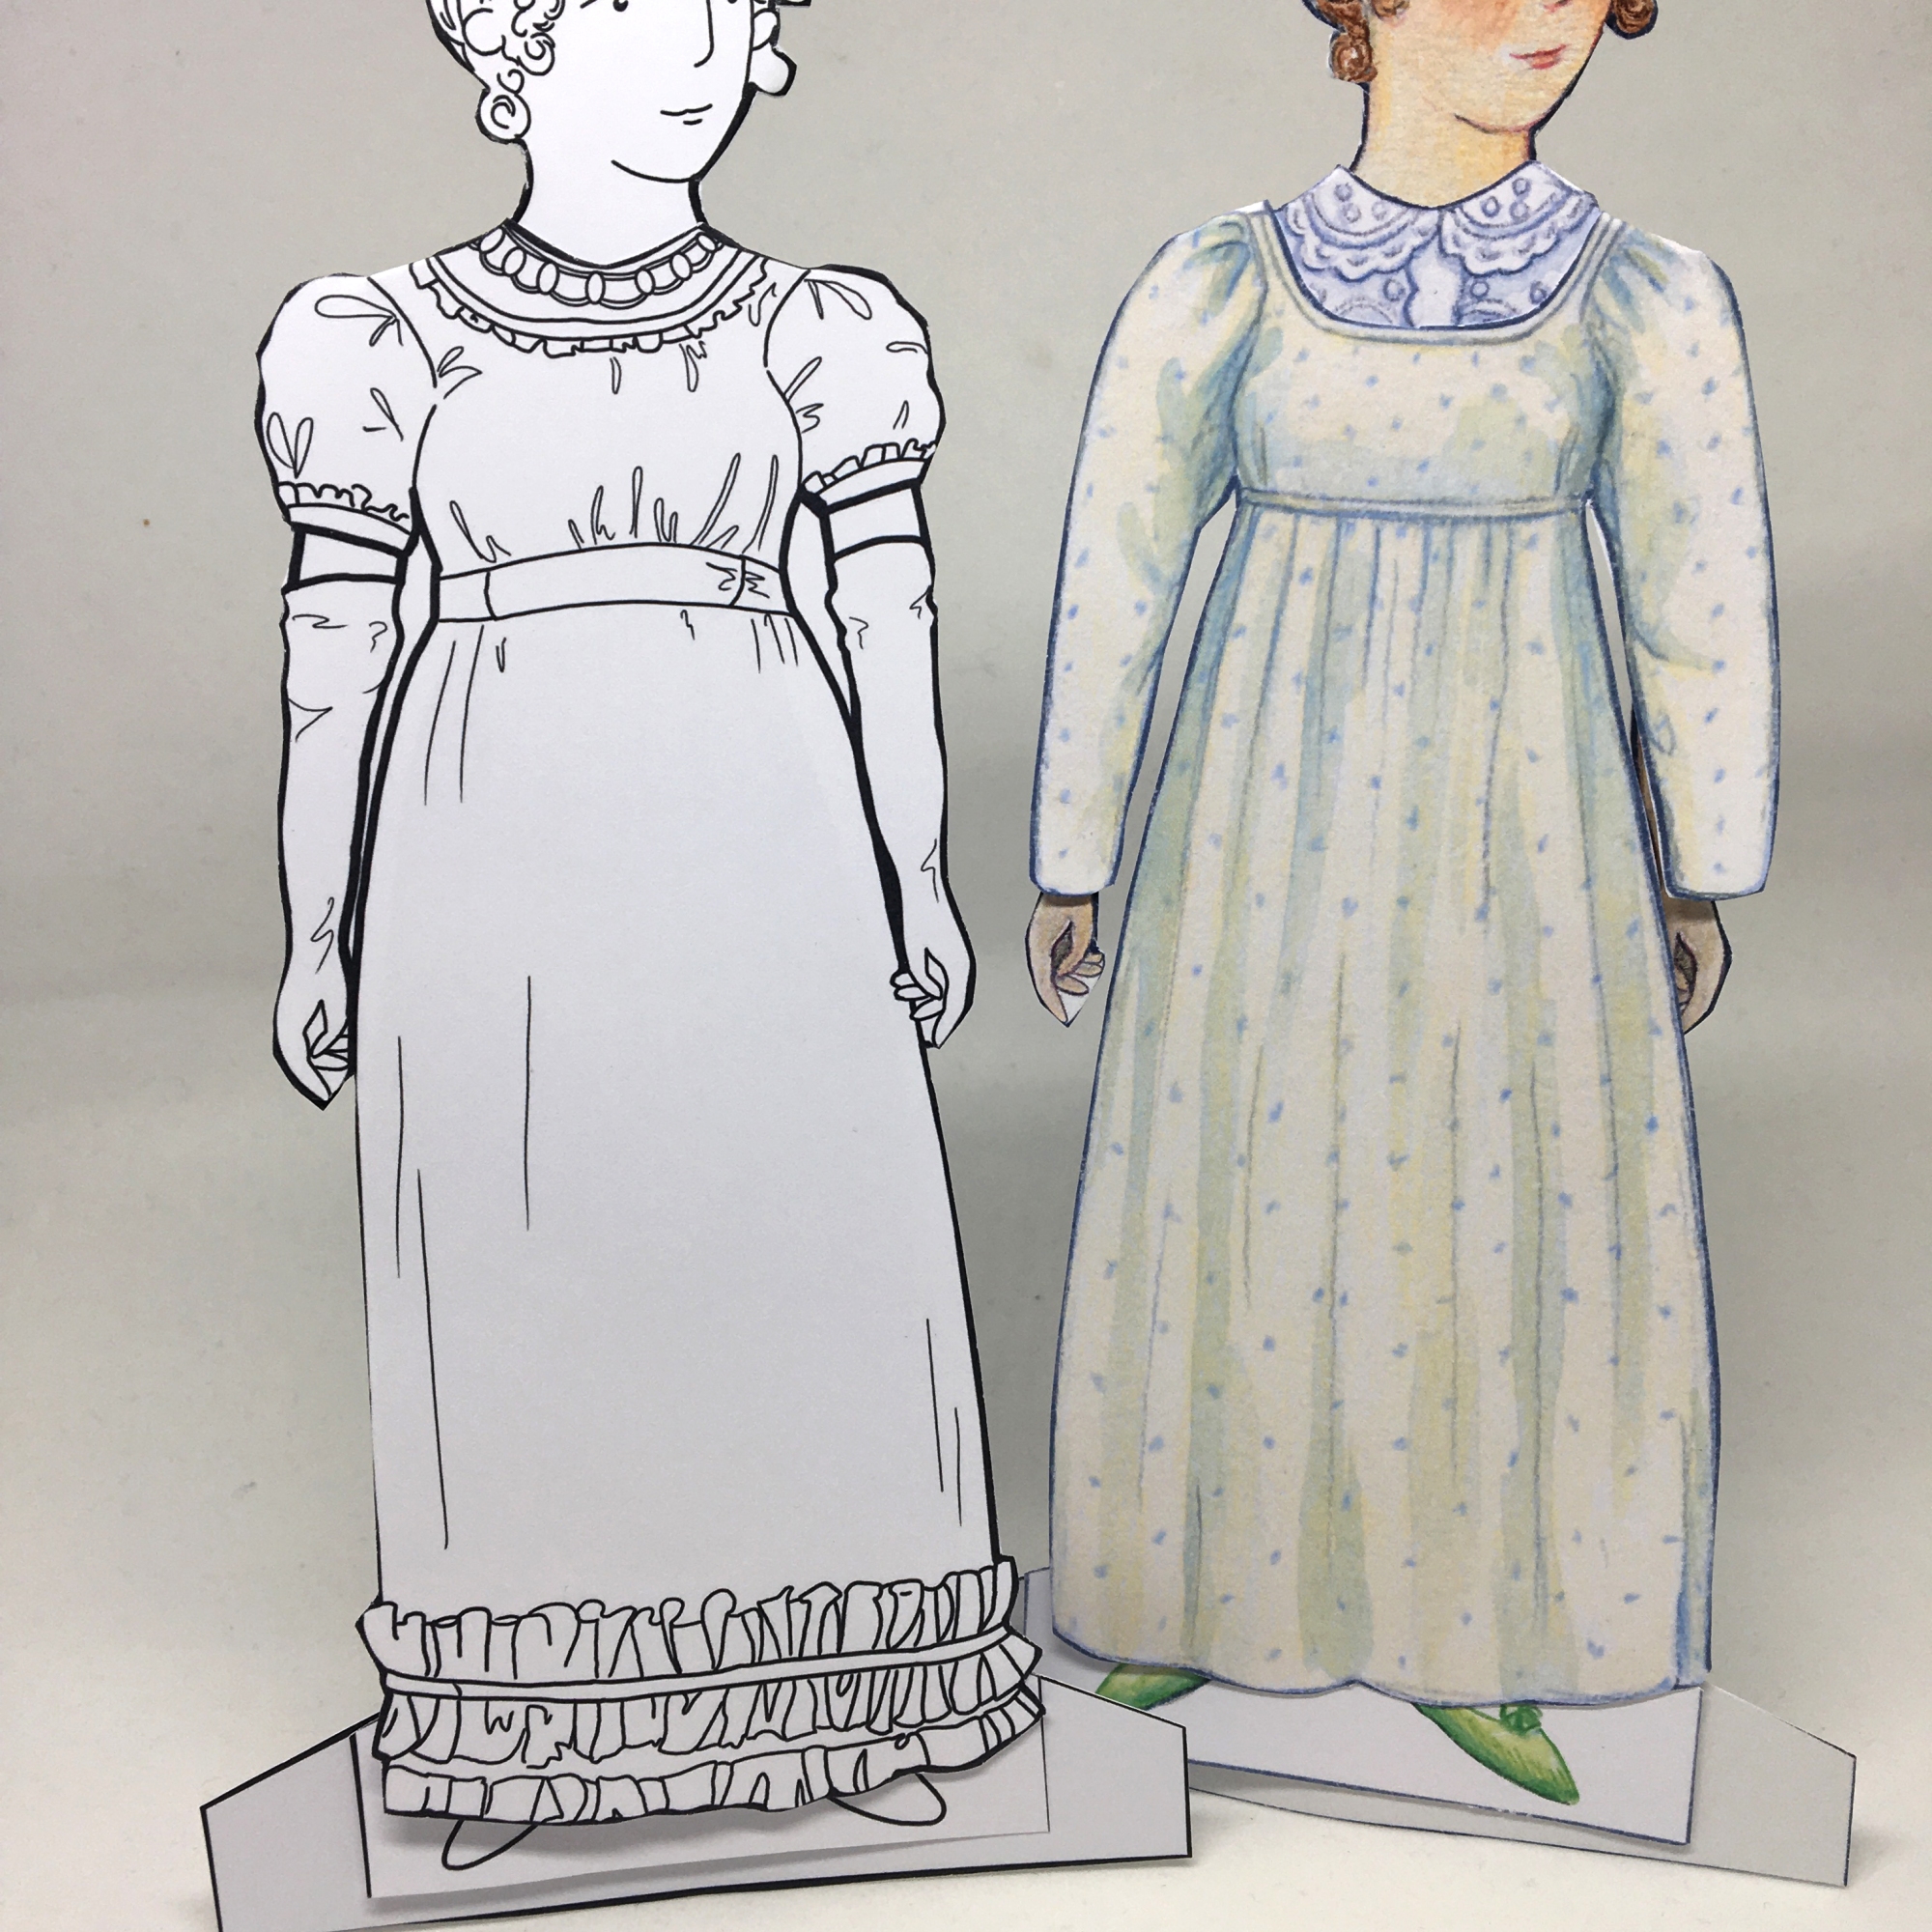
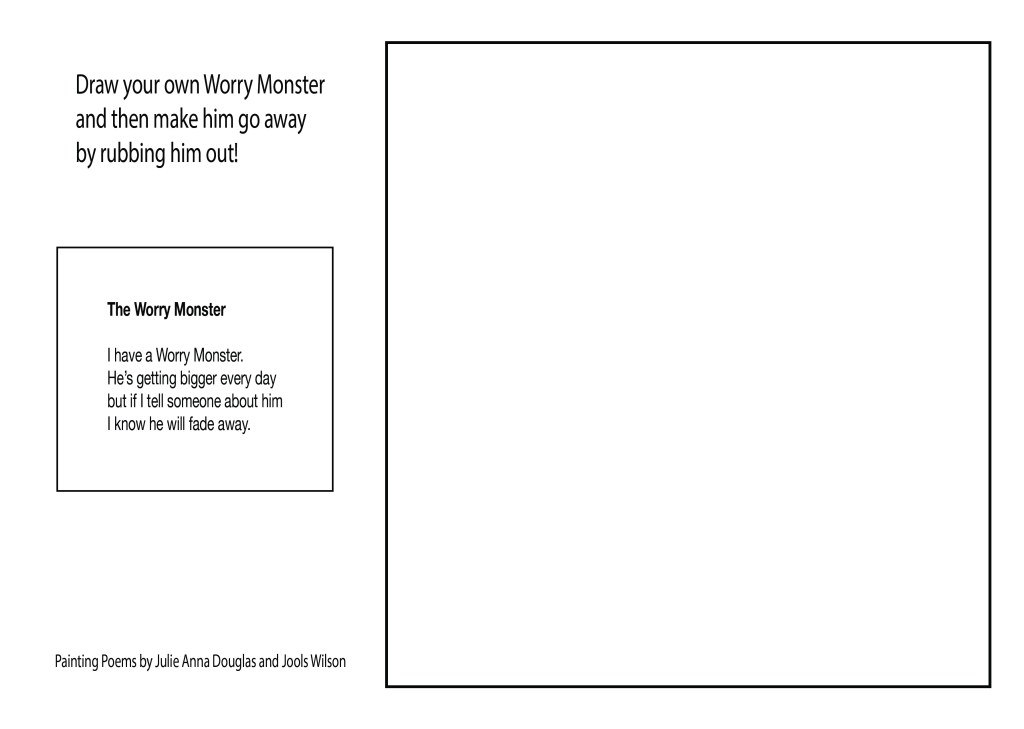
With ideas section to inspire children to create art and poetry. You can also download free accompanying worksheets from http://www.joolswilson.com
Julie Anna Douglas has been writing poems for as long as she can remember and many of them have found homes in beautiful magazines like The Caterpillar, Ladybug, Spider and The Toy, in poetry collections published by the Emma Press and McMillan Publishing and online in The Dirgible Balloon poetry bank.
What they said:
‘An original mix of poetry and pictures (many of them maps) where children can explore a range of locations and be inspired to write about, and draw, their own special places.’
Brian Moses – poet and author.
‘Highly recommend to encourage young readers’ imagination. Fairytale lands, cities, gardens, rainforests, and more are all brought to life both poetically and visually in this stunning collection.’
Yuval Zommer – author and illustrator