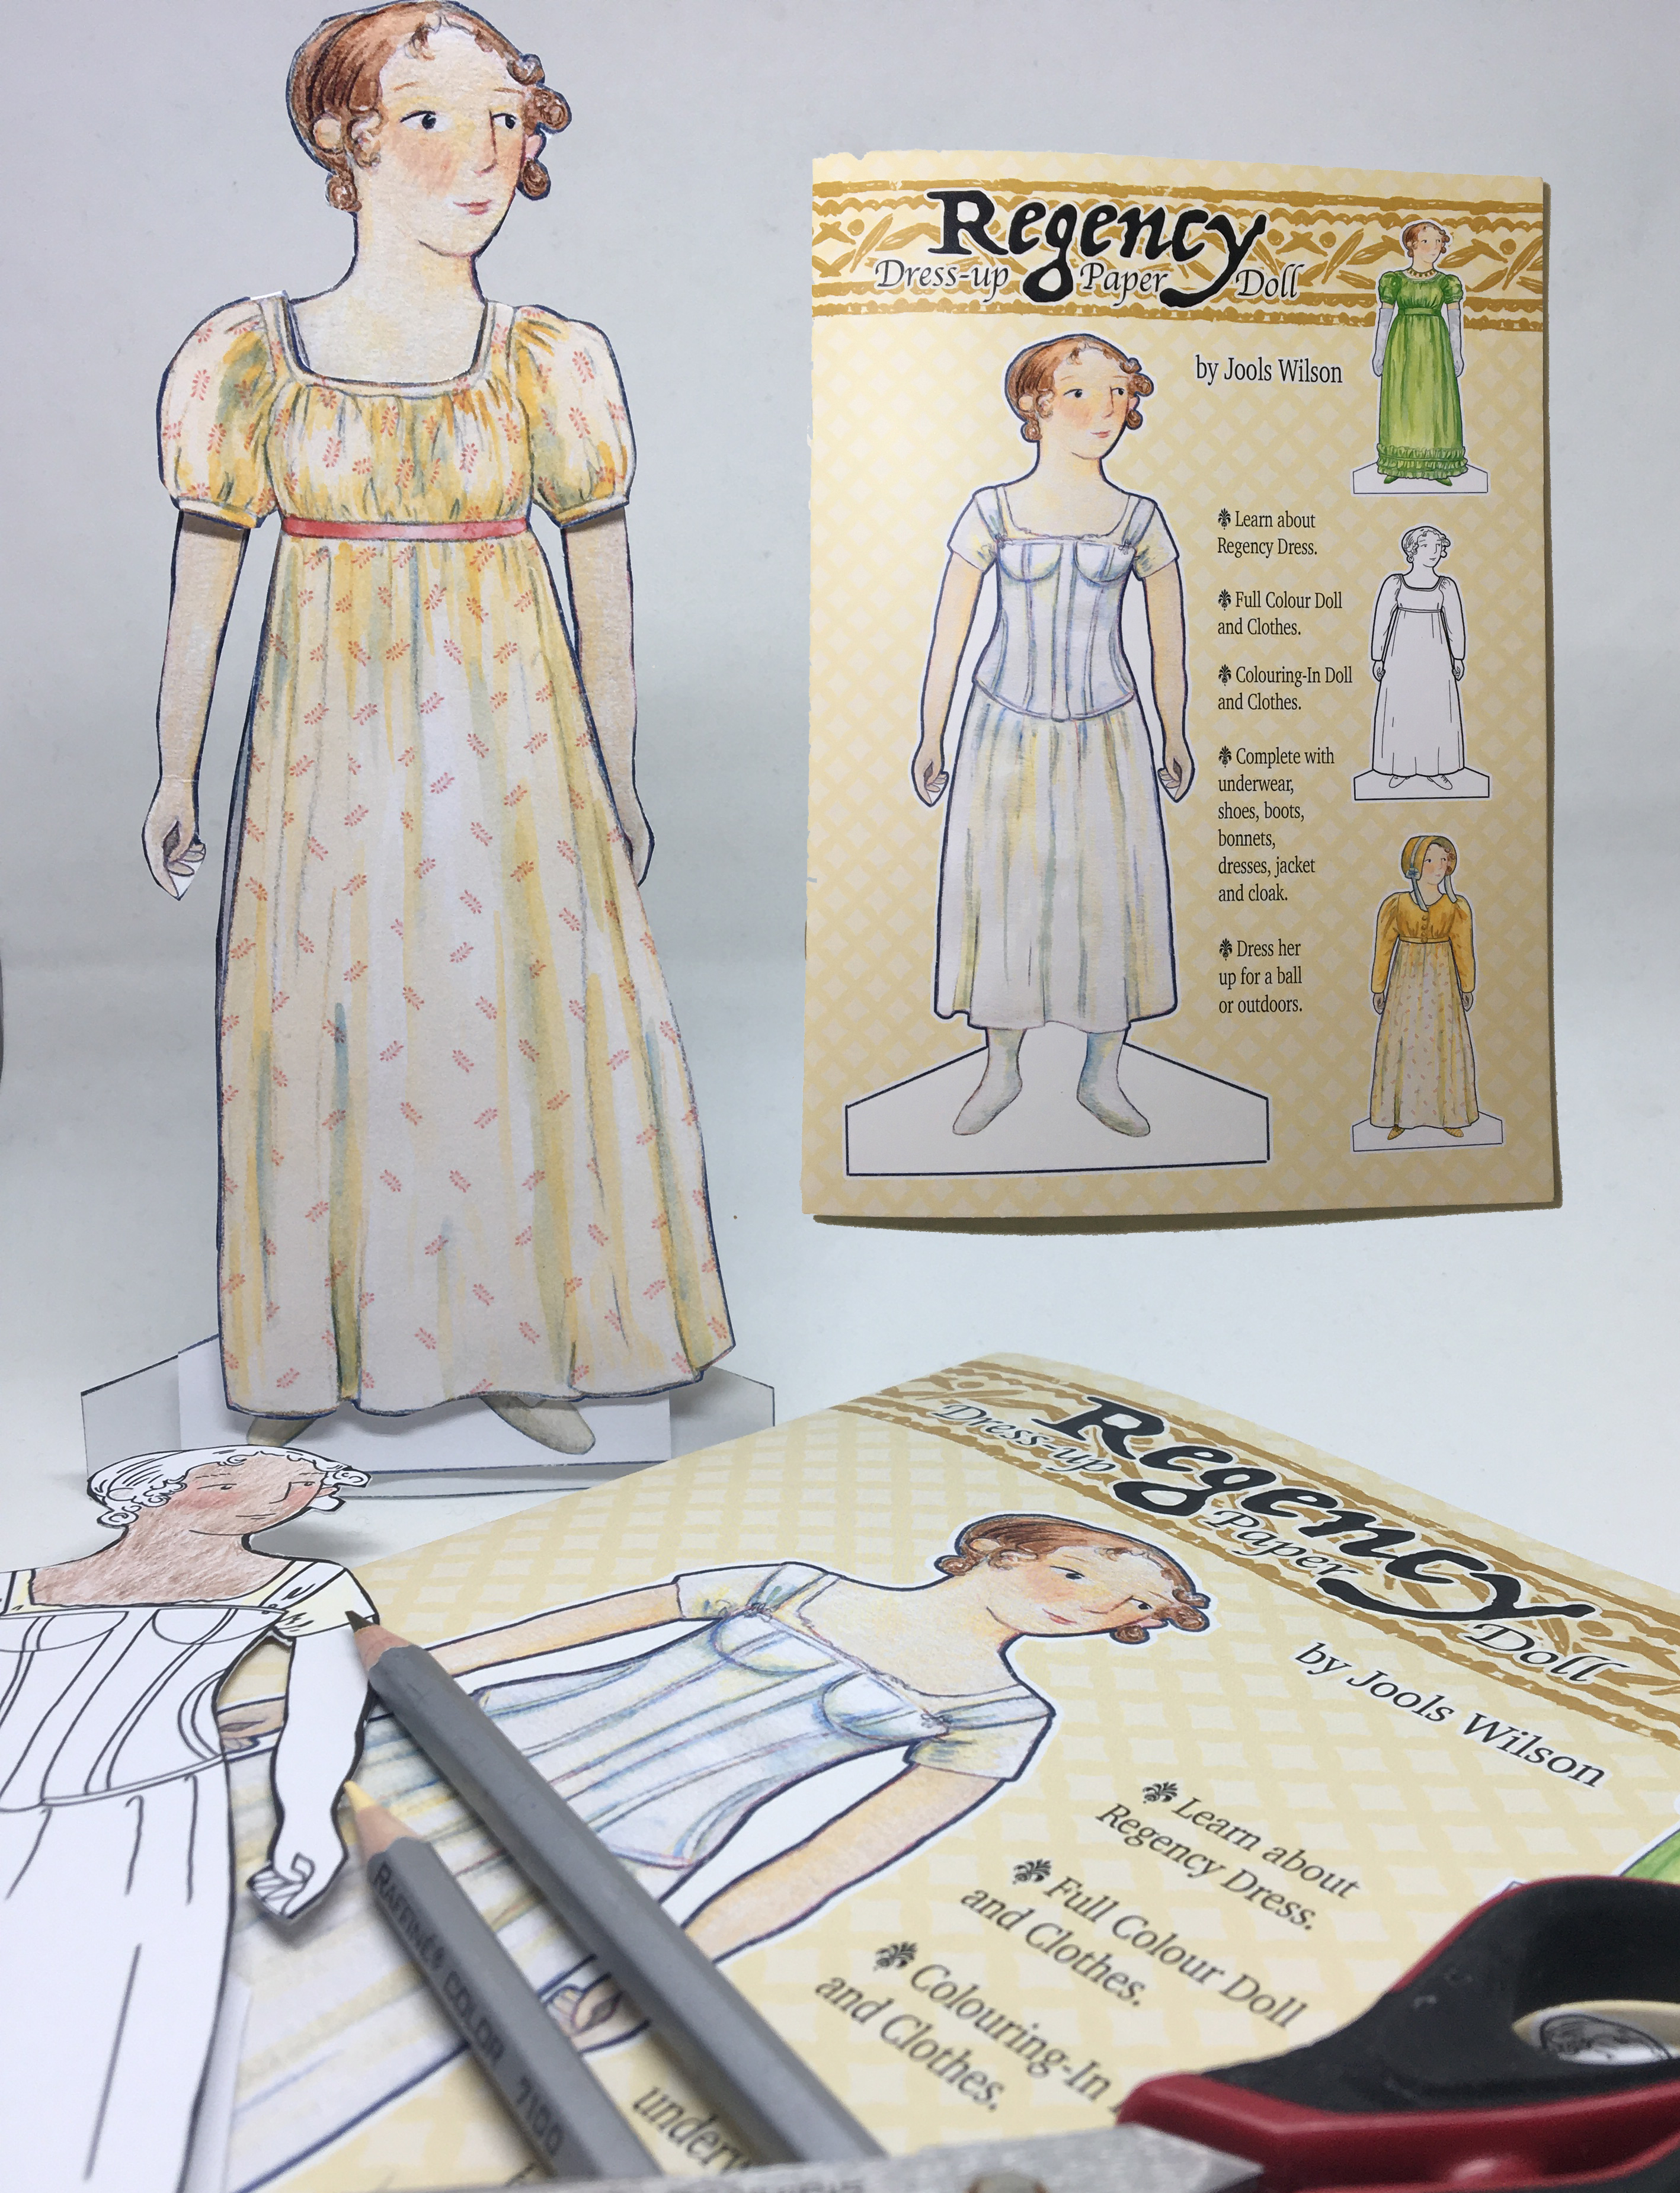
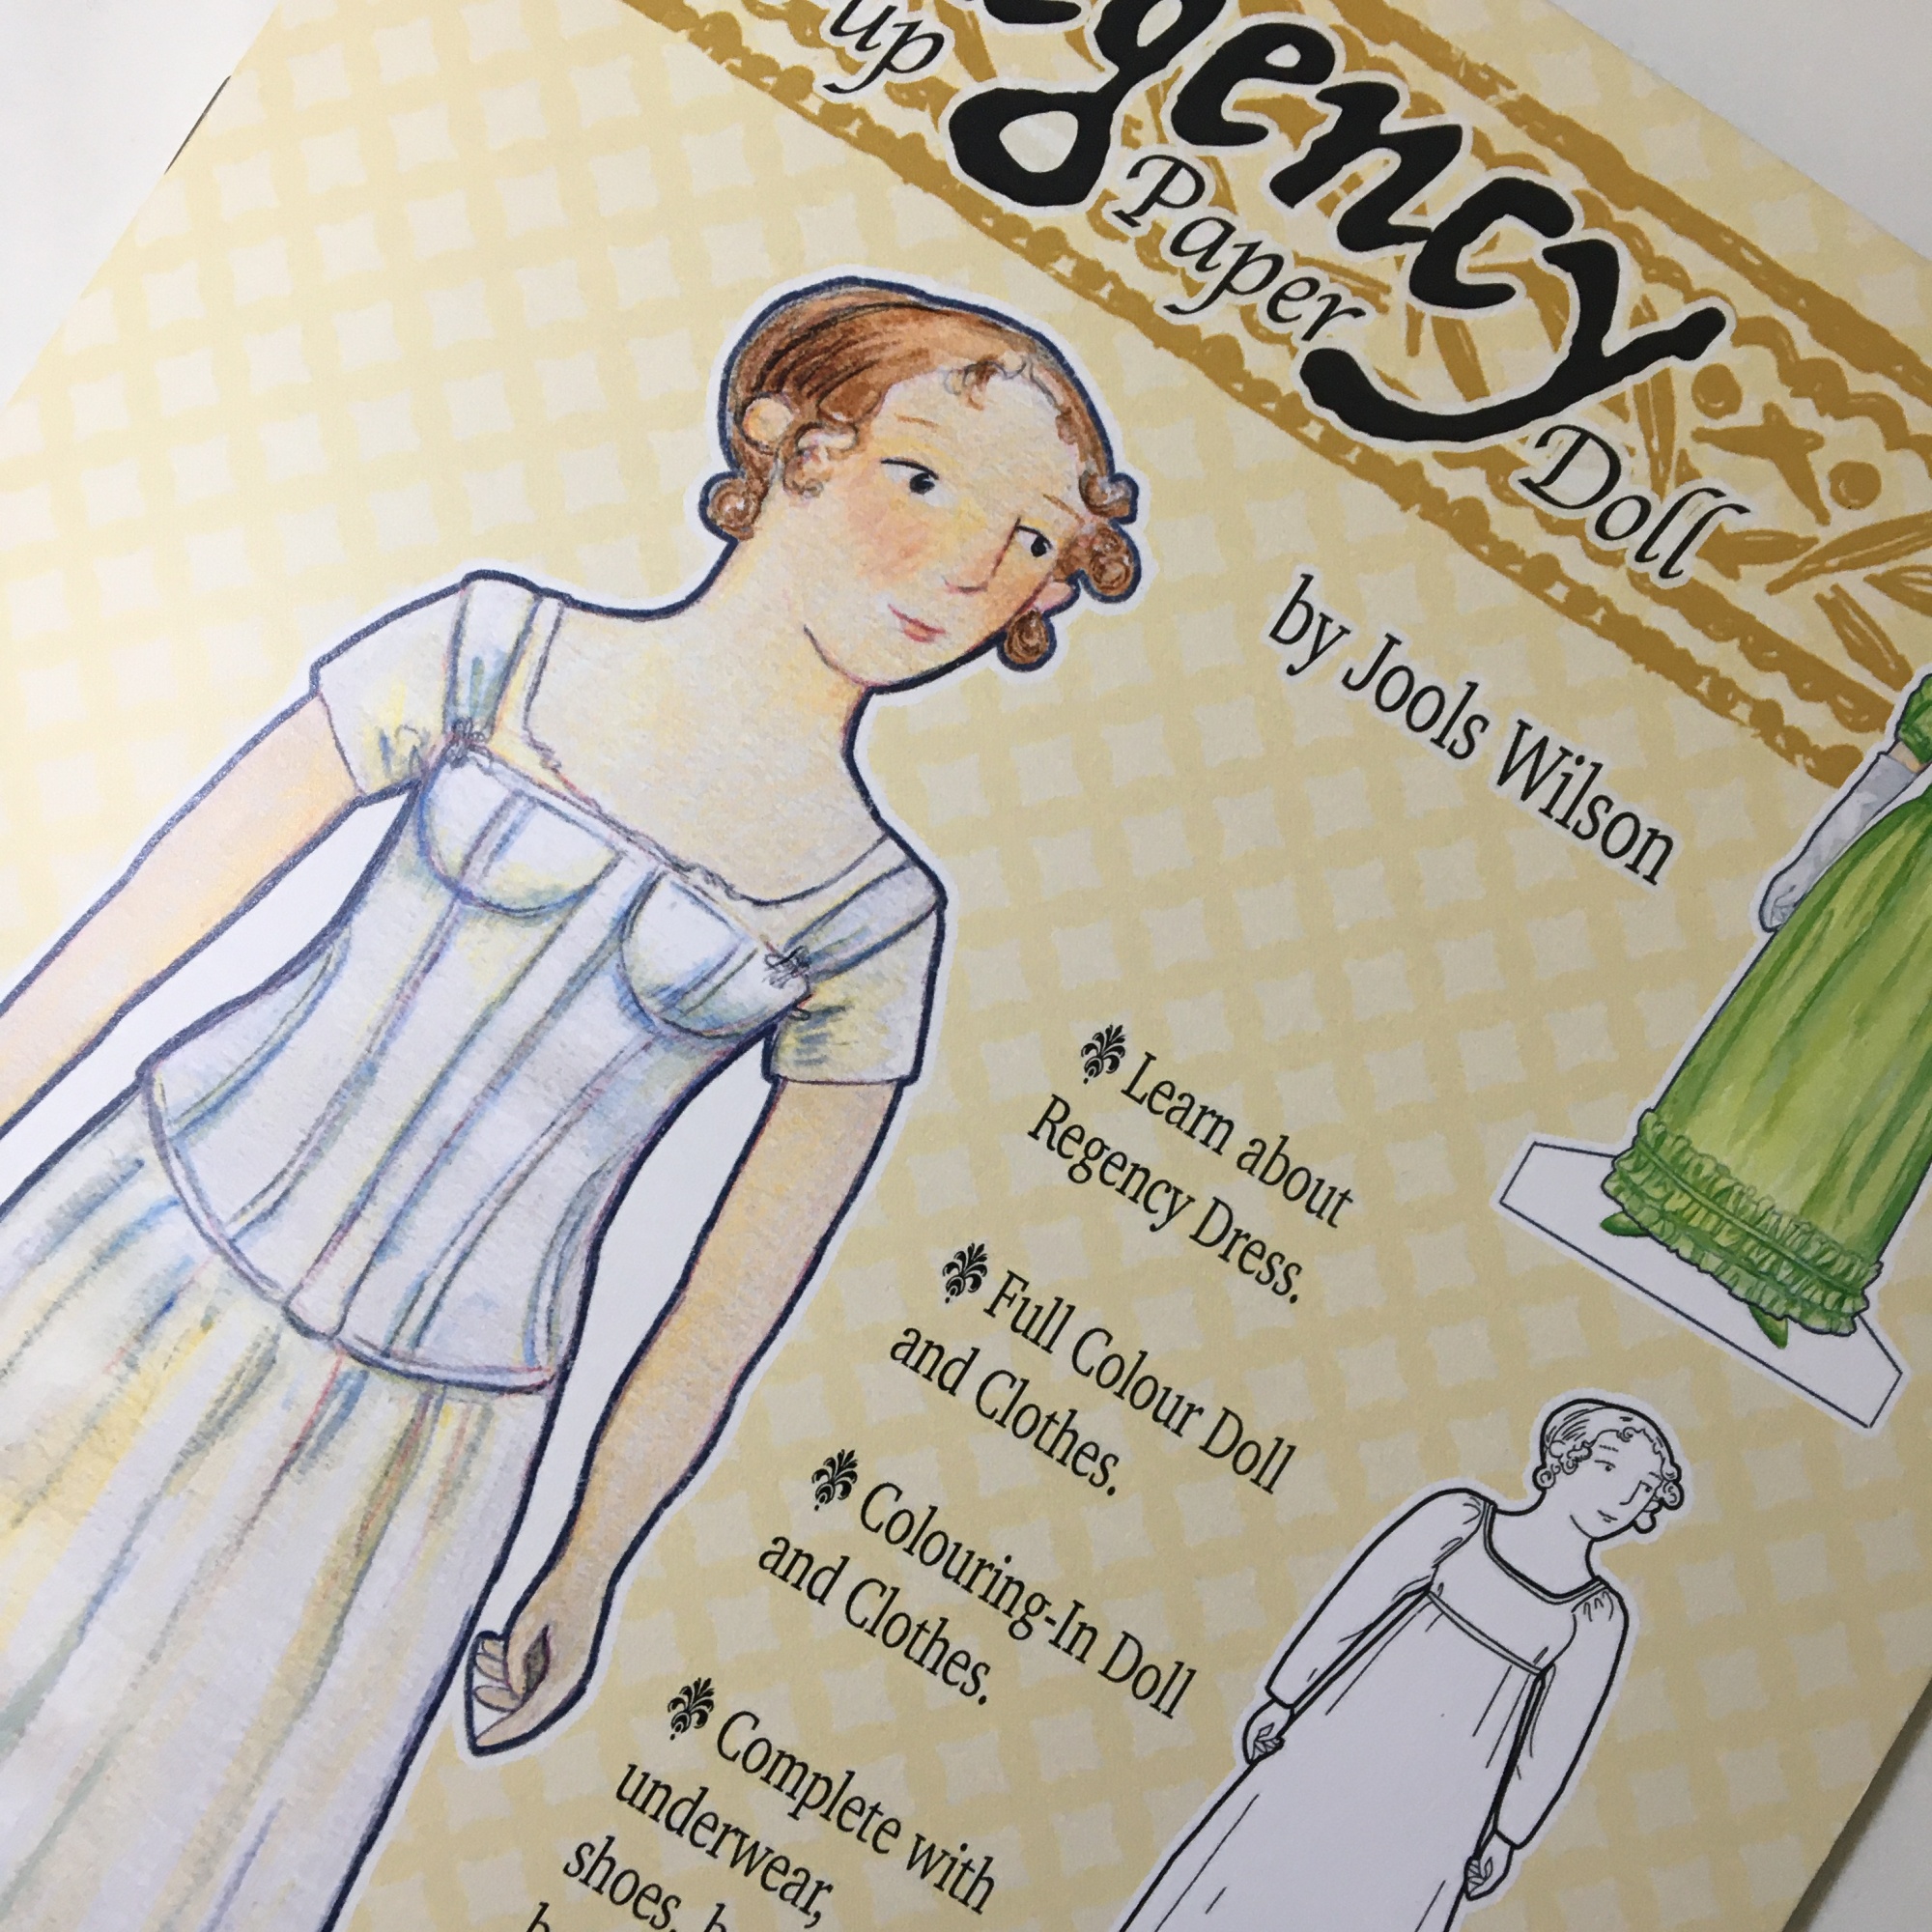
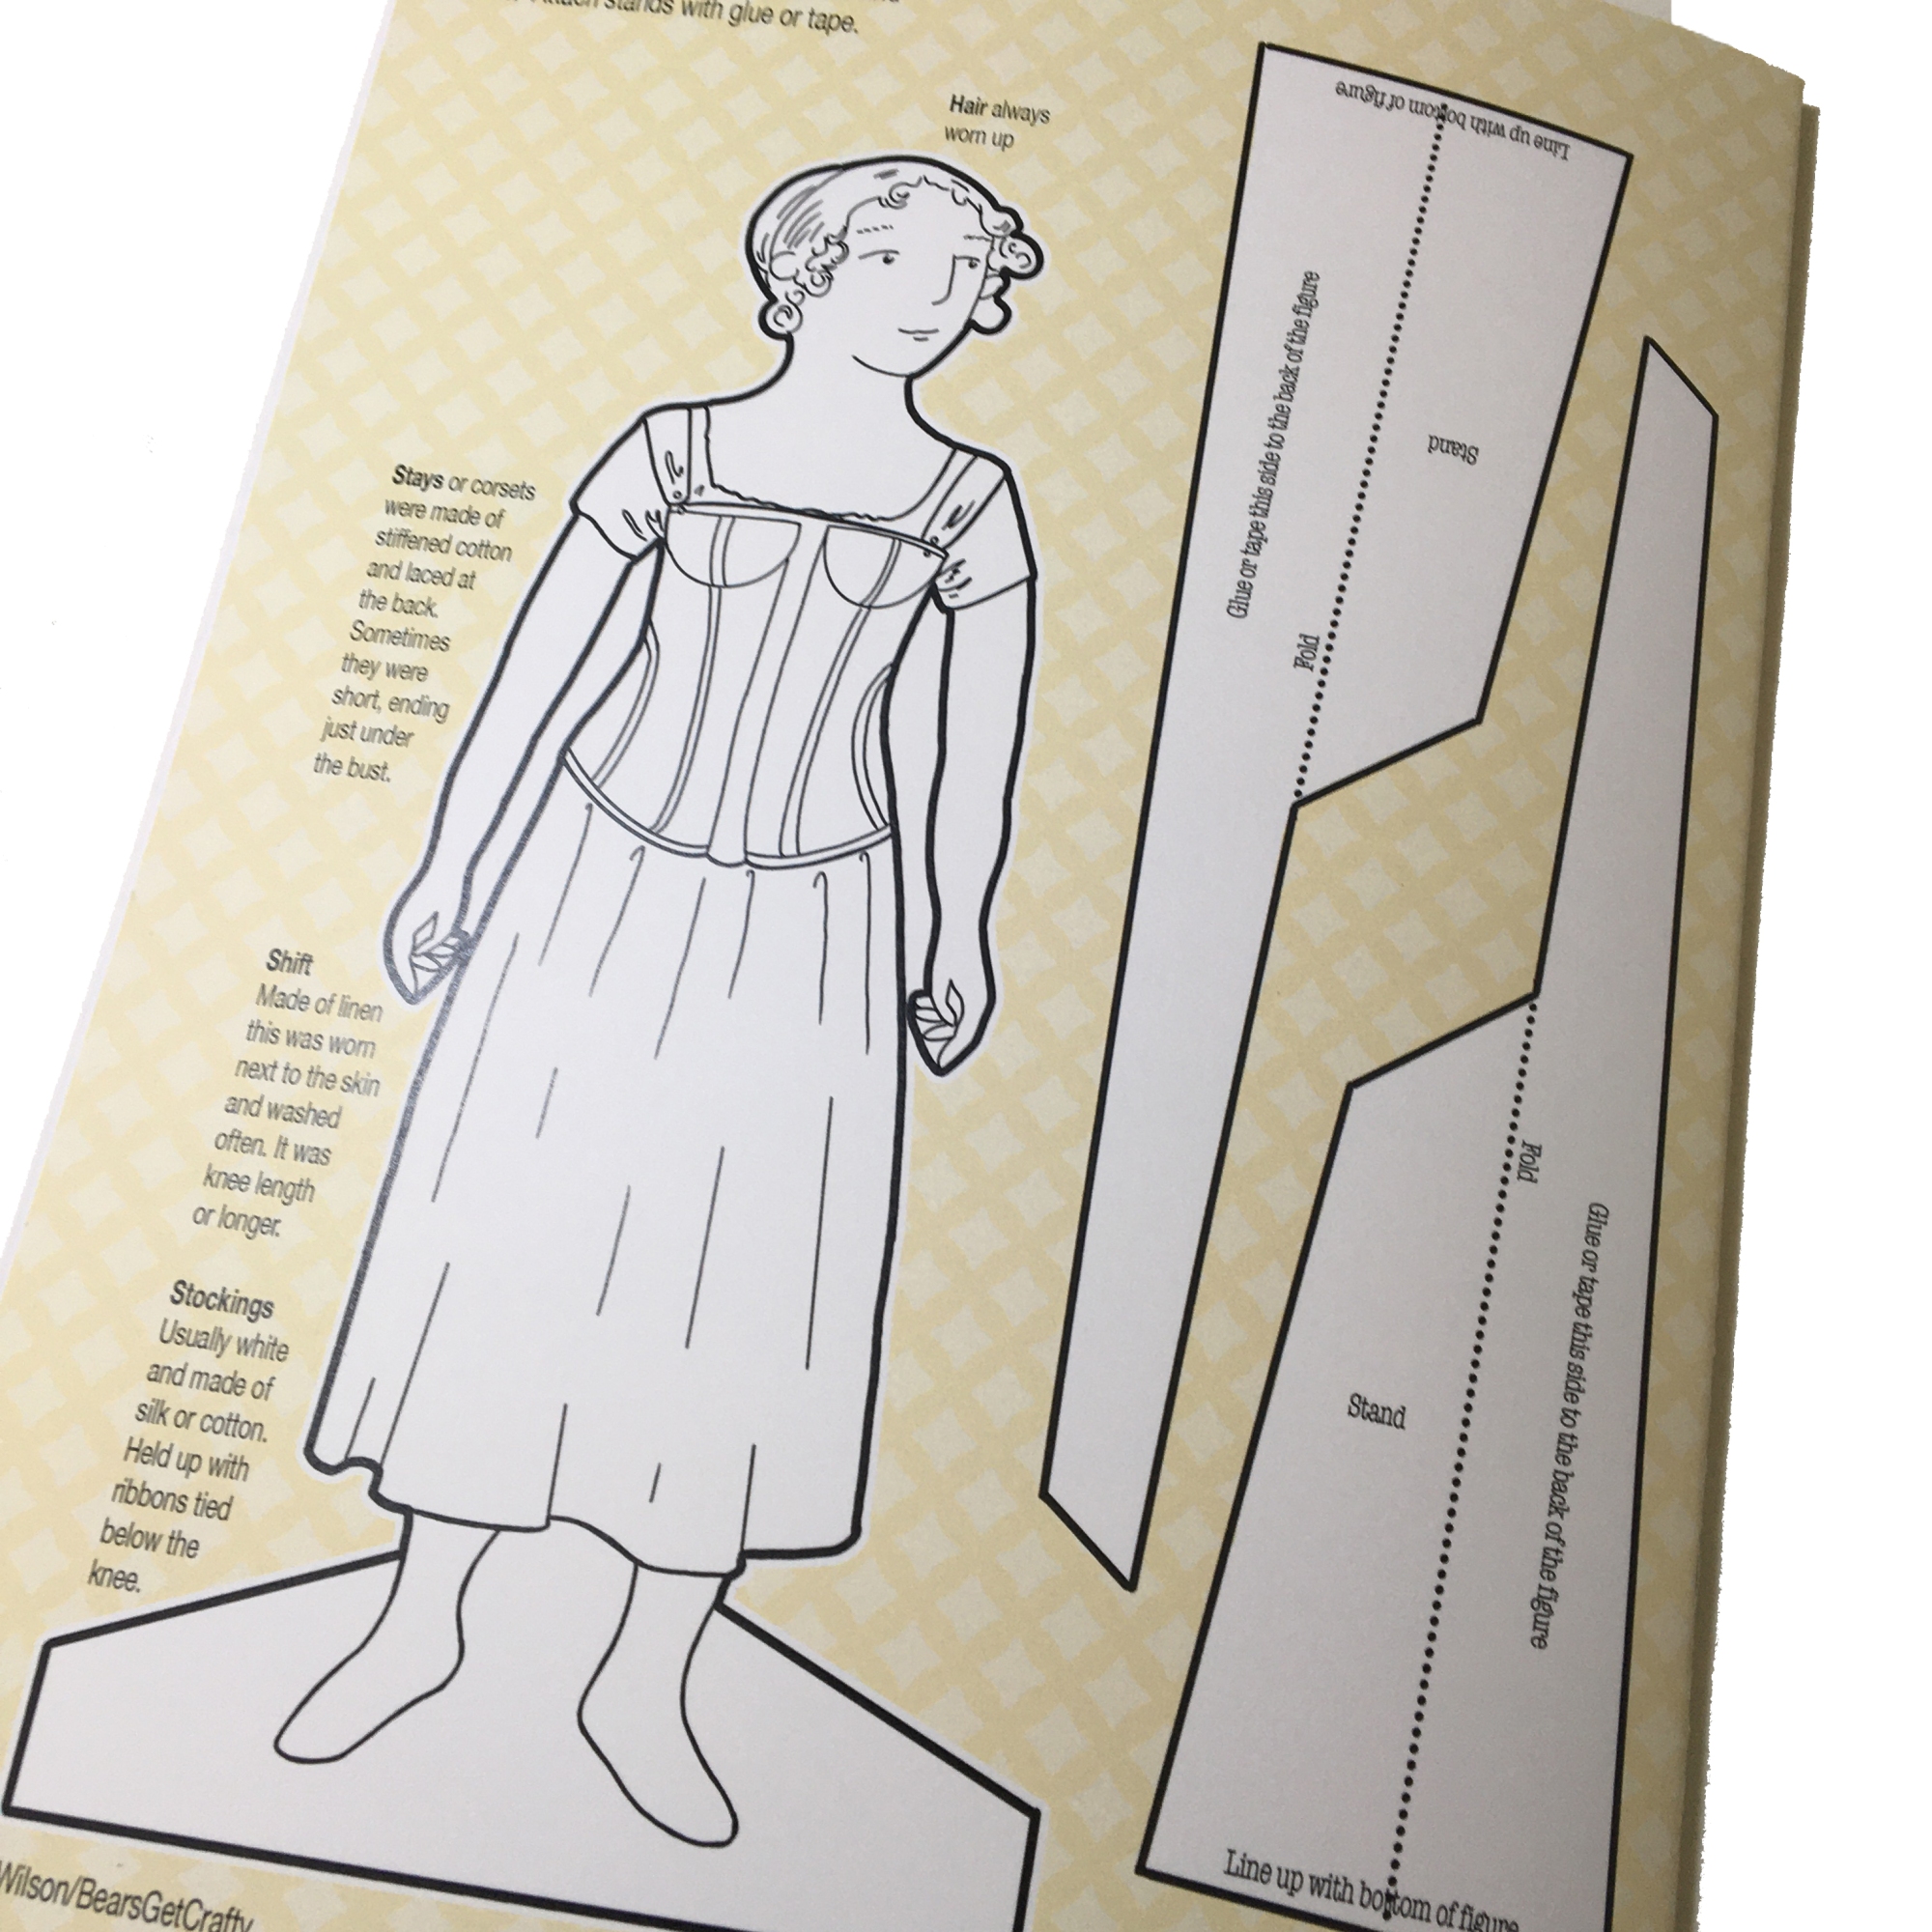
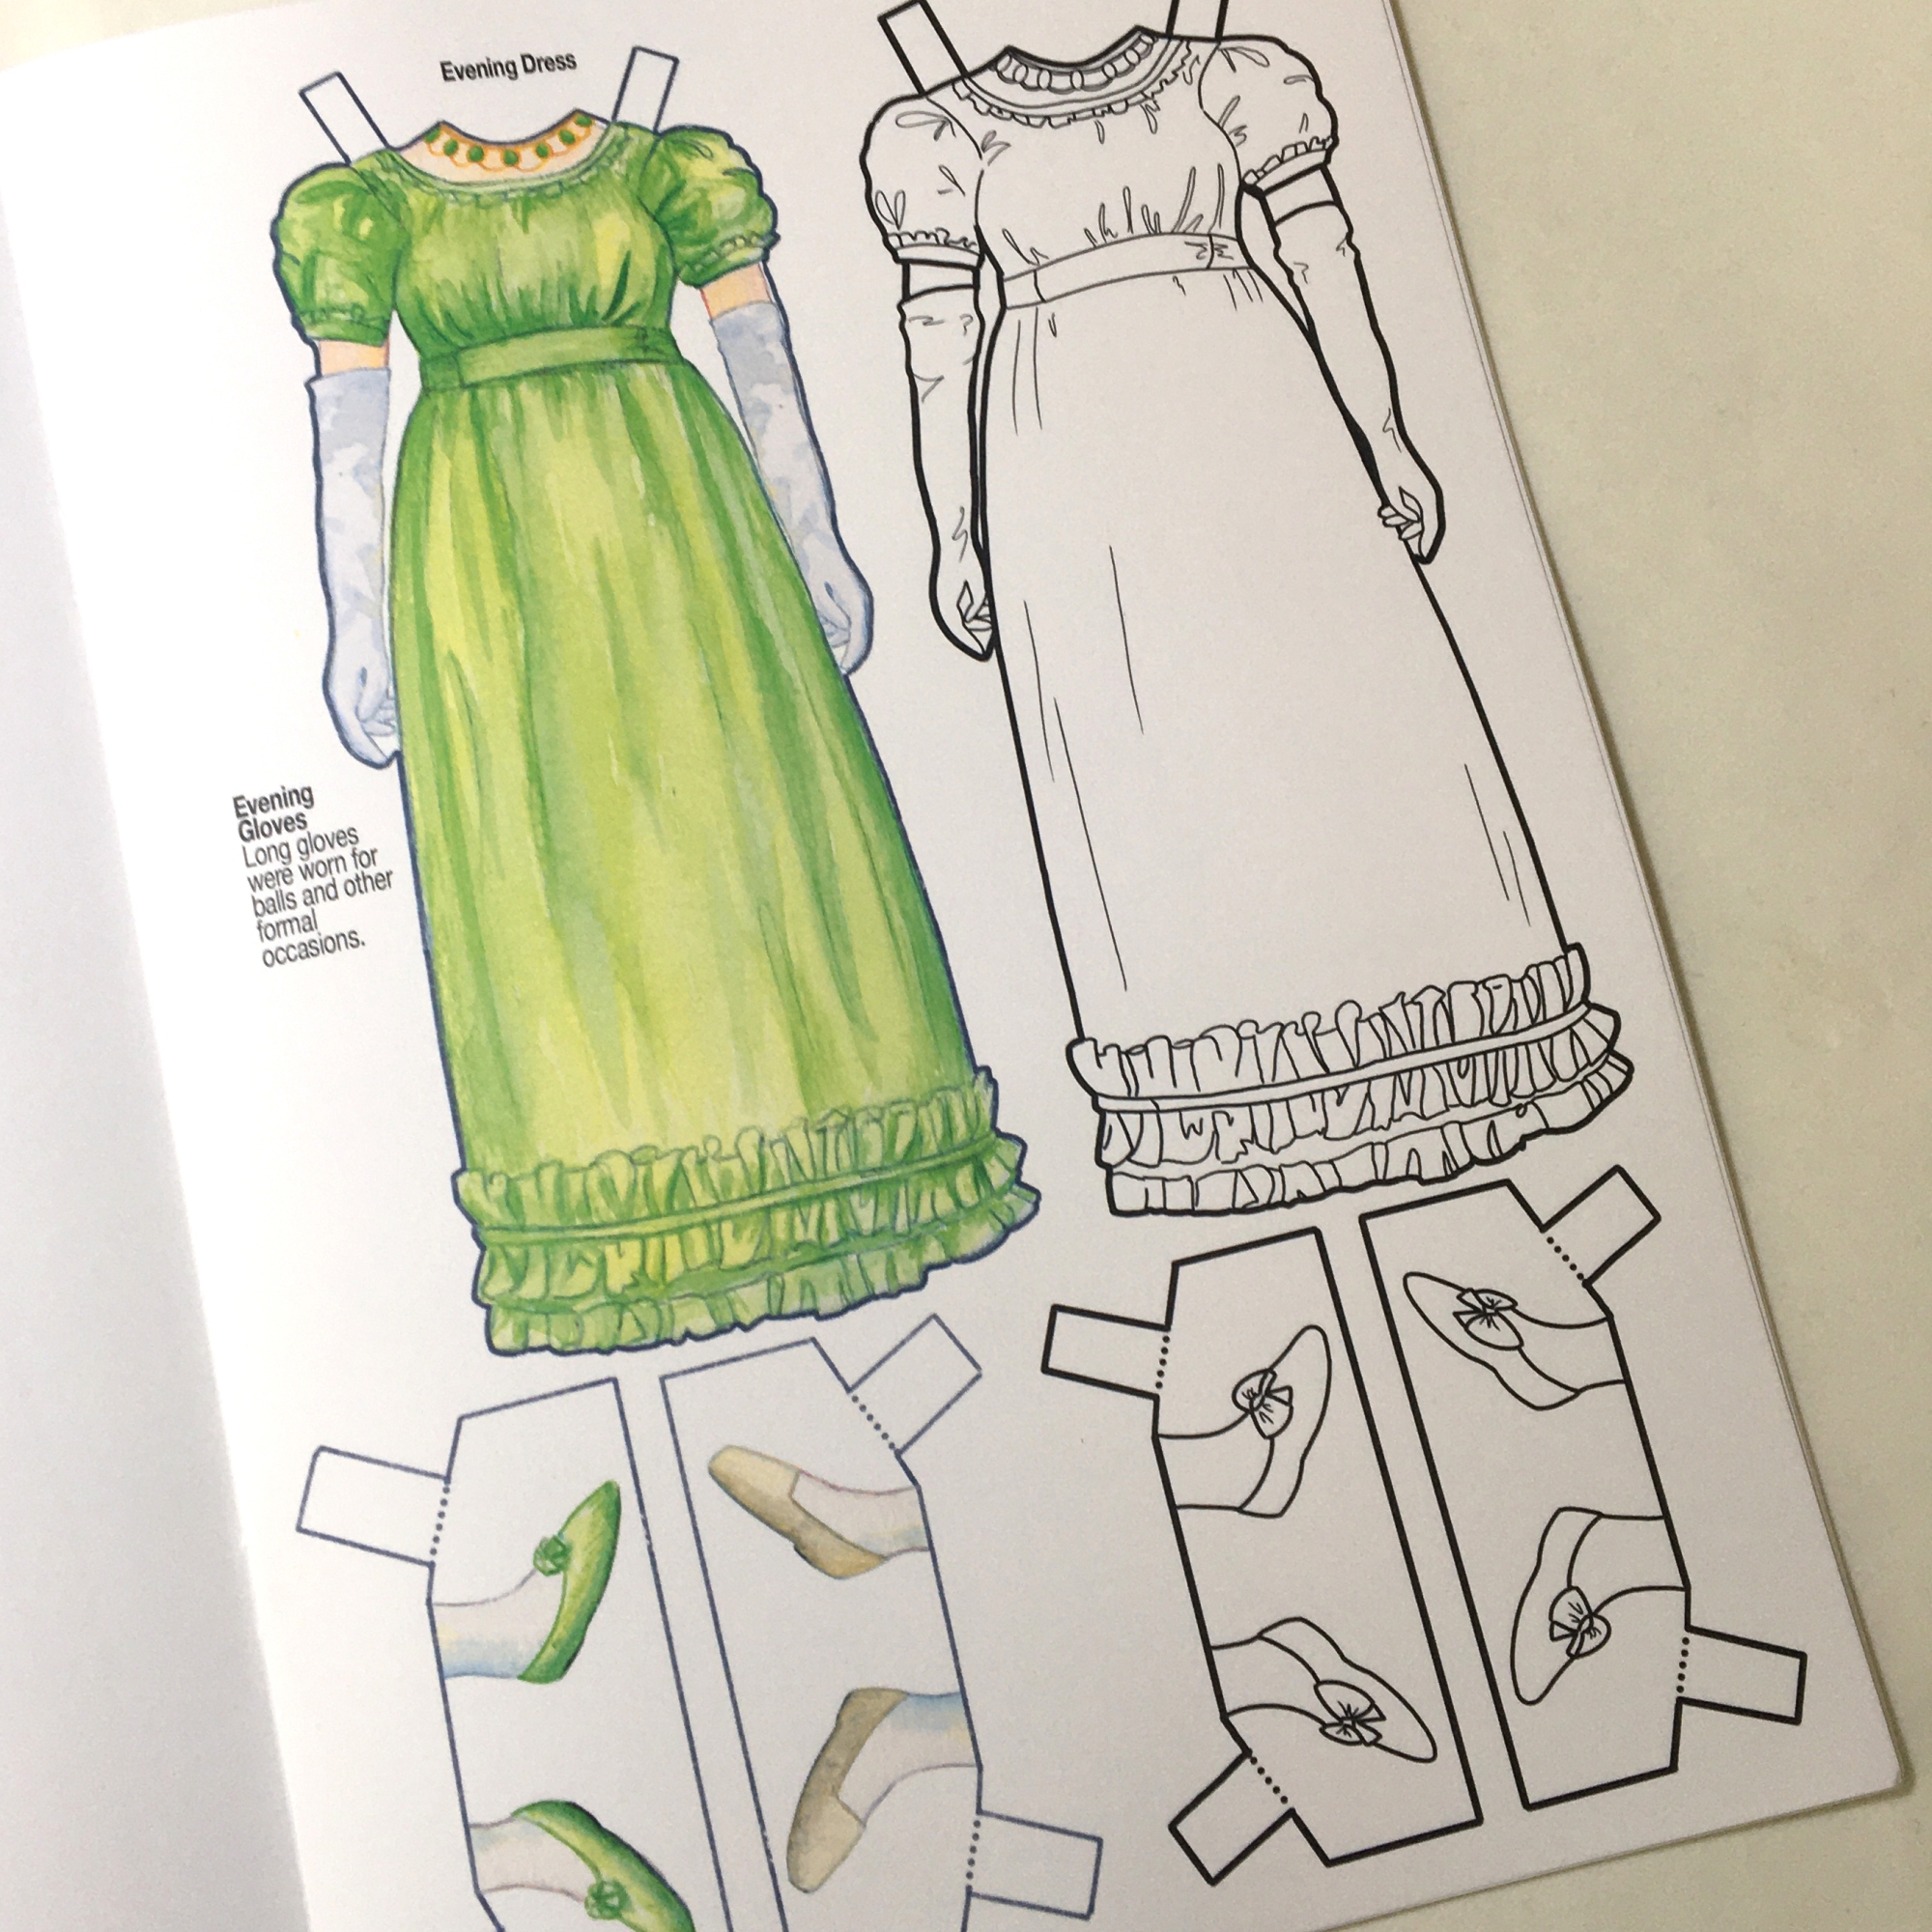
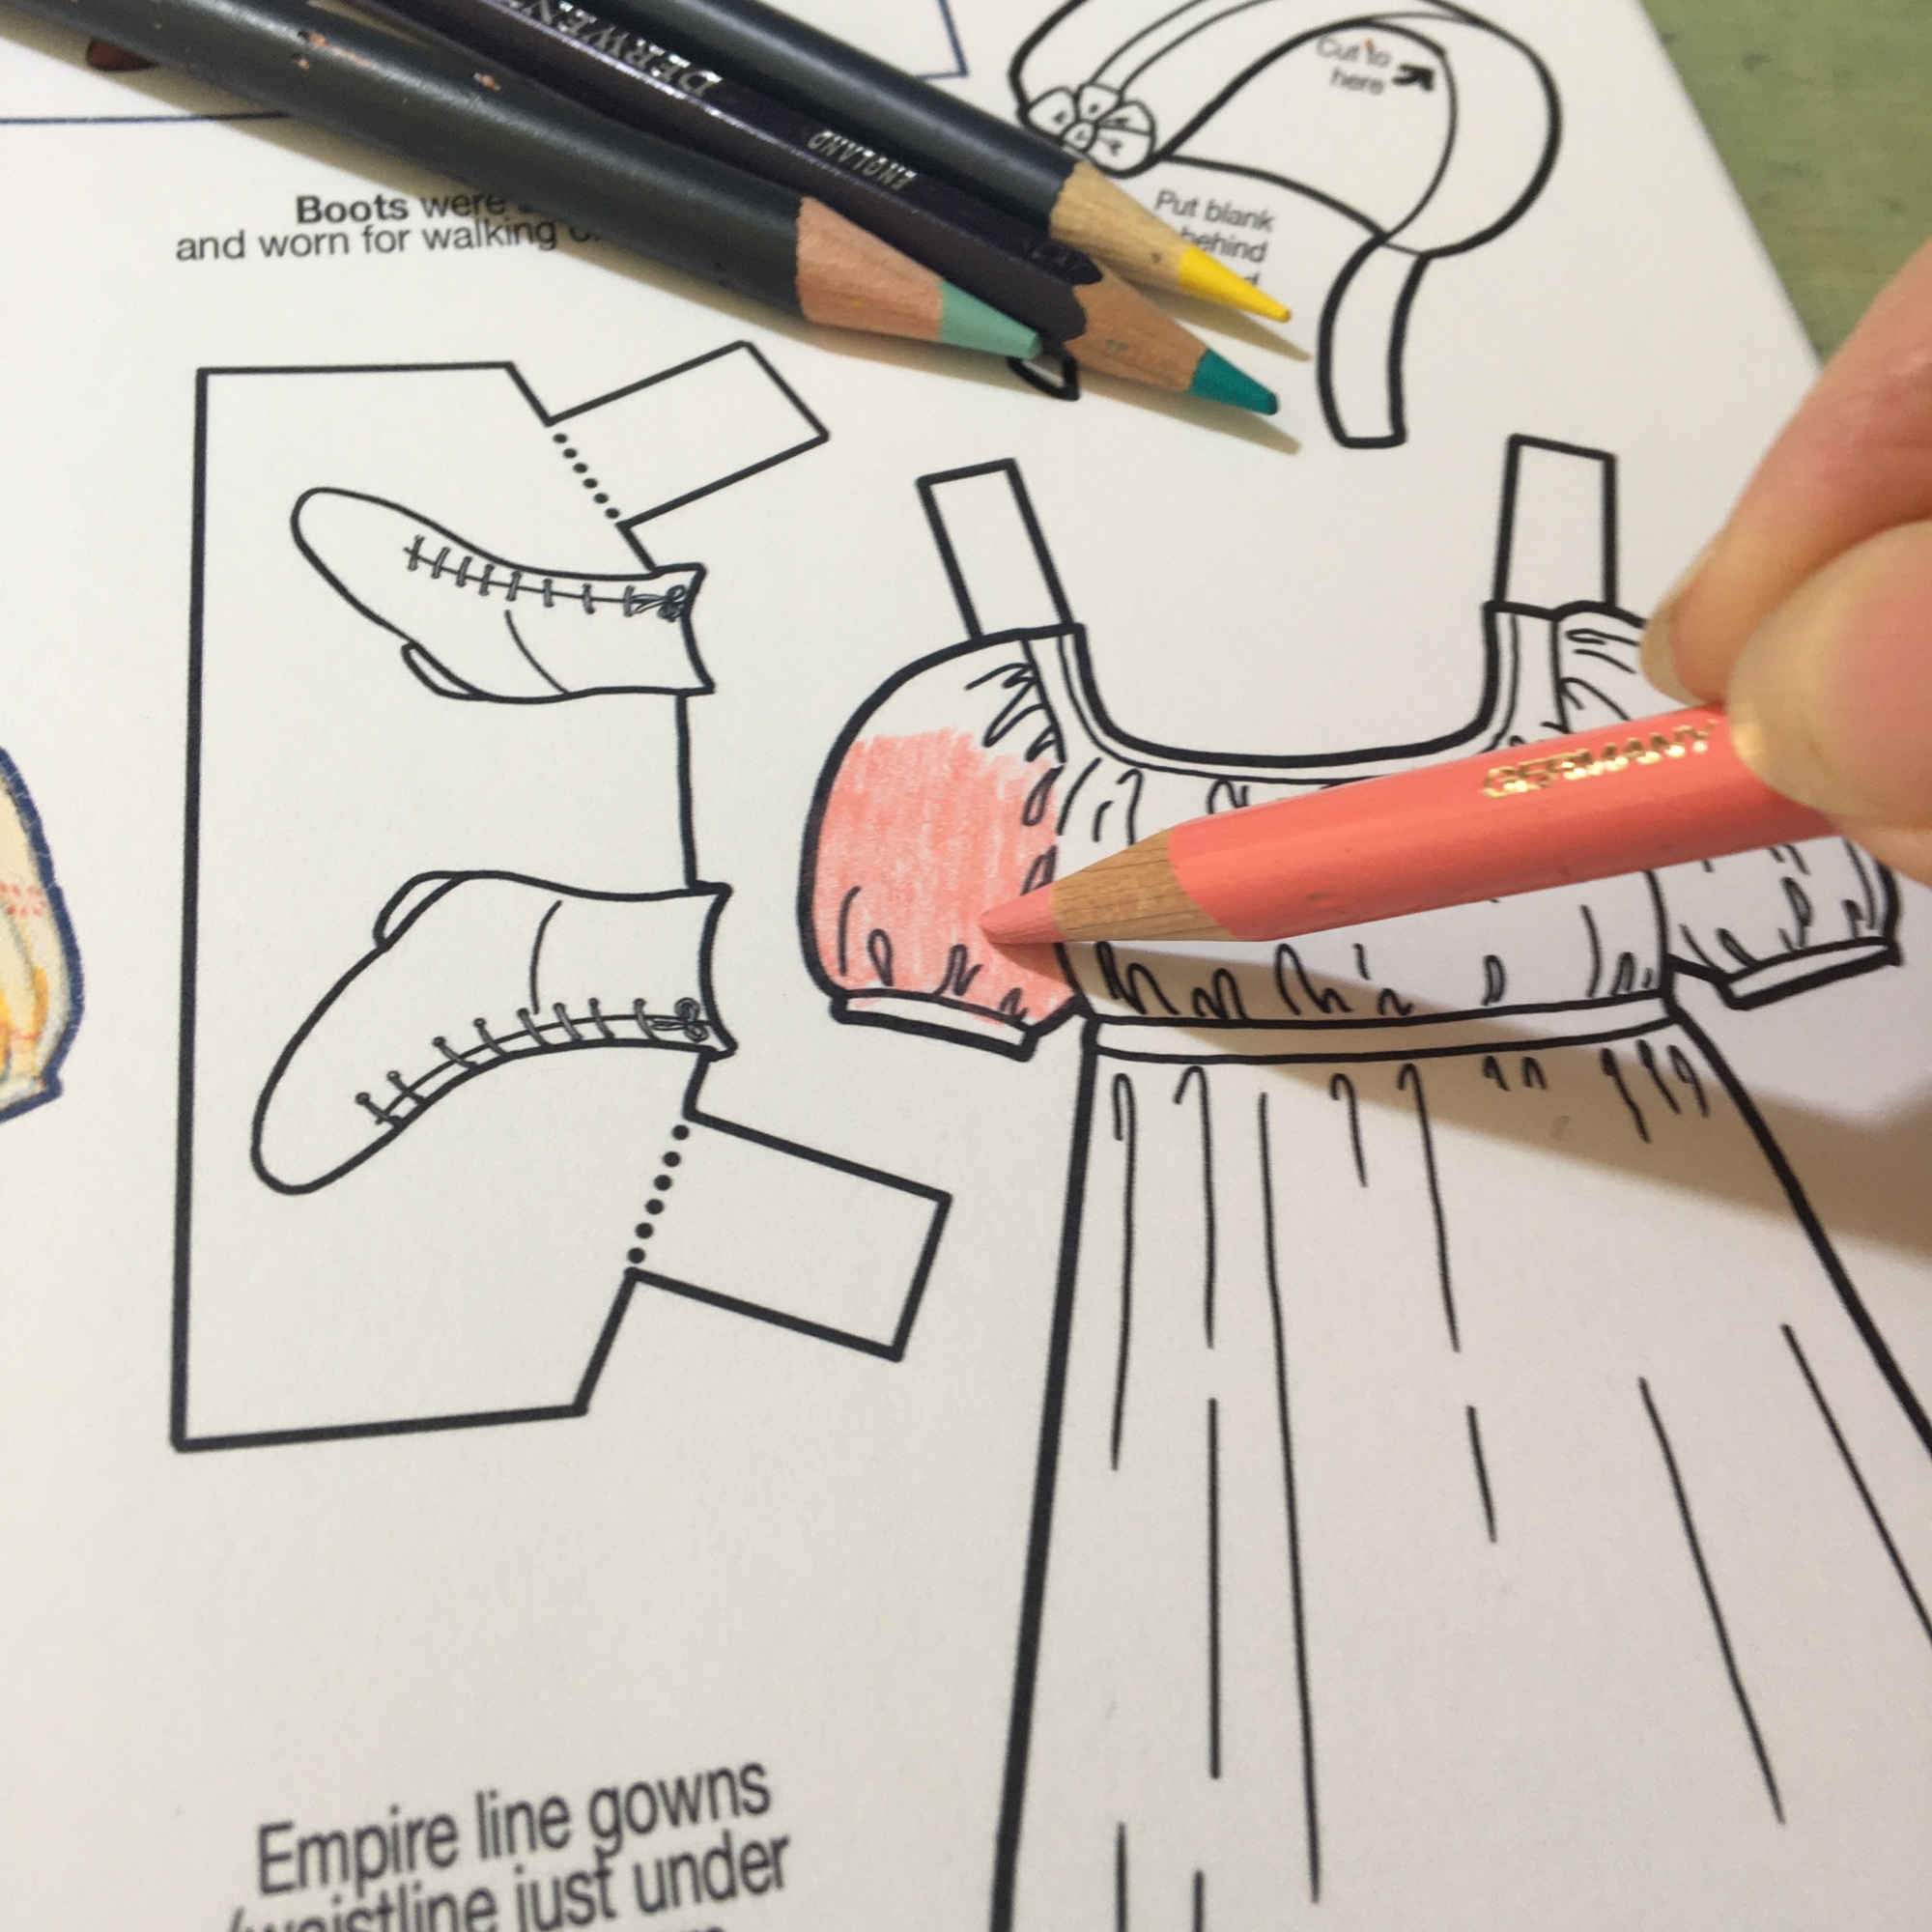
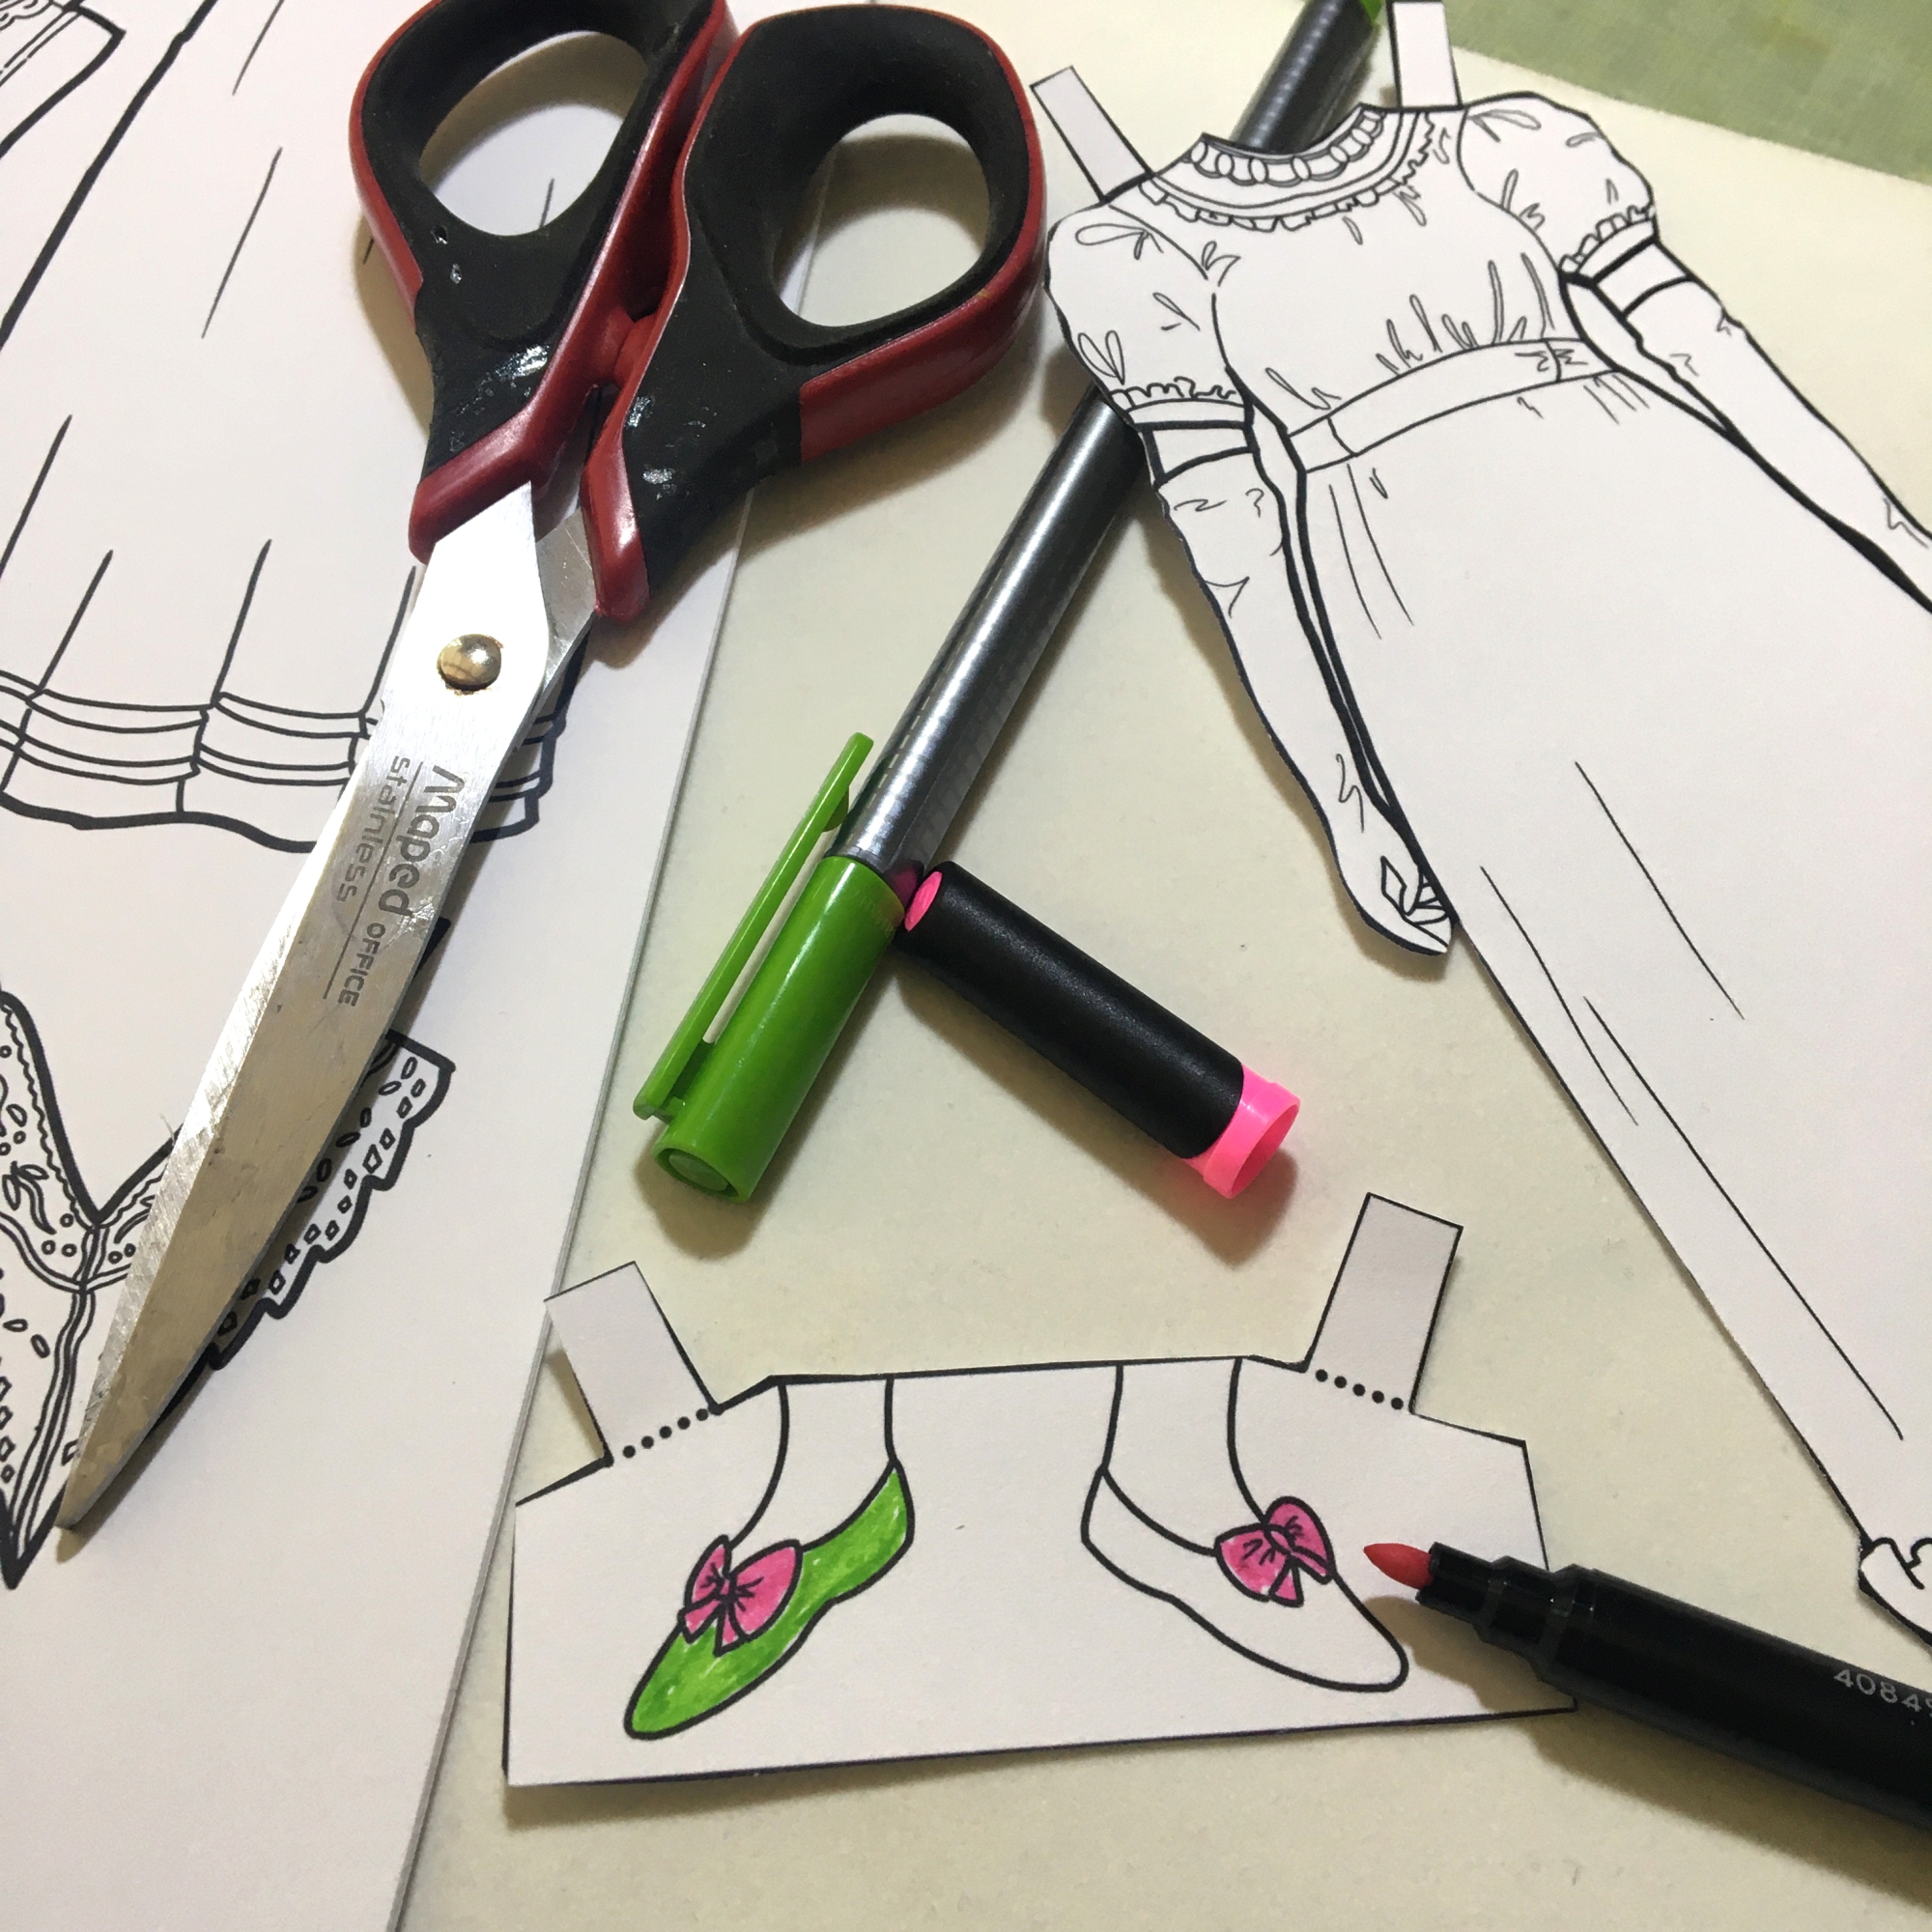
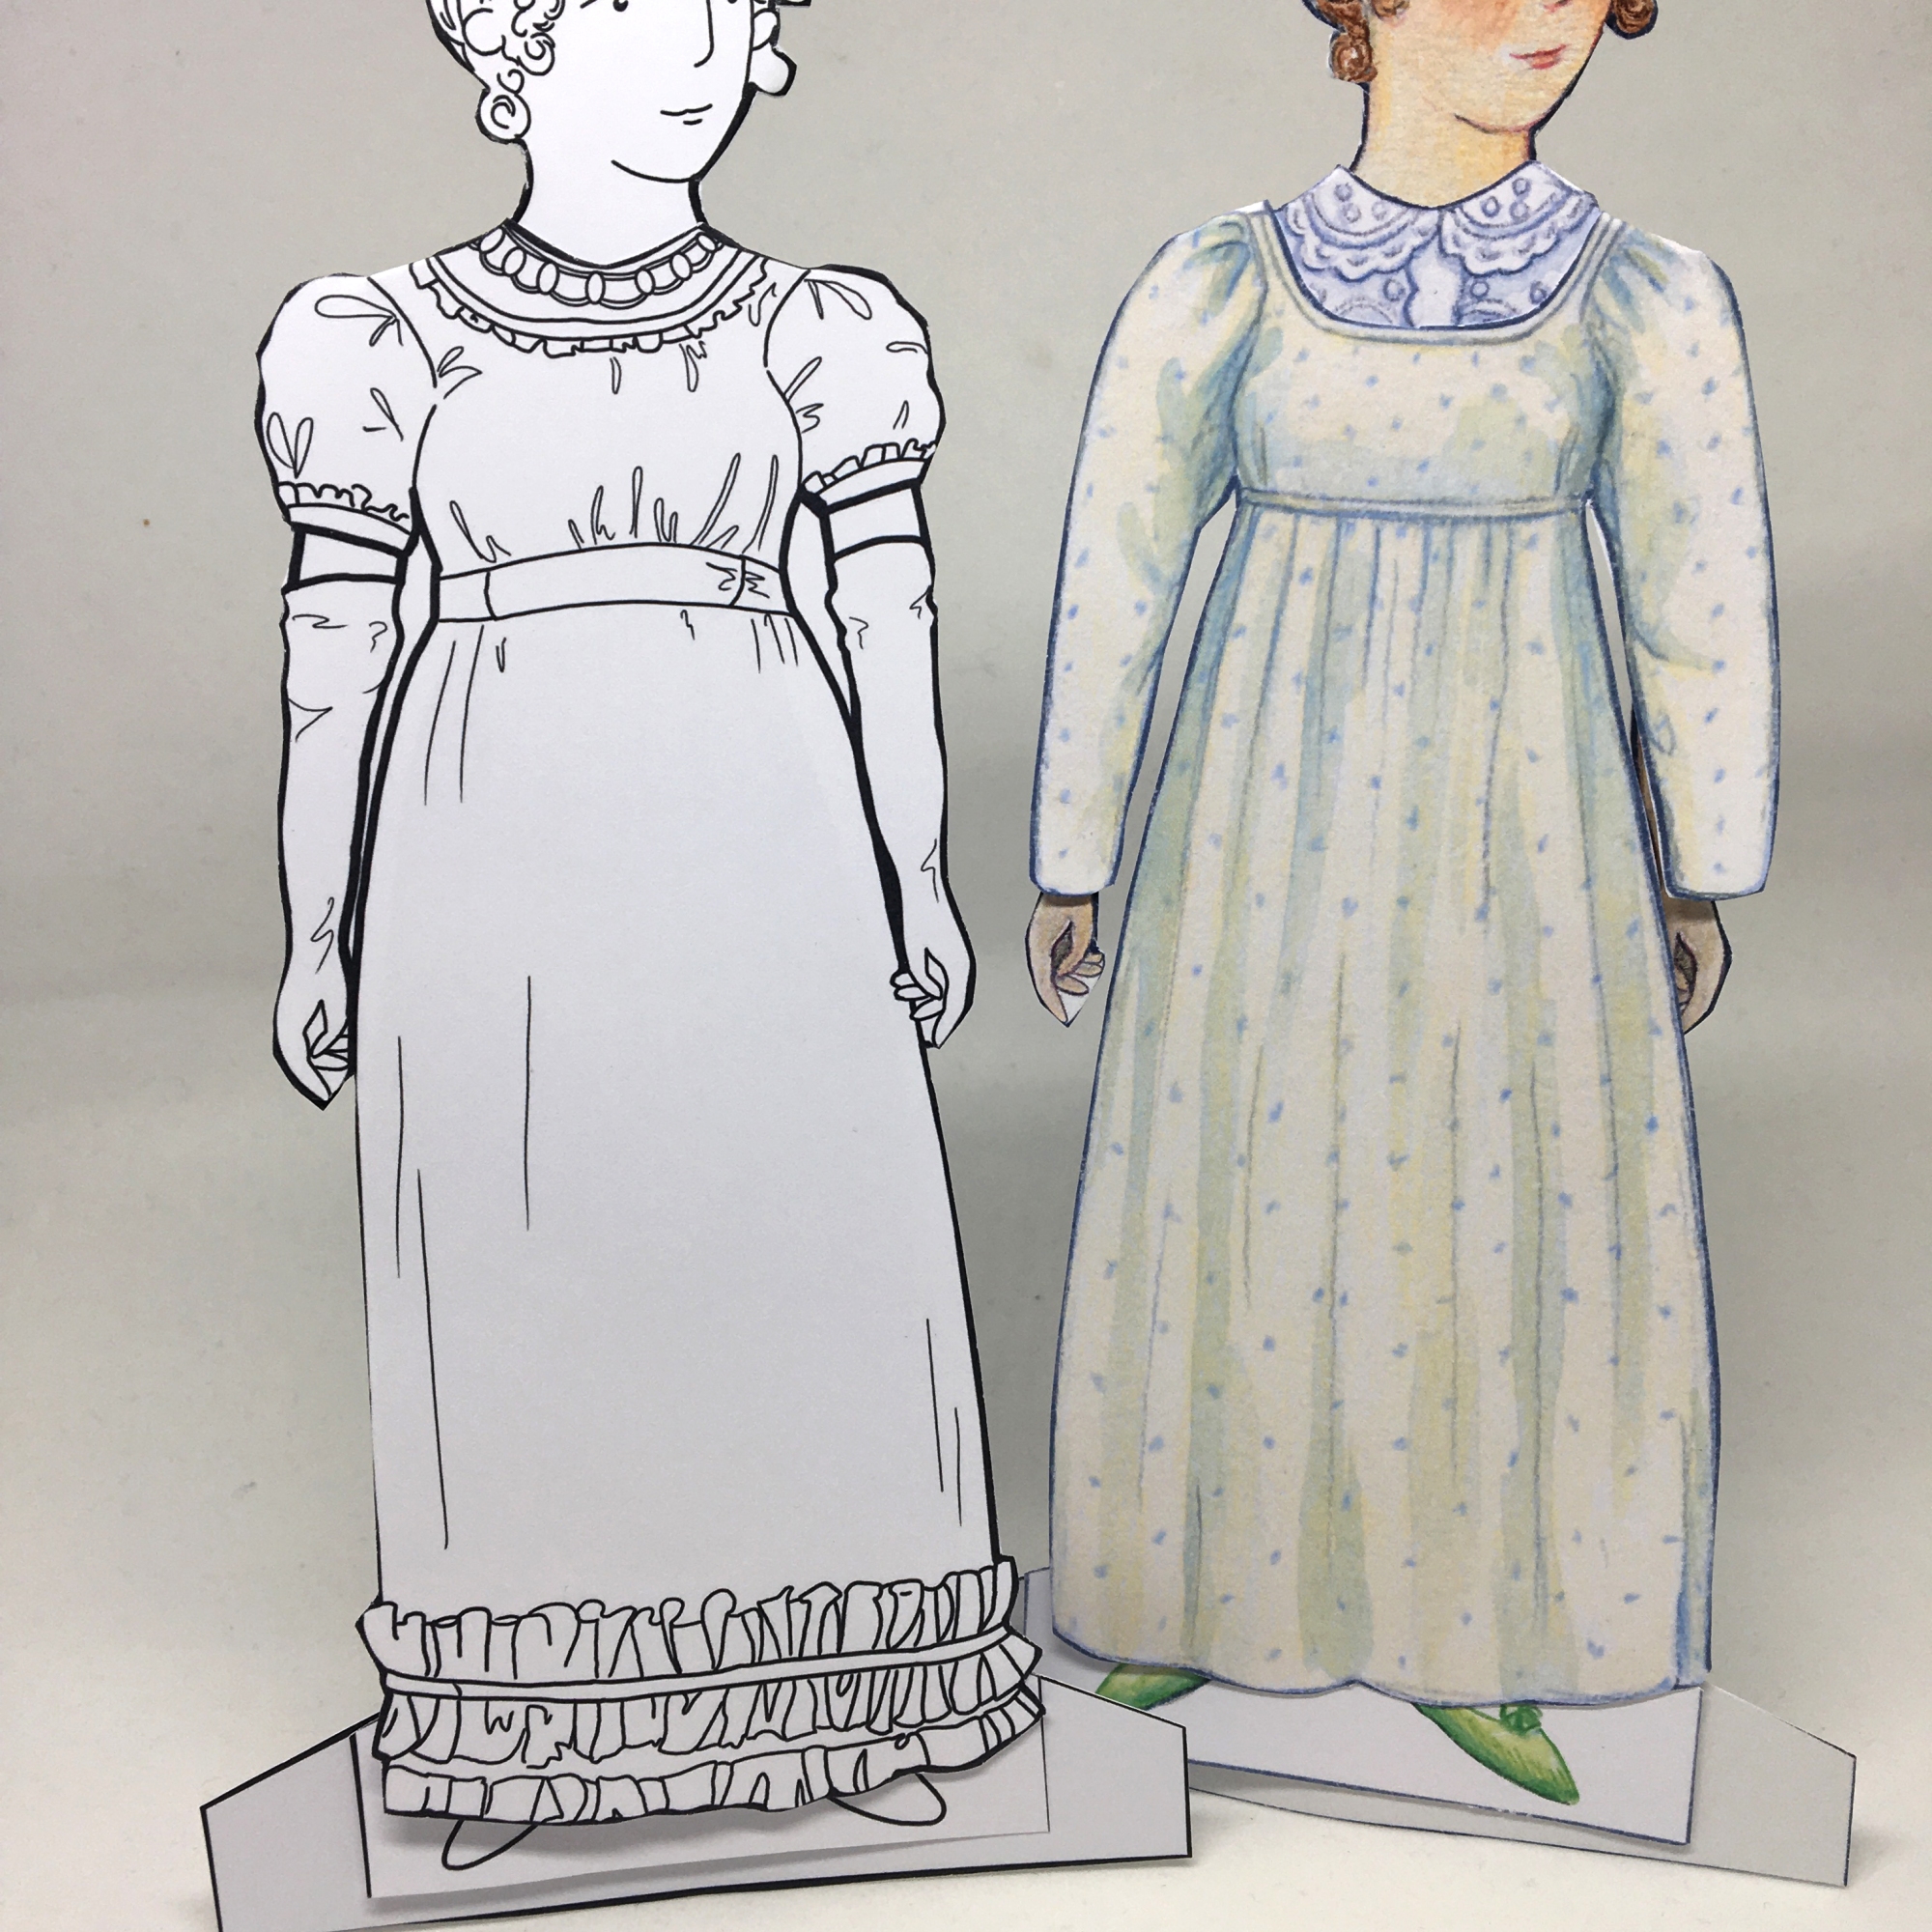
My Regency Dress Up Paper Doll is now available in printed form, with both colour and colouring in versions. It is A4 with a sturdy card cover and 8 pages of clothes to cut out. It’s available to buy here.

My Regency Dress Up Paper Doll is now available in printed form, with both colour and colouring in versions. It is A4 with a sturdy card cover and 8 pages of clothes to cut out. It’s available to buy here.
Viking Man’s Clothes A4 information and colouring sheet
Click here to download the pdf

Please enjoy and share this free download, but remember to credit Joolswilson or Bearsgetcrafty. Copyright Joolswilson. Do not sell in any form.
Viking women’s clothes A4 information and colouring sheet.
Click here to download the pdf.

Please enjoy and share this free download, but remember to credit Joolswilson or Bearsgetcrafty. Copyright Joolswilson. Do not sell in any form.
You will need:
Thin cardboard – cereal boxes would be ideal
or Silver and gold card
Glue
Stapler
Sellotape
Silver paint (unless you are using silver card)
Paint brushes
Scissors
Silver (or other colour) crepe paper OR fabric
Pens/pencils/paint for decorative details
Fabric ‘chain mail’ (optional)
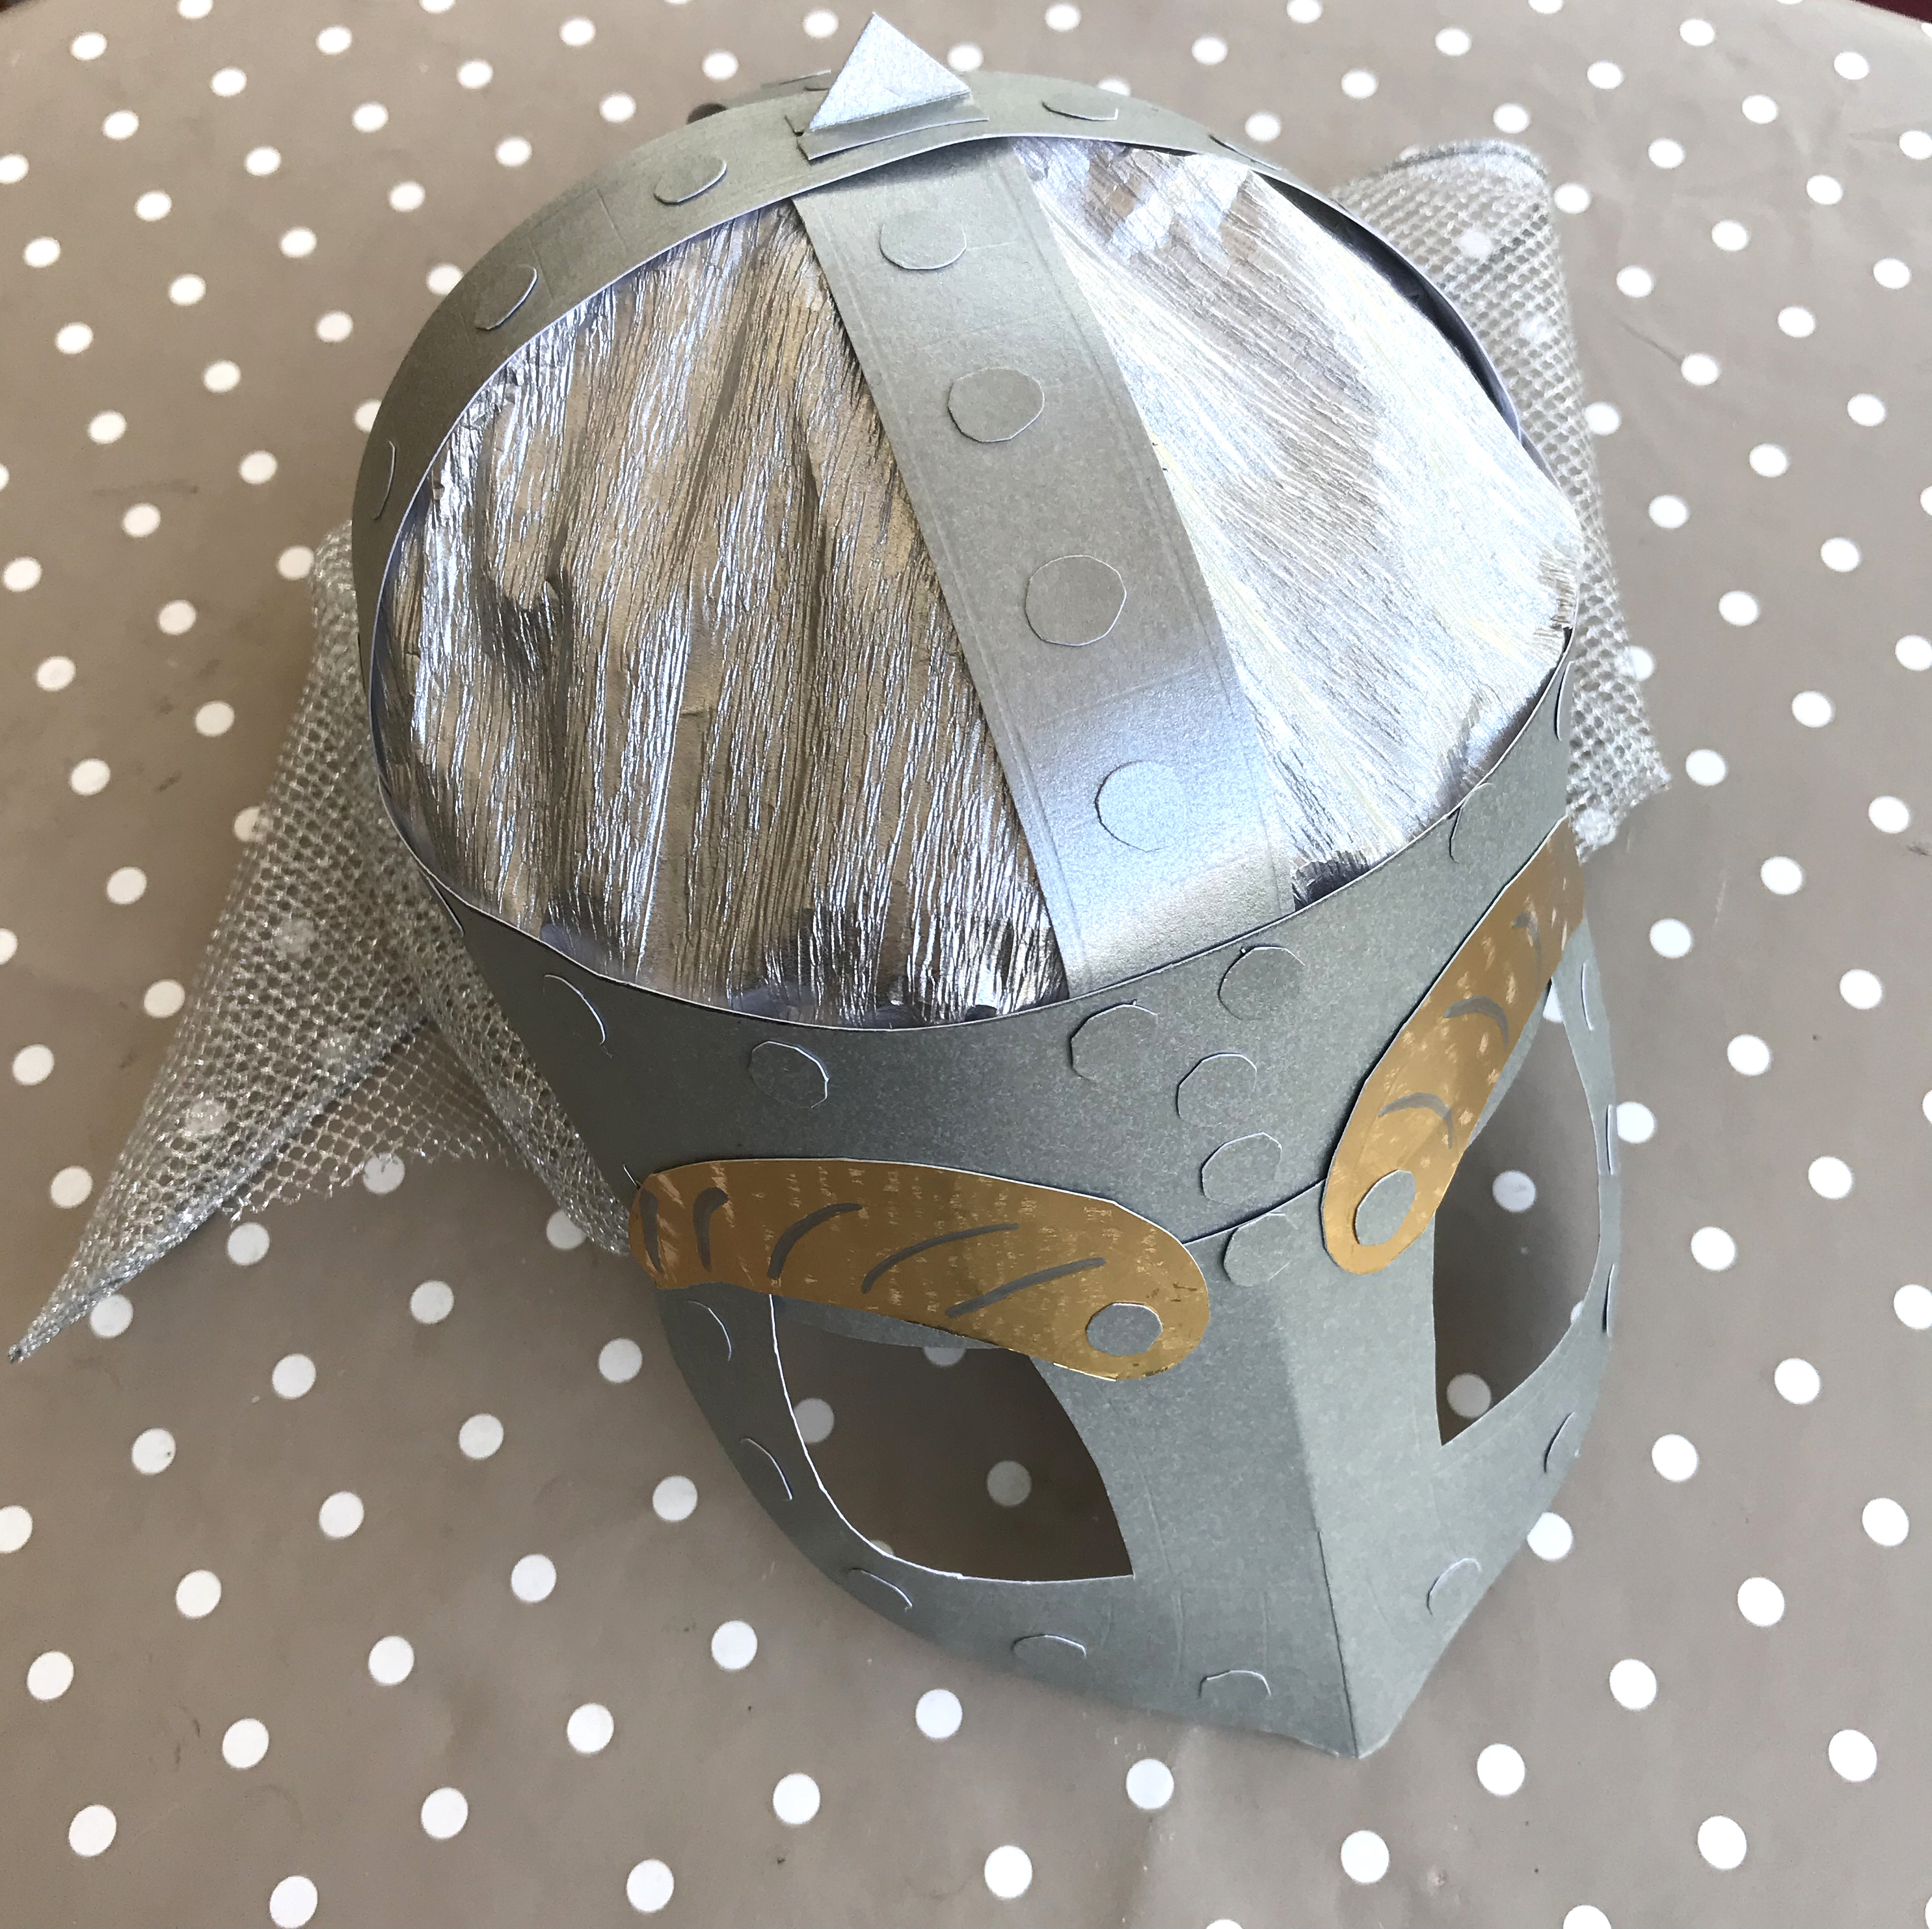
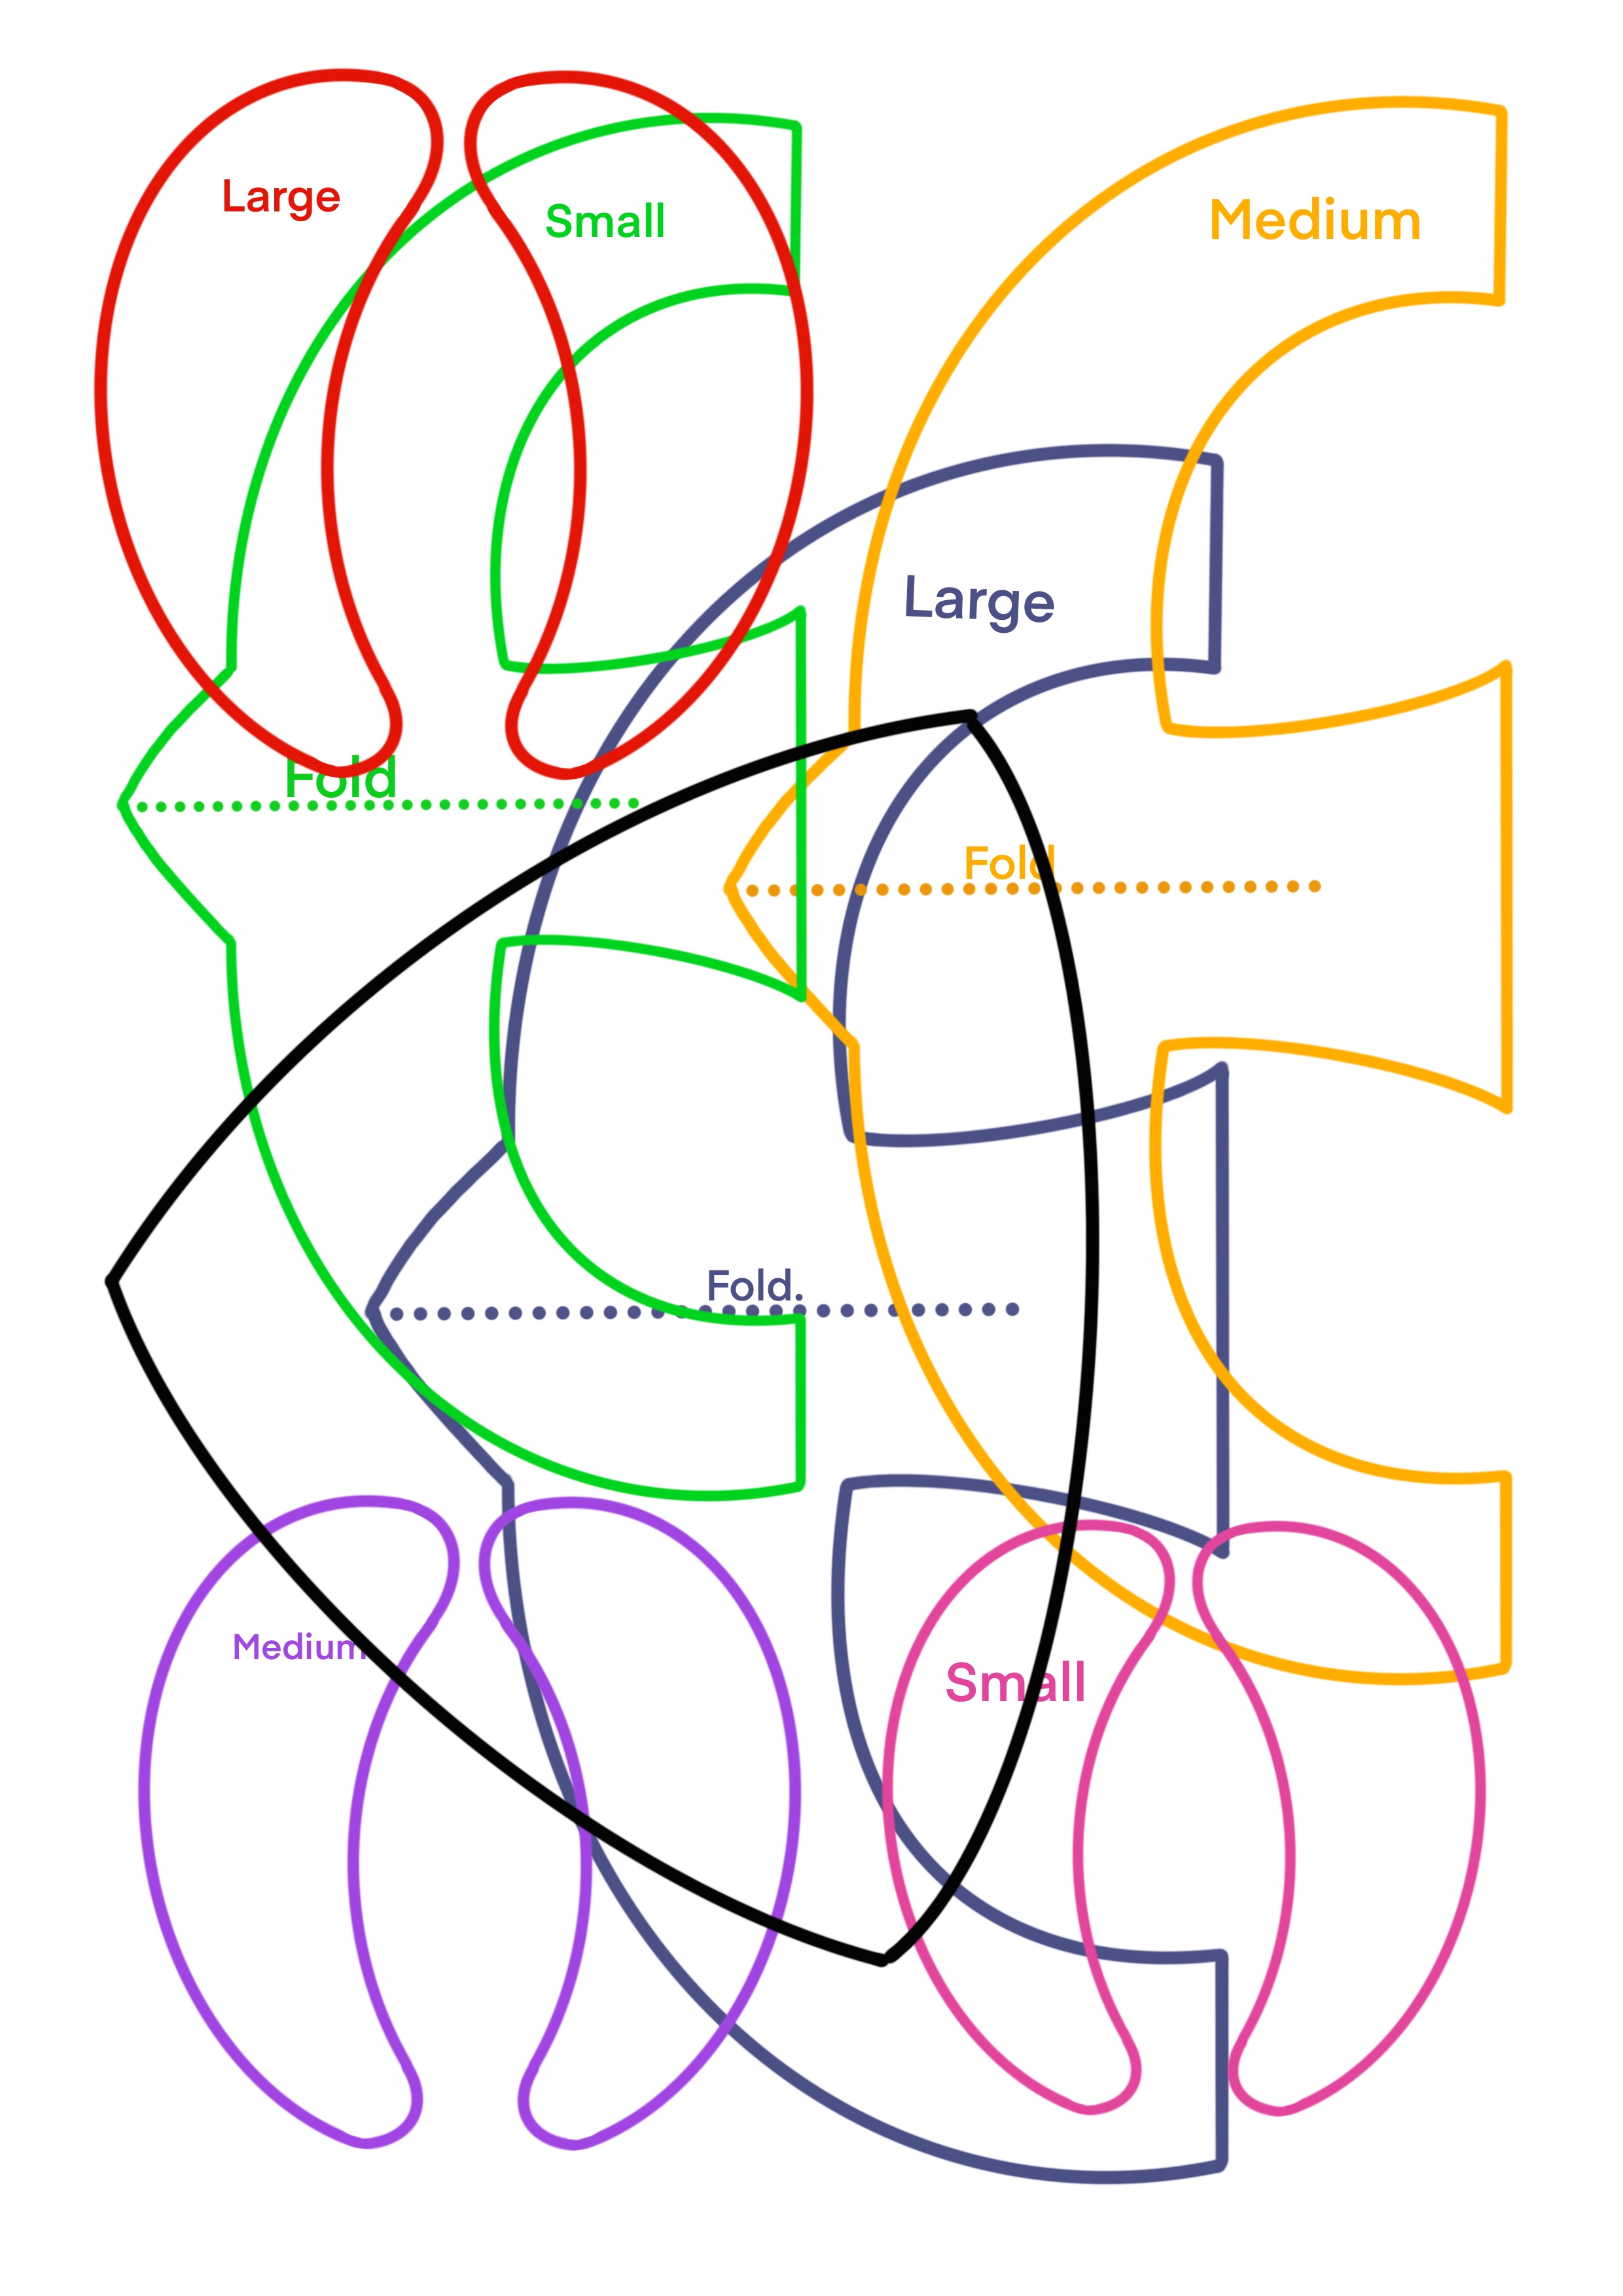
Download and print templates here
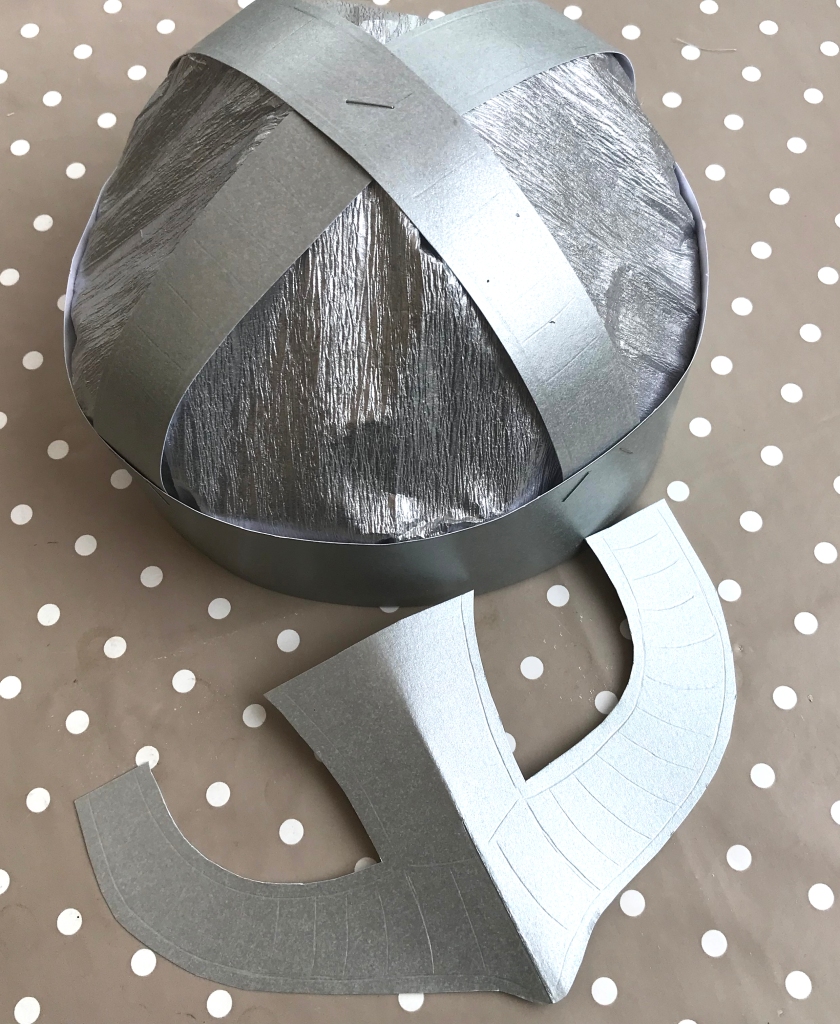
Cut a piece of cardboard 6cm x 63cm. You may need to join 2 pieces of card if you are using cereal boxes. This is large enough for an adult size helmet. This is the main band around the base of the helmet.
Cut 2 strips of cardboard 3cm x 30cm. These are the cross pieces on the top of the helmet.
Cut out the template for the front of the helmet. Draw round it onto your cardboard and cut out the shape.
If you are using plain cardboard paint all the pieces silver.
Draw or paint any patterns you want on the flat pieces.

If you are using silver card you can draw patterns with the wrong end of a paint brush.
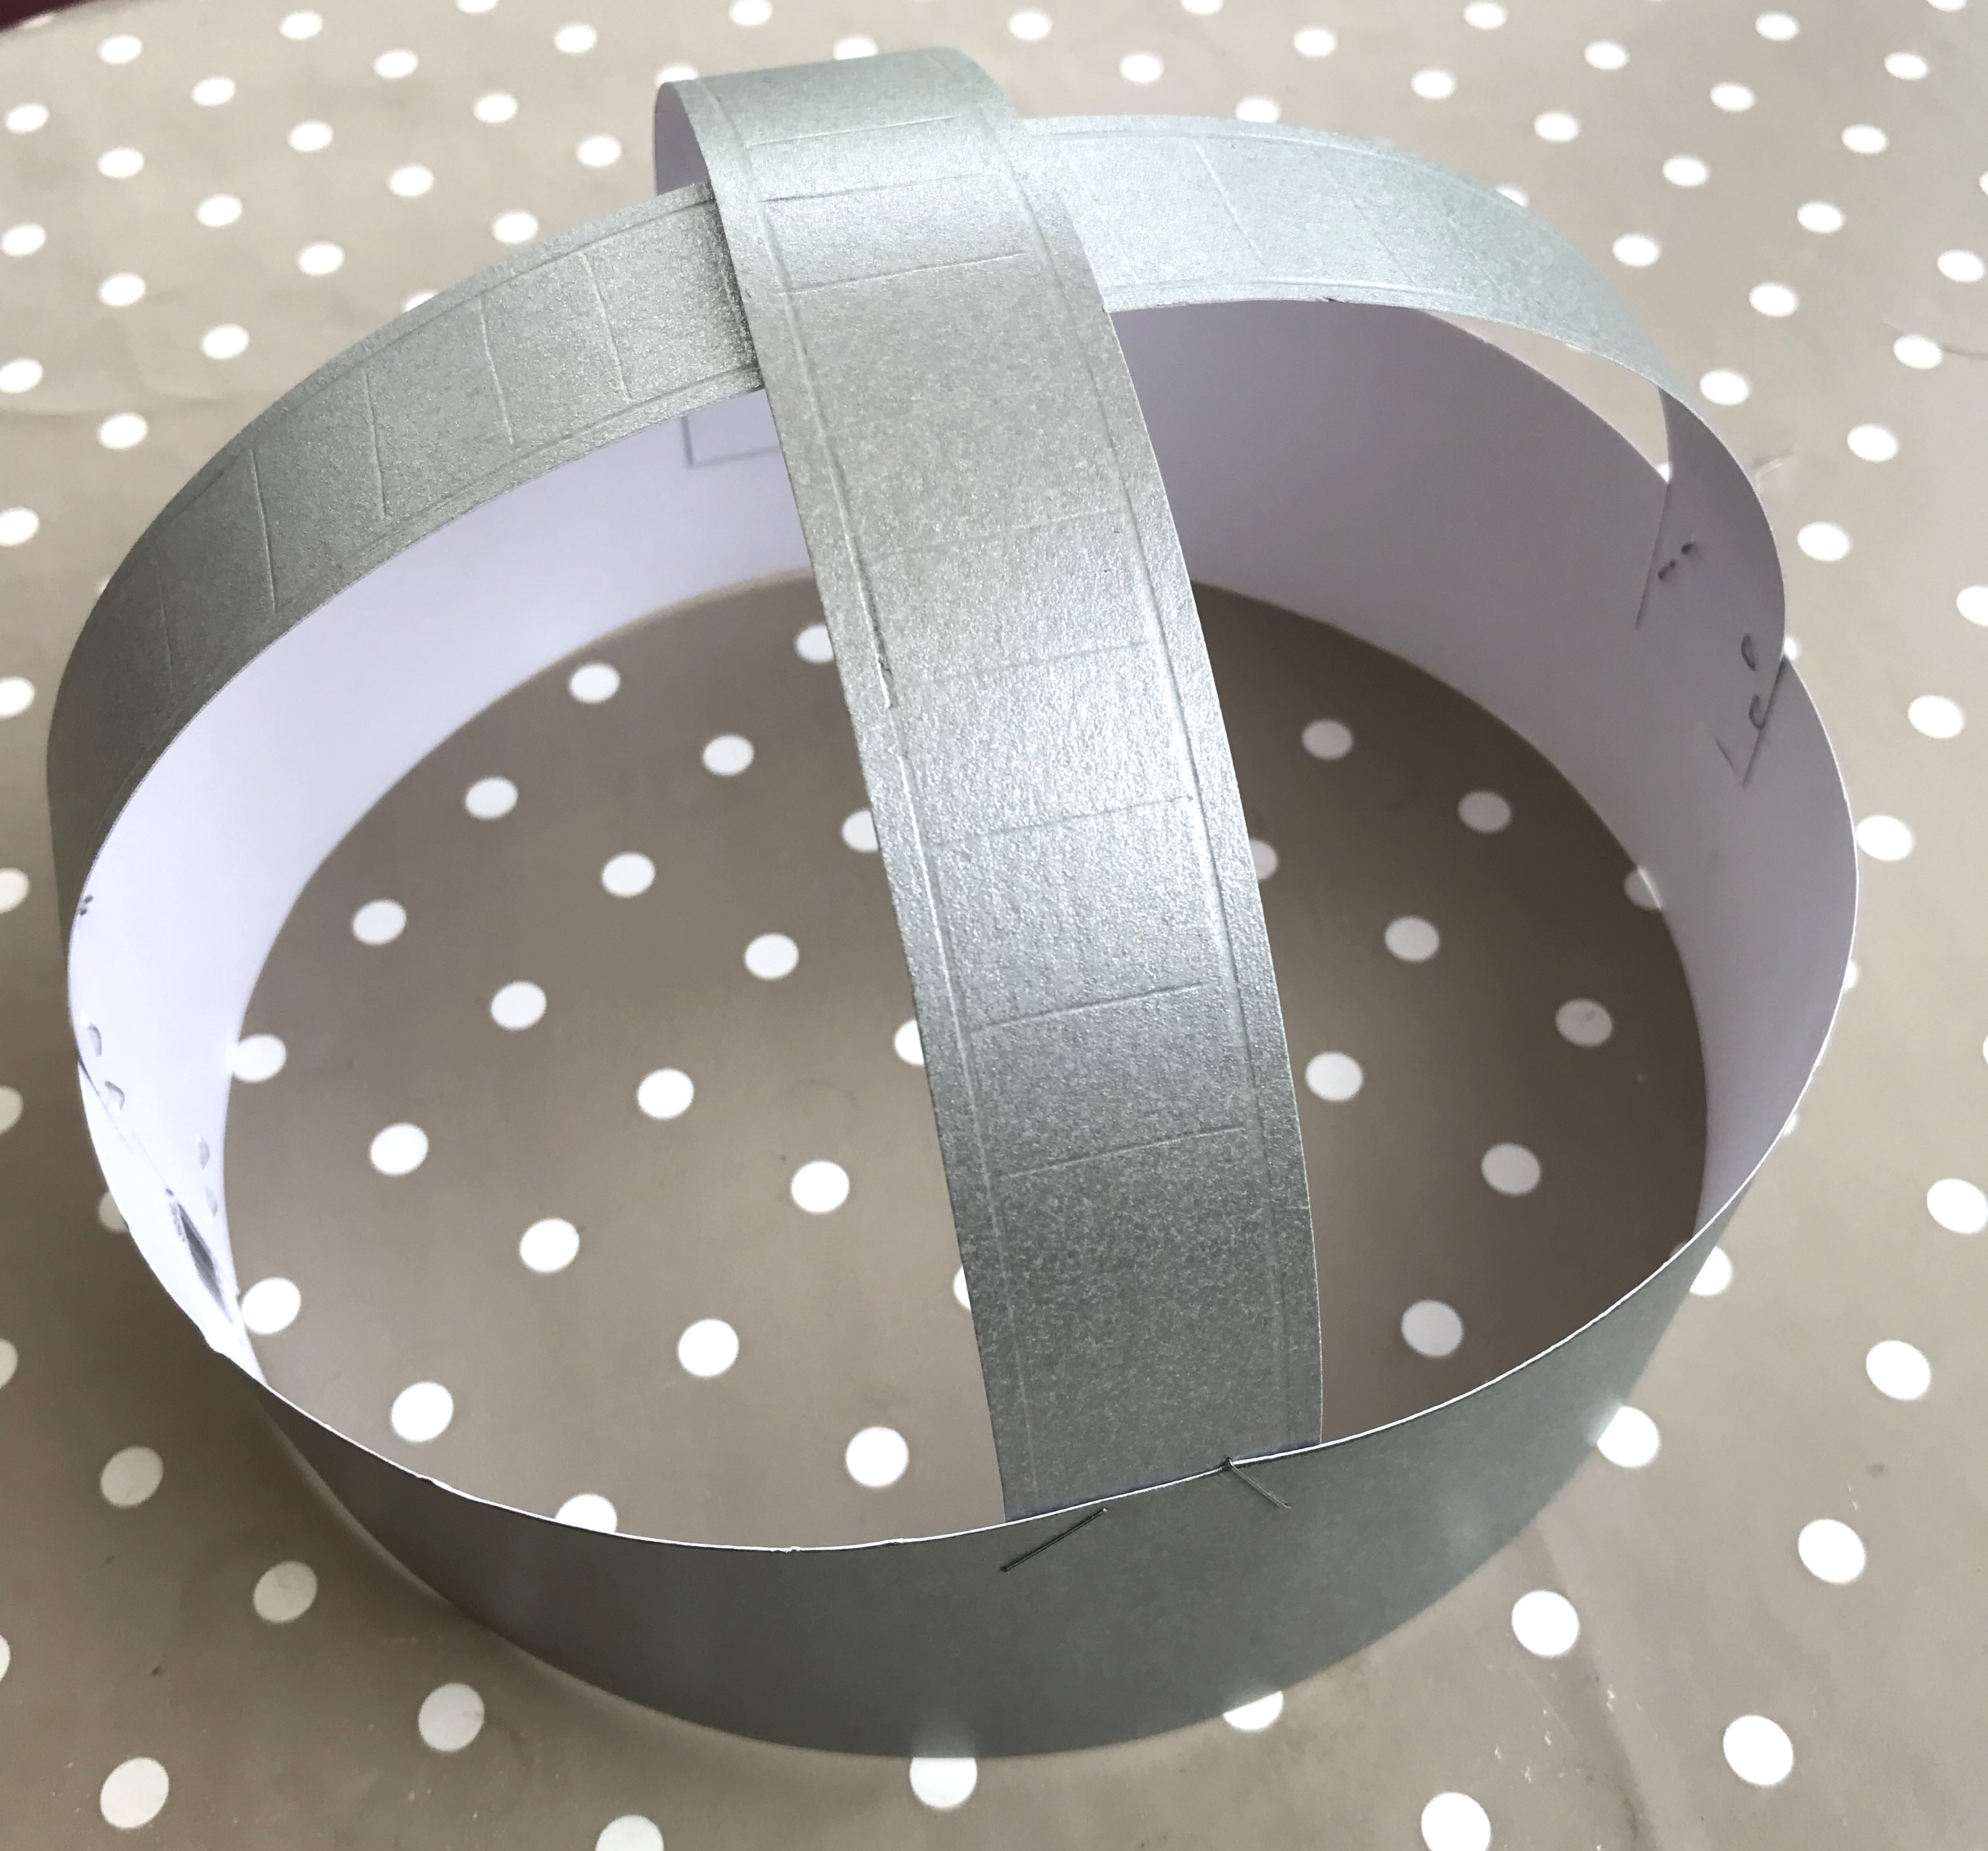
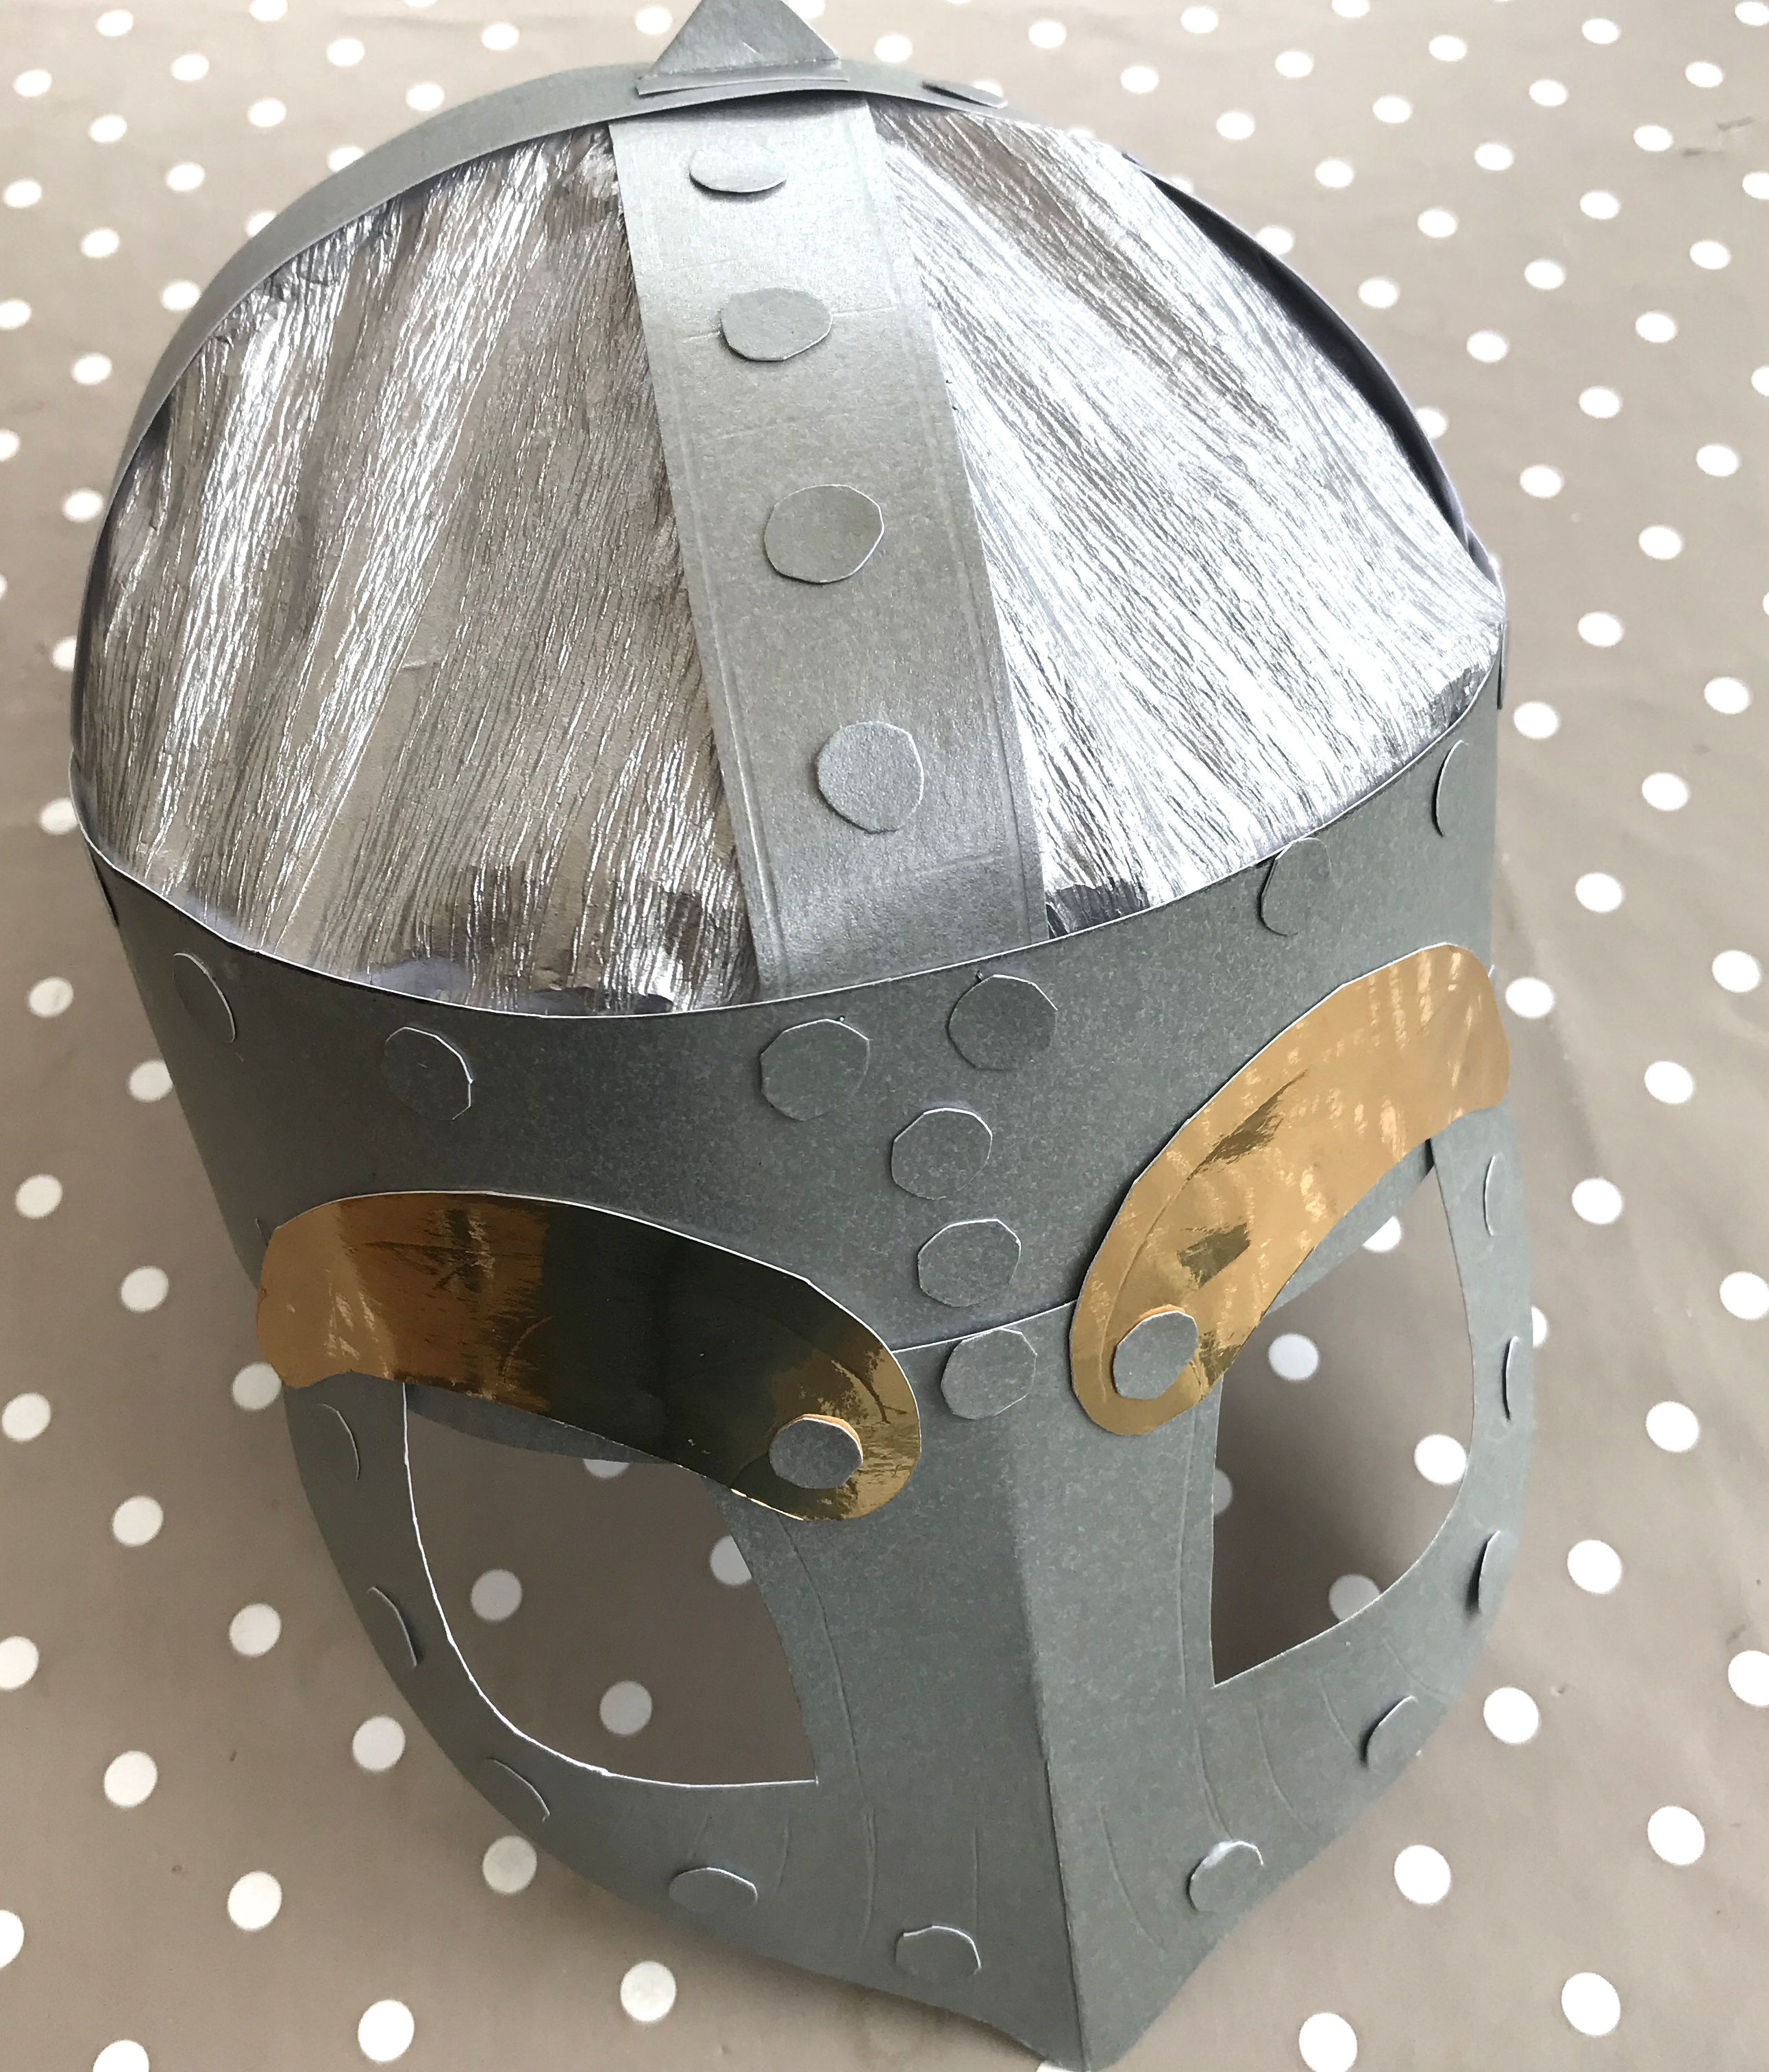
Wrap the strip off card around your head where you want the helmet to sit. It should cover the top of your ears. Mark where the card overlaps. Trim off the excess, but leave an overlap of about 2cm. Glue or staple the ends together.

Attach the cross pieces to the crown of the helmet using glue or staples. Attach one side of the first piece and try it on your head before attaching the other side. It should be just above the top of your head. Attach the second cross piece so that it just rests on the first in the centre.
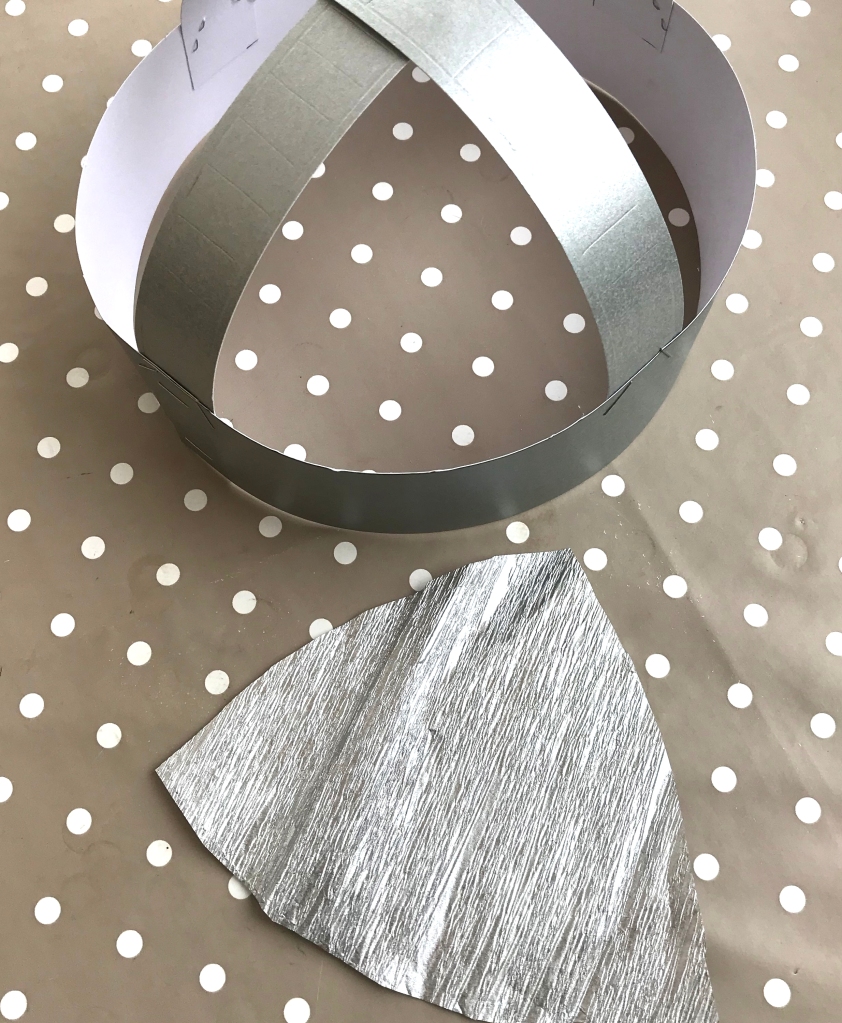
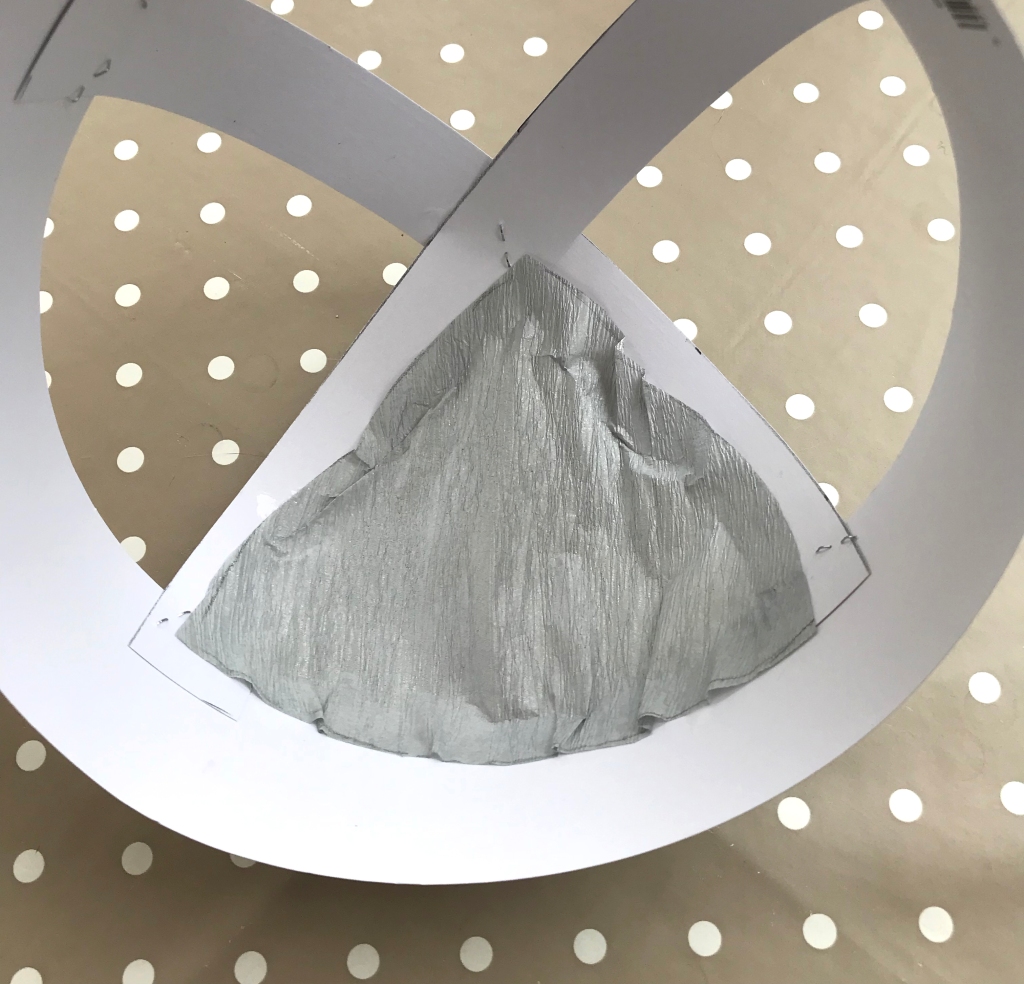
Using the template, cut 4 shapes from crepe paper (or fabric) to fill in the top of the helmet. Glue or tape them into place from the inside. You may need to trim them slightly to fit if you are making a smaller helmet.

Attach the front of the helmet, lining up the nose with one of the cross pieces.

Glue on any other details as desired.
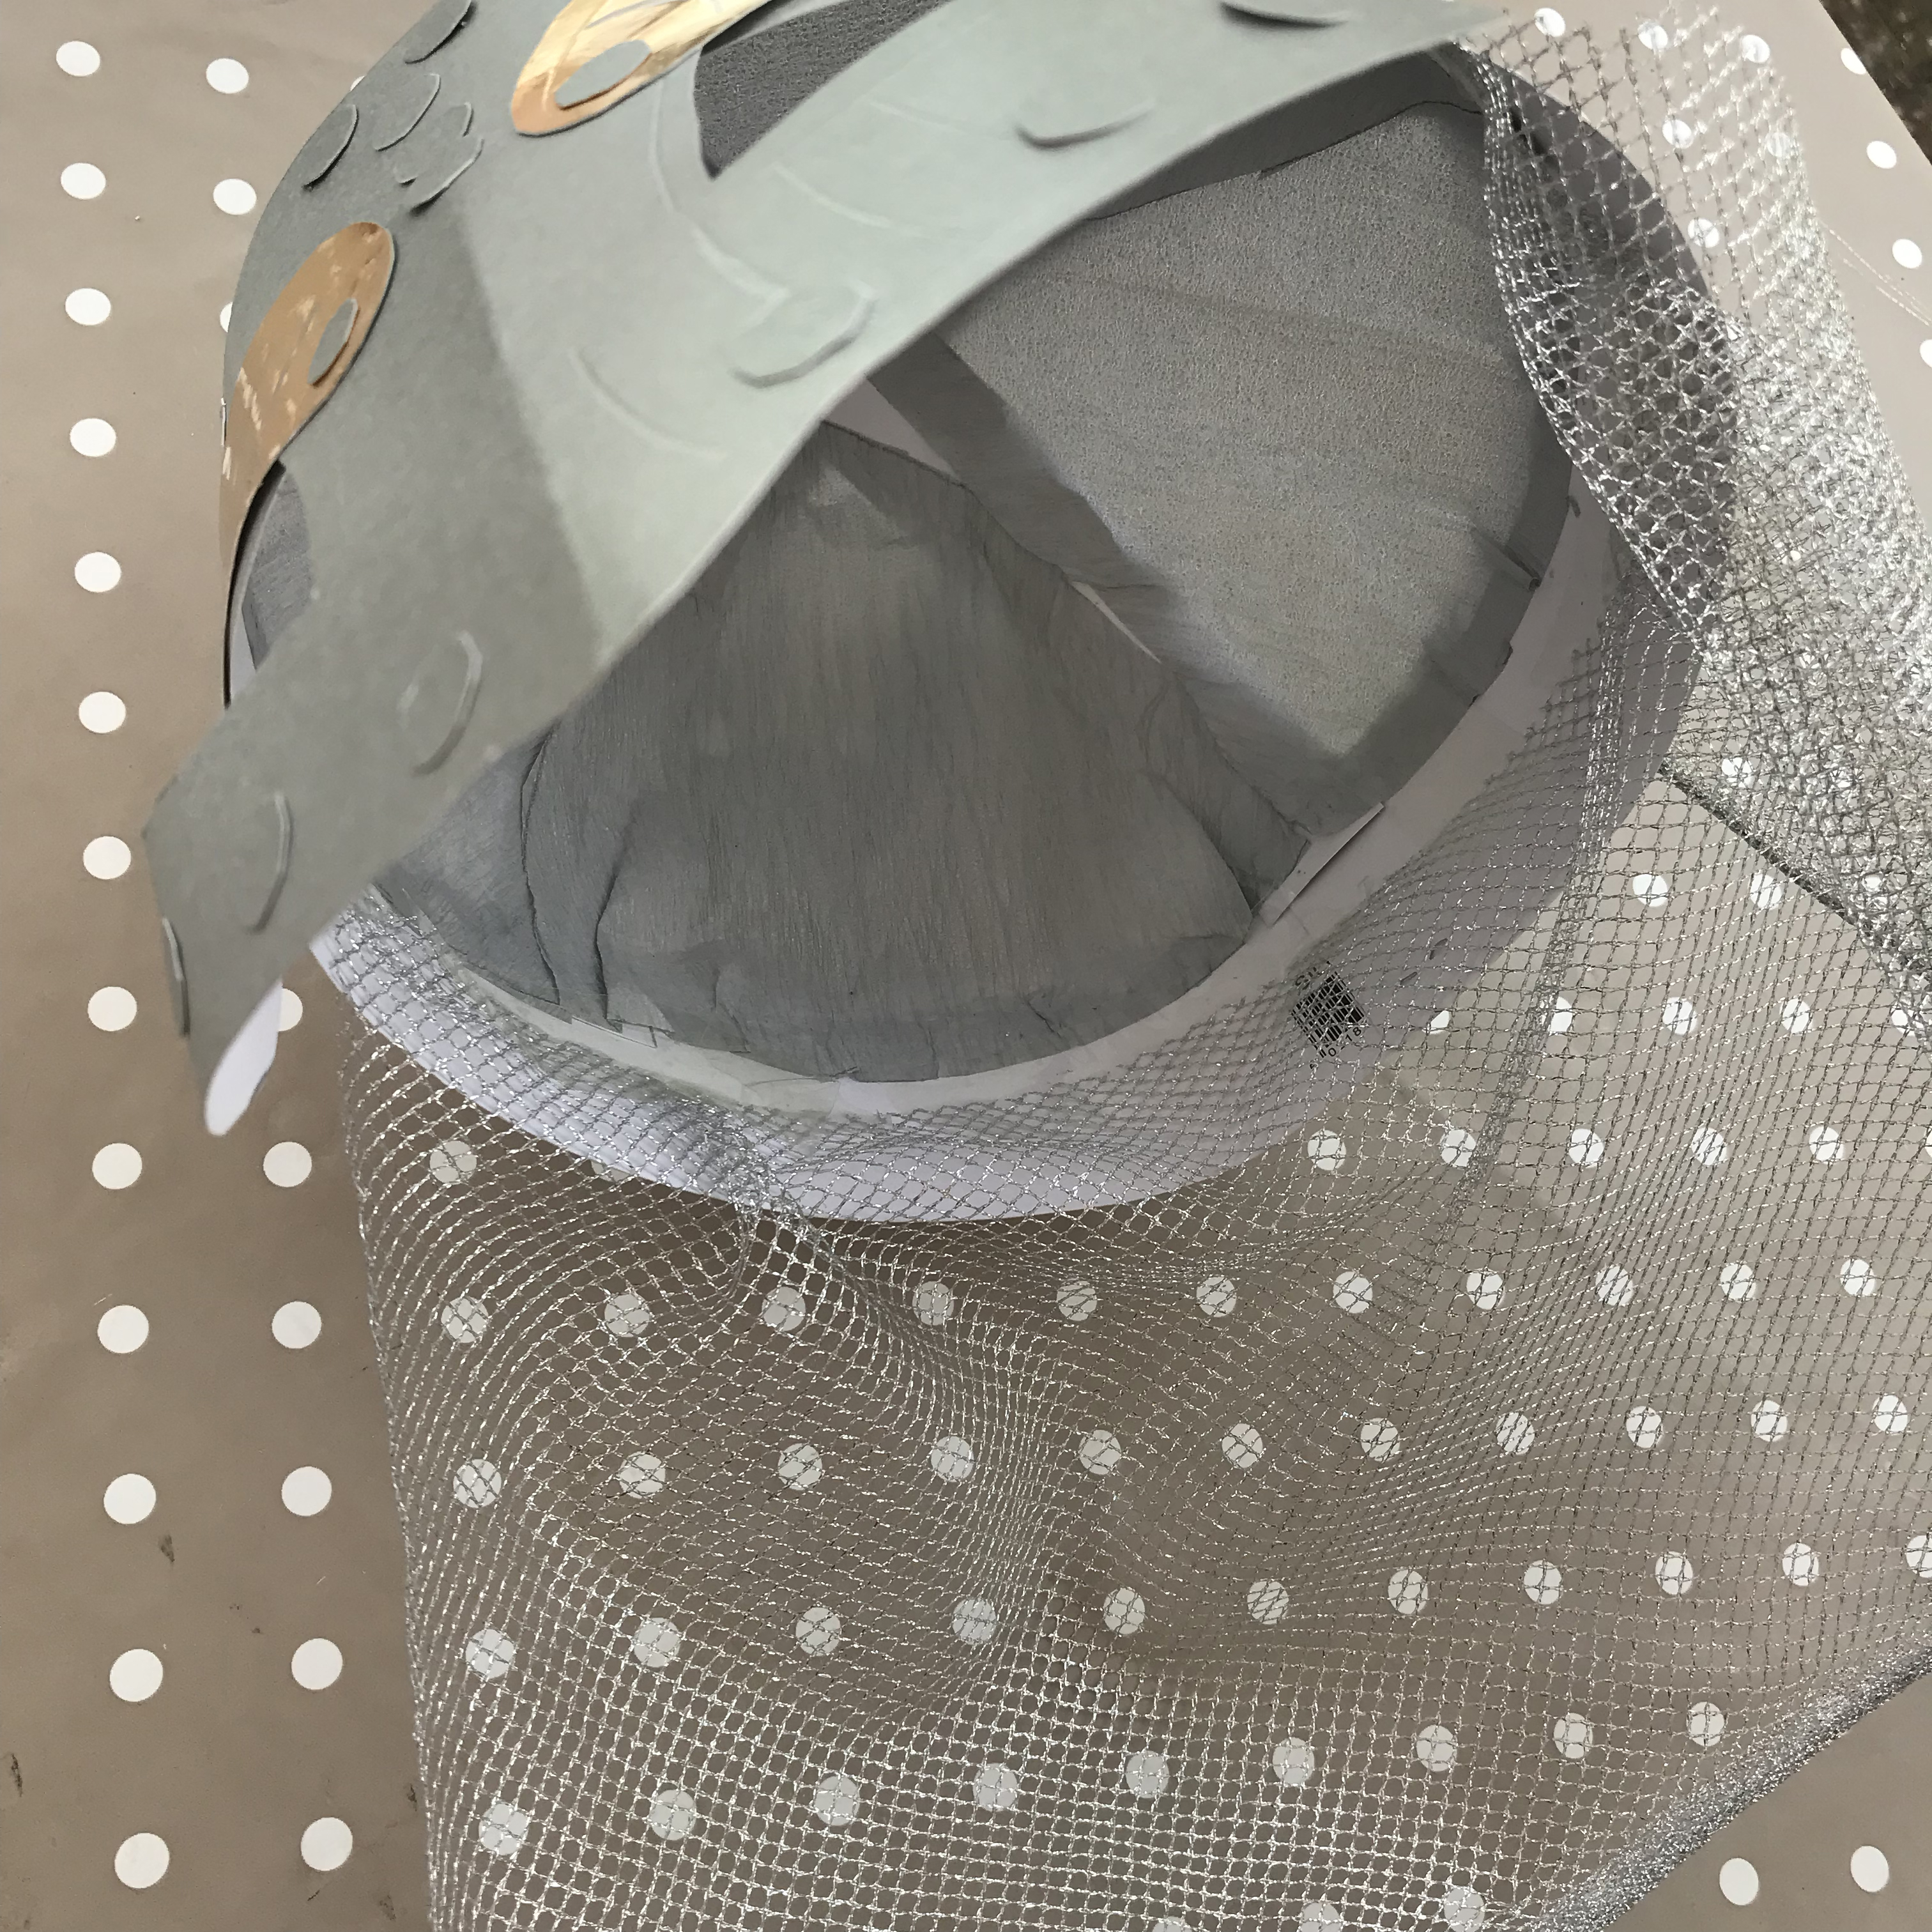
Cut a piece of net fabric approximately 25cm x 50cm. Tape inside helmet along back edge.

It’s been a long winter, but Spring is nearly here and the garden is colourful with snowdrops, crocuses, primroses and hellebore. I haven’t shared any of my work since Christmas, so here are a few things I’ve been doing since then:
Working on a new illustrated poetry book with Julie Ann Douglas. We’ve been planning a new one for a while and I’d done a few drawings, which I’ve put in my blog previously, but we both liked the map illustration for her ‘Directions Through A Fairytale’ poem (view in the Gallery) so much that we decided it would be fun to make a whole book of map poems. I’m not going to show you too much of what we’re doing but here are a few sneaky peeks….


When I had drawn the illustration for ‘Directions Through A Fairytale’ I had an idea that it would be fun to present it like an actual map, folded inside a cover. Julie added some art and literacy activity ideas and we launched our map poem…


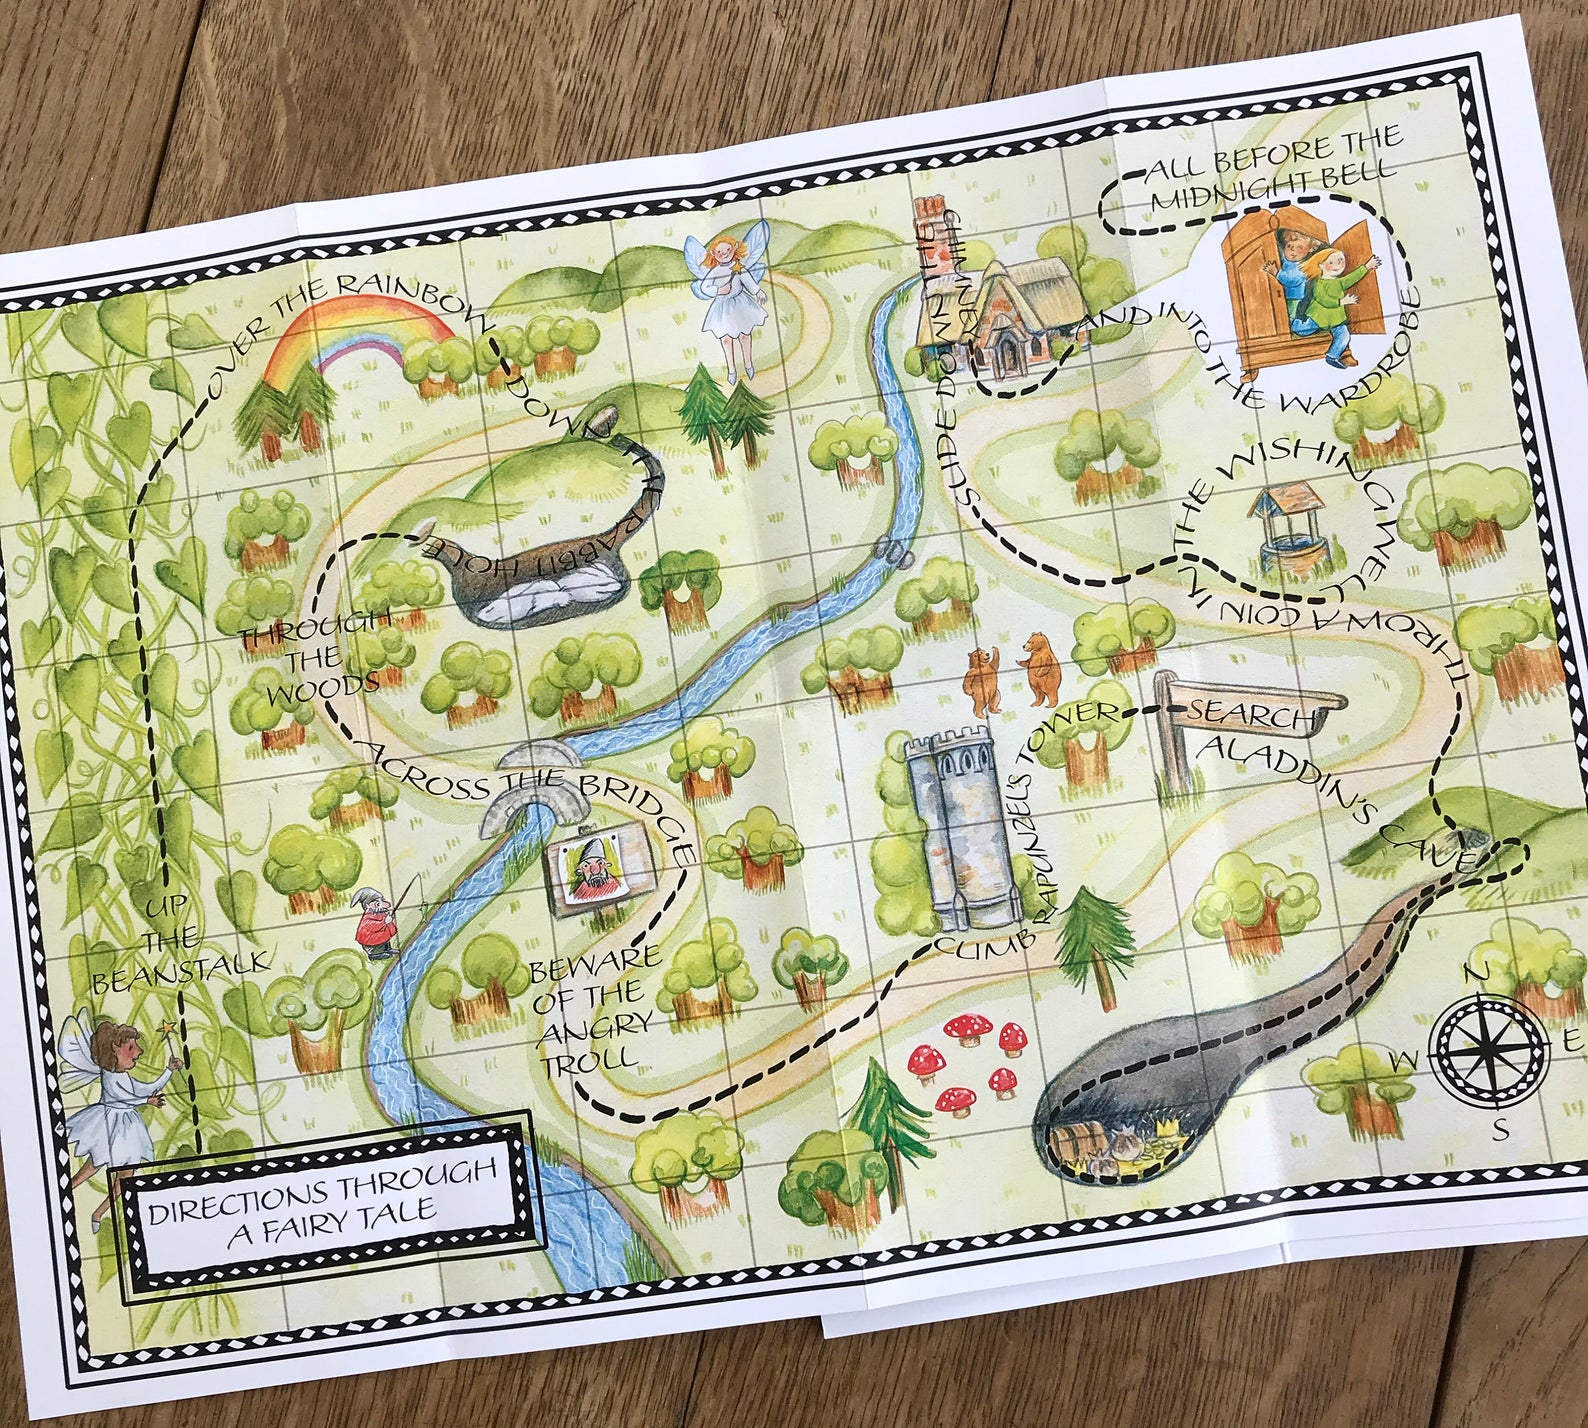
You can get your hands on a copy of the Fairytale map here
I’m continuing to make Dress Up Paper Dolls and Paper Buildings. The newest are a Regency lady and a series of Beach Huts. I am planning to make the Regency doll into a book but in the meantime you can download both from my shop.


A Viking Longhouse, complete with removal roof and furnished interior is my next paper building project. Possibly to be followed by a Viking Helmet…
And as spring is rapidly approaching I’ve been sharing seeds.


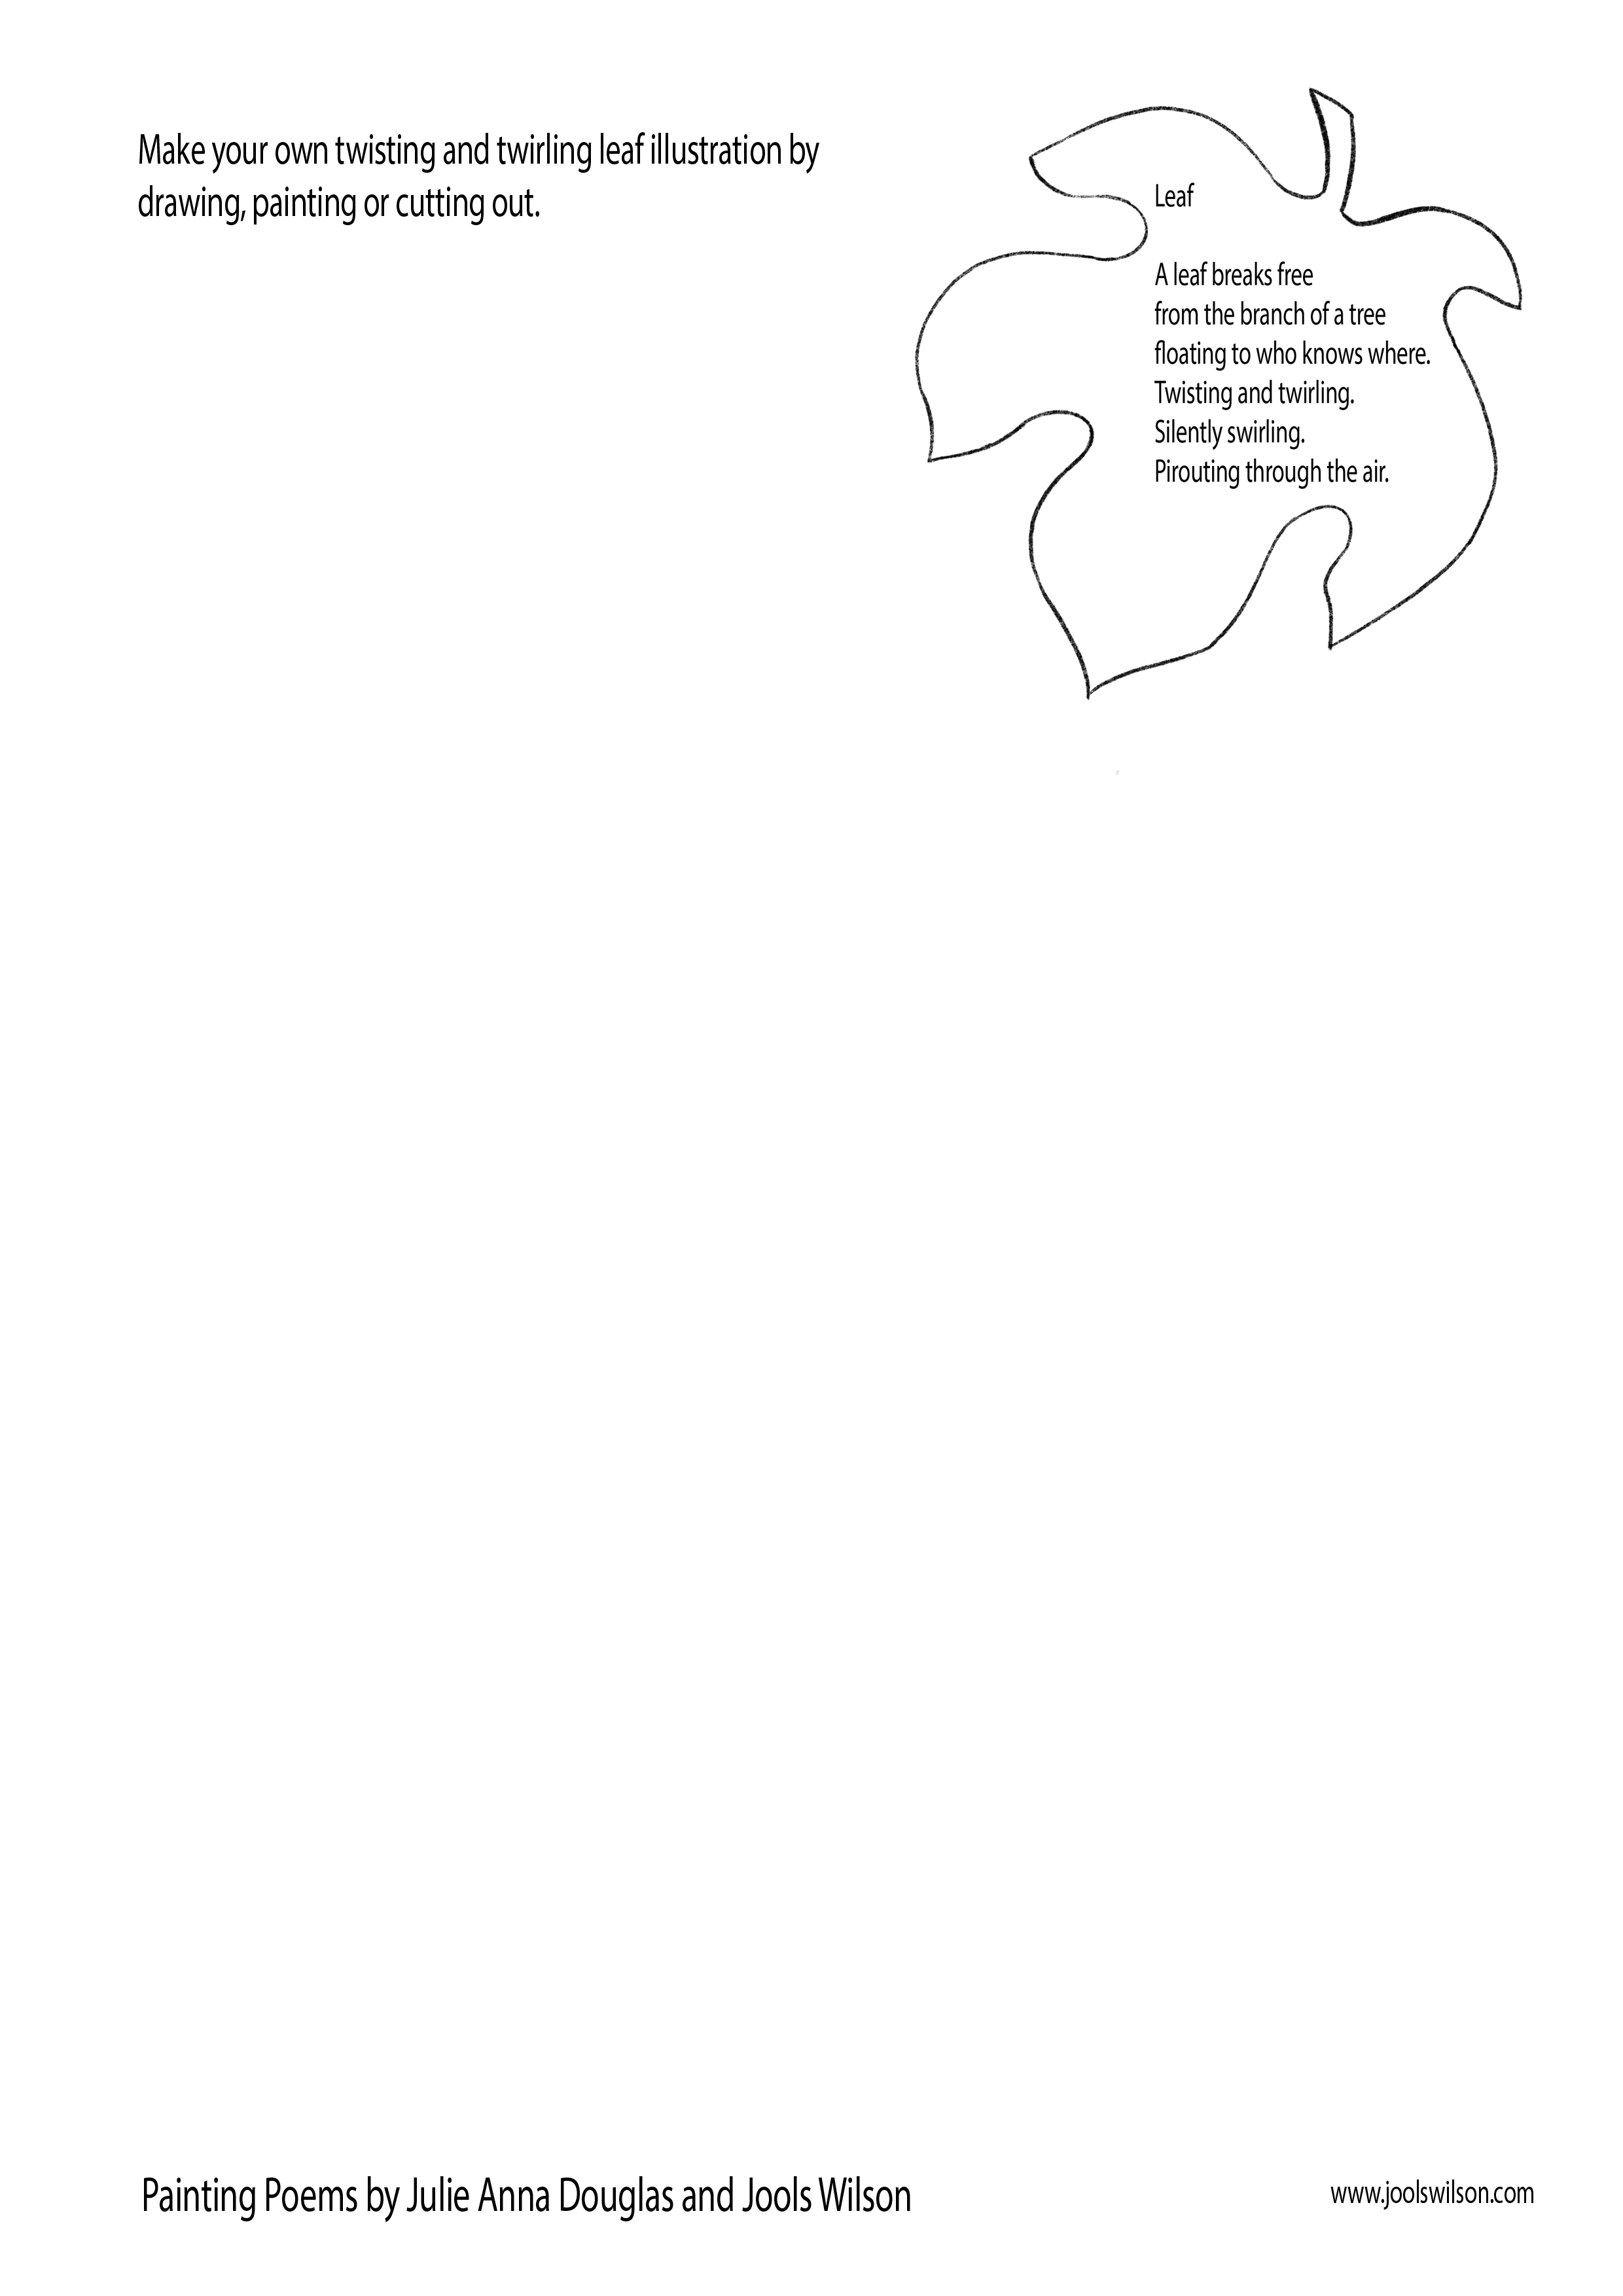
Can you illustrate this lovely leaf poem by drawing, painting or making collage leaves?
Poem from ‘Painting Poems’ by Julie Anna Douglas.
You can download this activity sheet here.
Don’t forget their are lots of other free activity sheets to accompany Painting Poems. Download them here.
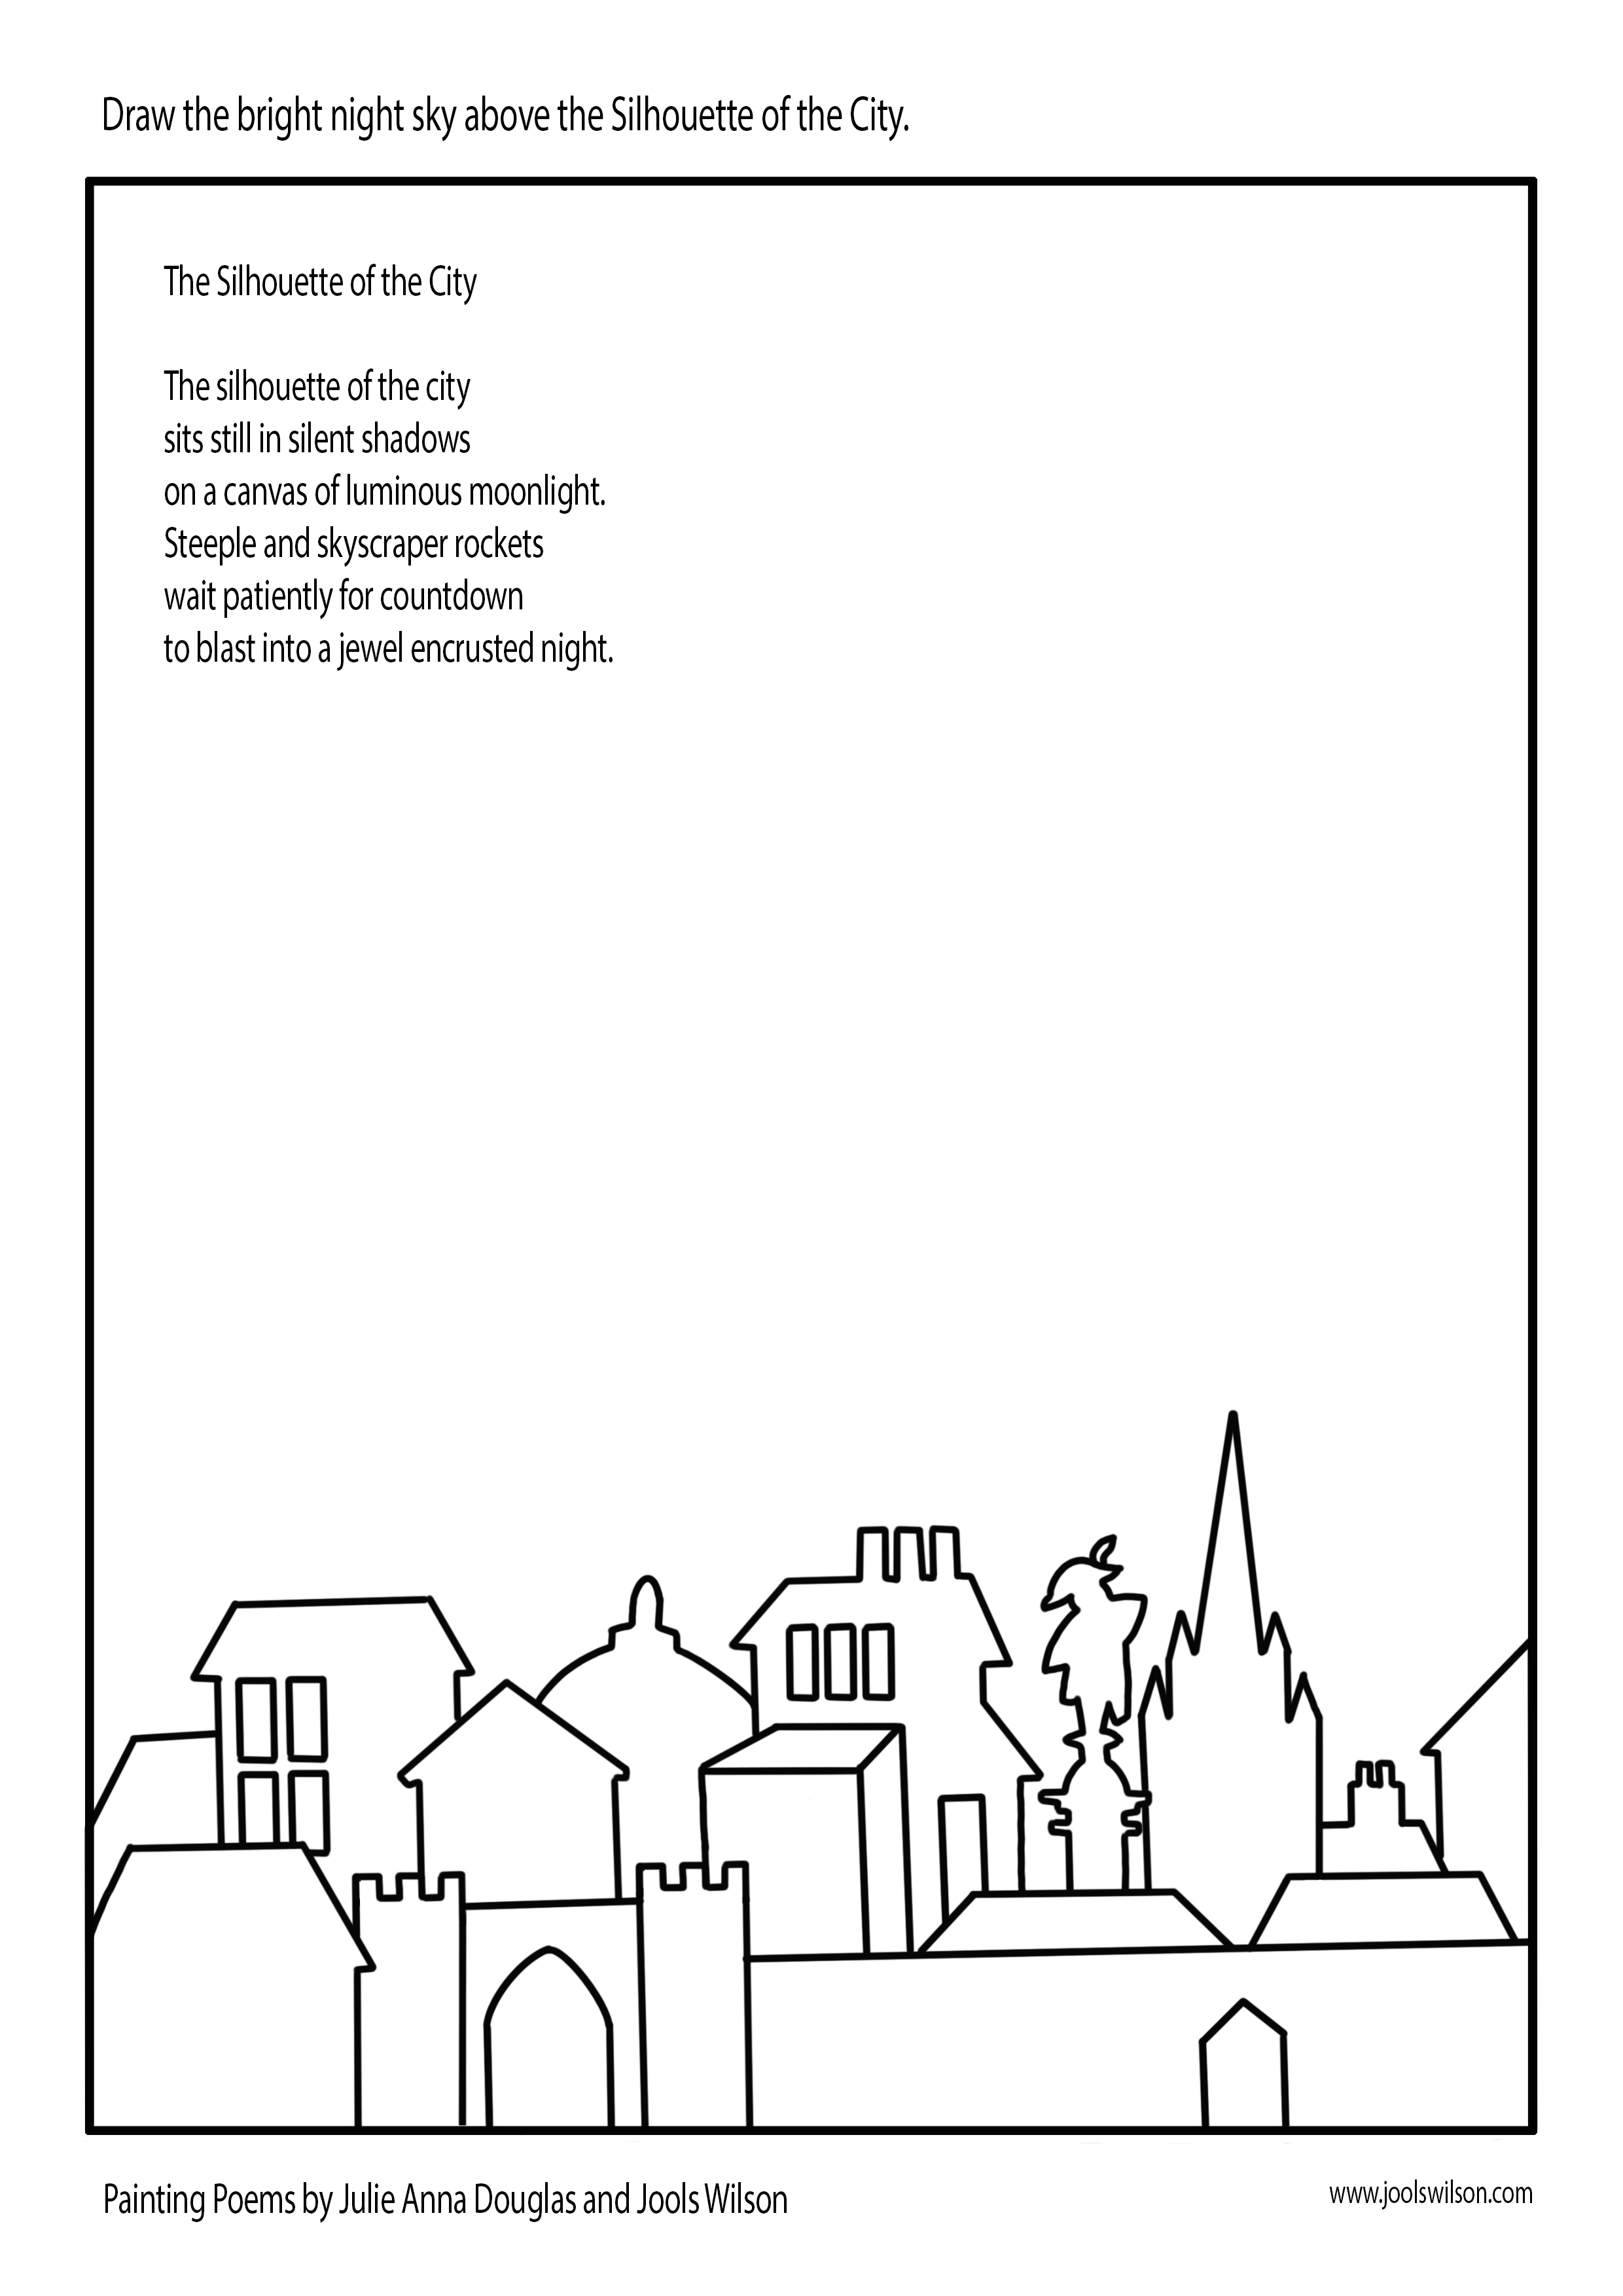
A new activity sheet to accompany ‘Painting Poems’ by Julie Anna Douglas. Can you draw or paint a lovely night sky above the silhouette of the city? Download the PDF here.
If you enjoyed making my paper Neolithic House model then you may also like this Roman Villa, which is available from my shop for a very small number of beans.

‘Painting Poems’ by Julie Anna Douglas will be available to buy next week!
Here’s ‘Mirror, Mirror’ and a worksheet to go with the poem.

Click here to download the worksheet.

Copyright of text belongs to Julie Anna Douglas. Copyright of images belongs to Jools Wilson.

